
TrueNAS 12 based on FreeBSD 12 now offers ZFS native filesystem encryption. A pool or any part of a pool may be encrypted. This is particularly useful when an application requires encryption of data at rest. One common use case is the encryption of Apple Time Machine backups at rest. In this article, I will explain how to configure an encrypted filesystem for use by Time Machine.
Revisions
- There will be some
References
- https://www.truenas.com/docs/hub/initial-setup/storage/encryption/
- https://www.truenas.com/docs/hub/initial-setup/storage/zvols/
- https://www.truenas.com/docs/hub/initial-setup/storage/datasets/
- https://www.truenas.com/docs/hub/sharing/smb/smb-share/
Introducing Time Machine
MacOS provides Time Machine as its native disk backup and recovery tool. Time Machine represents a major breakthrough in tools of this sort as it offered file system checkpoints and recovery of the file system or a group of files to the versions that existed in any available checkpoint. It is a lot like ZFS snapshots and replication but different.
Time Machine has two major components, the snapshot and replication part that runs continually and the recovery inteface that runs at first MacOS launch or at user request.
Time Machine Differs from Replication.
Although you can think of Time Machine as being like replication, it is actually different than replication. Time Machine works on behalf of users and keeps each MacOS user’s data in separate datasets. TimeMachine keeps everything for the first user (the one with admin rights) but only the home directory tree for users other than the admin user.
Trey’s Activity
Trey provides computing for a retiree so Trey leads a lazy life keeping personal tax records, preparing income taxes, and maintaining photo and music libraries. Apple MacOS Photos maintains our photos including our raw images from the real camera and the iPhone snapshots that litter the library. Apple Music is deprecated given its bias toward Apple lossy compression and attendant poor sound. Roon now handles music librarian chores. So Trey does not produce a lot of new data and what it does is mostly photos and videos managed by Photos.app.
Provisioning Time Machine Storage
There are two approaches: provide a volume or provide a filesystem. Volume provisioning allows you to restrict the amount of storage that Time Machine will eat. On an active system, Time Machine will happily continue to replicate file changes until it has eaten the disk. Use of a Volume allows the admin to restrict how much TrueNAS storage Time Machine may eat. Time Machine is Pac Man for disk blocks. Chomp, chomp, chomp, …
On an active system, Time Machine would eat all of the available storage as it continued to accumulate snapshots. The second alternative is to create a filesystem for Time Machine to use. The MacOS user served by the filesystem must have read-write-traverse permissions to this storage.
TrueNAS volumes are thin provisioned acquiring storage as objects are created in them. Each time an object is created TrueNAS gets the storage for it from the pool. Once the volume size limit is reached, growth stops. But the pool still has free space so new object creation continues in the other file systems and volumes.
Creating a filesystem works nicely for inactive Trey. For active systems, the Volume is the way to go.
Encrypting the Storage
TrueNAS 12 ZFS requires storage to be created as encrypted at birth. The user guide explains how to create encrypted pools, volumes, and filesystems. Follow the instructions as given. I let TrueNAS generate the AES256 key which I carefully downloaded to iCloud and also saved in 1Password as a login item. Don’t loose your key. Complete the encrypted storage creation form as shown in the TrueNAS Guide. Set the user to the one that matches the MacOS user associated with the Time Machine save set. Set the group to that of the MacOS user. I applied the Open ACL prototype and Time Machine liked that combo.
Sharing the Storage
With the arrival of BigSur, Apple has retired AFP and migrated Time Machine to SMB shares. So we must create a SMB share for the storage that Time Machine will use. Create the share picking the node representing the Time Machine filesystem as shown below. Set the multi-user Time Machine profile and the share wizard will create the configuration shown below for you.

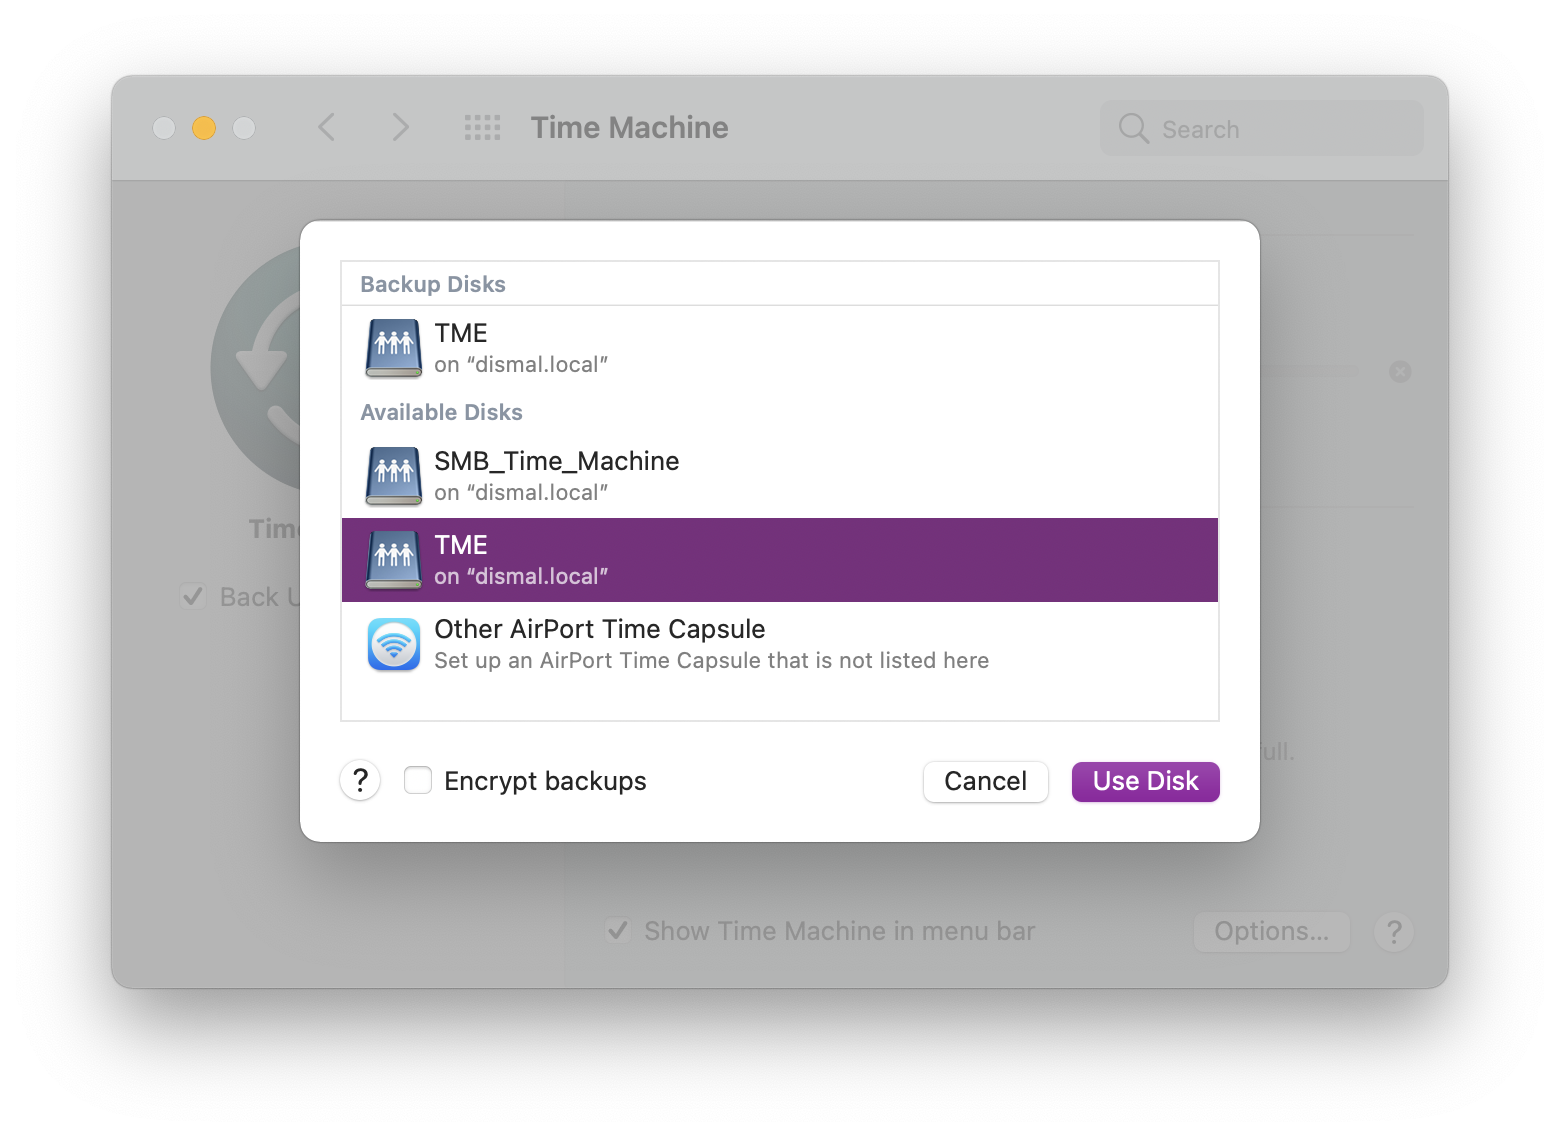
Create Your First Save Set
Open Time Machine preferences, select the new share, check the encrypt backups check box, and click use disk button. Time Machine will try to log in and authenticate. Some fiddling may be required on the TrueNAS end to match the owner and group. Note that the owner group numbers must match on both systems. This is a bit of a pain but much less than running a Windows Primary Domain Controller in a virtual machine (oh and paying for same).
Once you successfully negotiated user authentication, Time Machine will go merrily on its way.
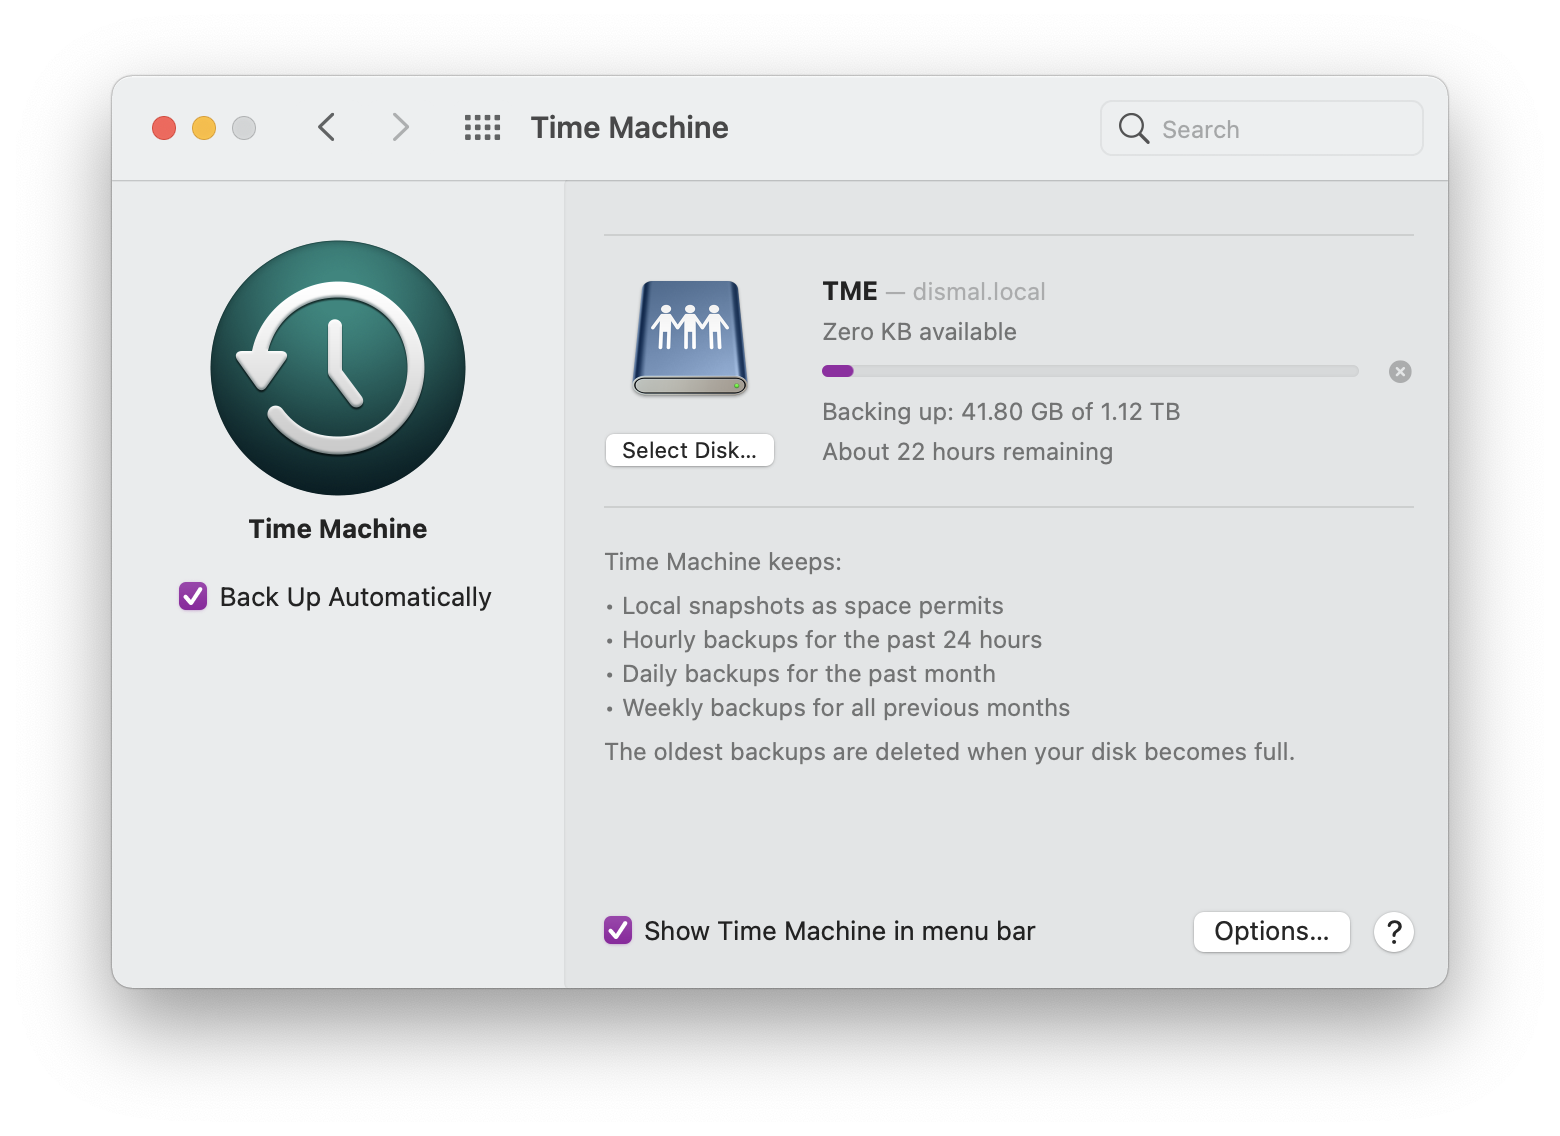
The user’s saveset appears in the pool, volume, or filesystem as chosen above.

And, Yes, backups are backed-up
This new filesystem is inside our snapshot storage and replication so it is replicated daily to the backup pool on the 8 TB disk.

You must be logged in to post a comment.