Skylum developers remain at work in Ukraine. Women and children have evacuated while military age males remain in the country to be called up to fight if needed. Skylum collaboration tools are hosted internationally allowing a measure of safety from acts of Ivan. Remember Ivan? He’s back. And worse than ever.
Boy do I miss Khrushchev! When he invaded a neighbor, he just seized the joint. Putin, medieval siege warfare. He is leaving rubble, mostly destroying the economic value of the contested territory.
Anyway, Luminar Neo is now Version 1.2. Version 1.2 adds bug fixes but also integrates most of the RAW HDR development capabilities of Aurora HDR, another Skylum product.
I’m new to HDR. I knew, in principle, that HDR merged a bracket set of a single image into a composite photograph with extended range and interpolated pixels to recover low contrast details.
I’d always avoided HDR believing you needed an Ansel Adams grade tripod and lots of patience to make the original still image bracket set. And, in the beginning of HDR, you did. Oh, and hideous multi-program work flows.
Back in graduate school
Back when I was a graduate student, my thesis advisor and another student were working with a Sylvania TV that included 35 mm slide projection. Prof had the idea of hacking it to quantize color images. He had a monochrome press photo of a thunderstorm. Running it through quantization processing clearly revealed a rain-wrapped tornado not visible in the original. This was an early example of HDR tone mapping done in hardware.
Modern Practice
Modern Computational Photography allows a automated scene analysis of hand-held bracket sets of real-world subject matter, not just Ansel Adams static landscapes. I was unaware that HDR automation had reached this level until I watched this Jim Nix demonstration of Luminar Neo HDR Merge working with single images.
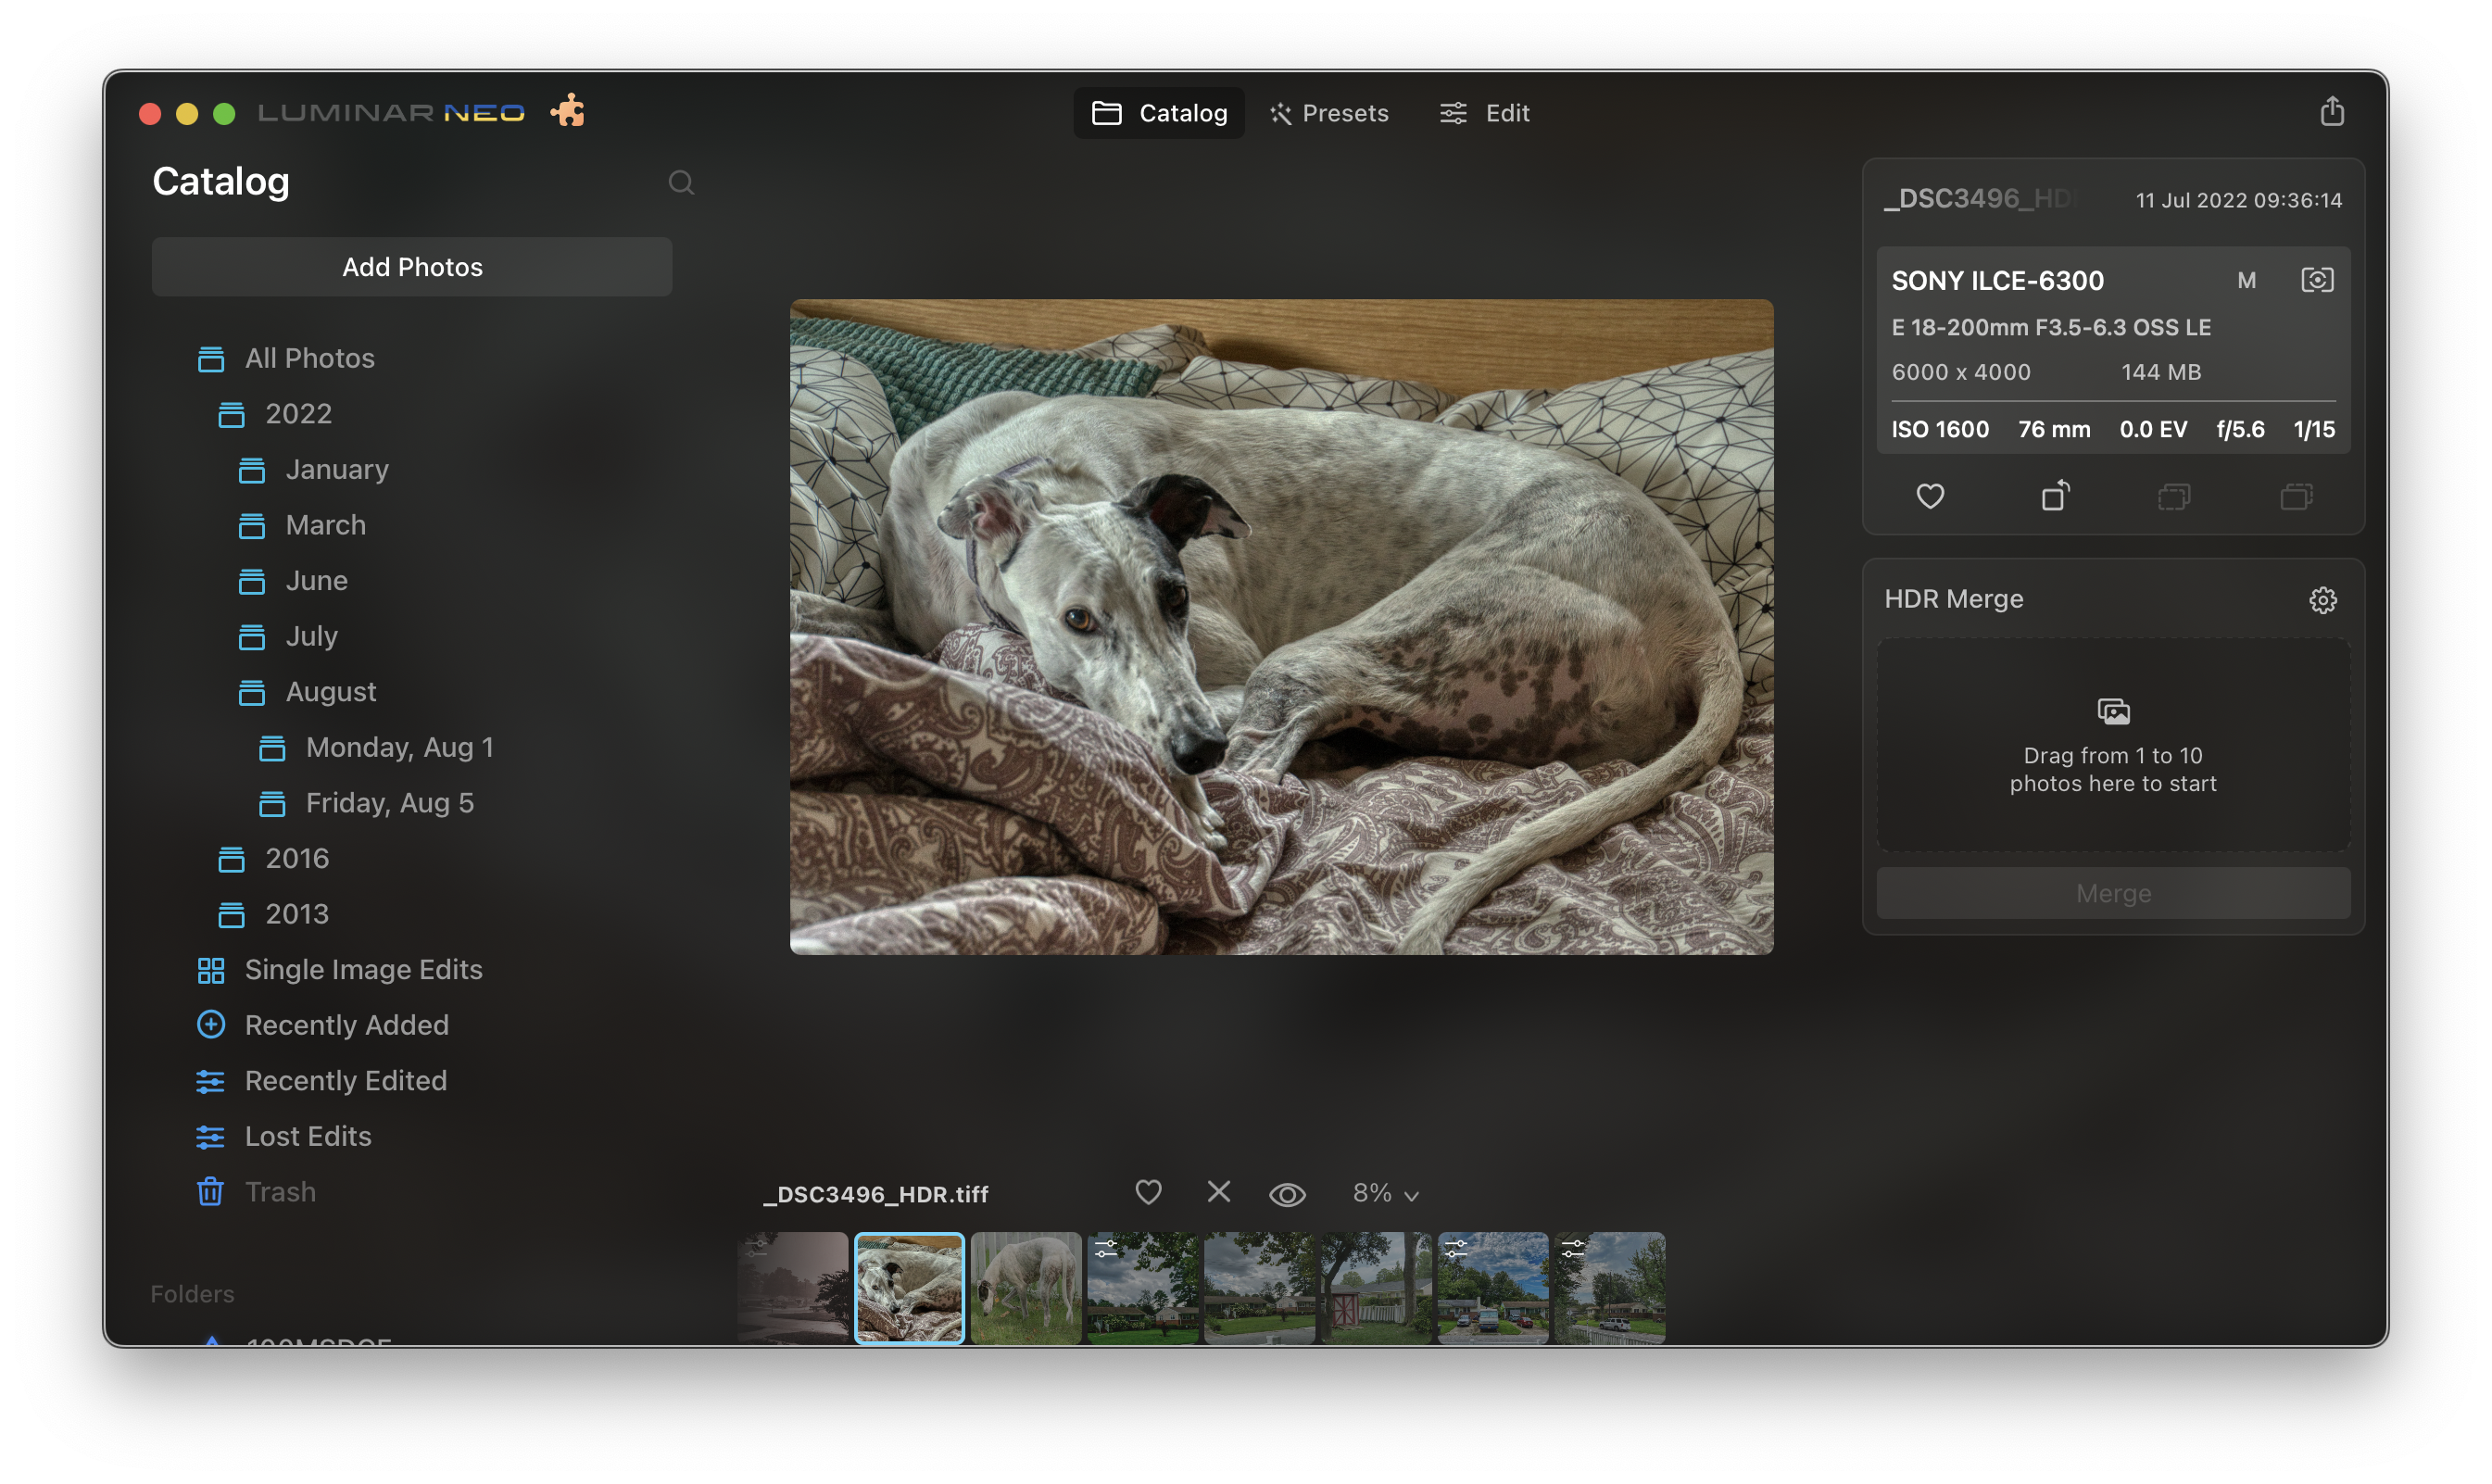
Anyway, I operated the combination lock on my wallet and purchased a subscription to Luminar Neo HDR Merge. In this episode, I’ll explore how to use HDR Merge in Apple Photos environment. Since then I’ve experimented with some low contrast singles and some high contrast outdoor images of Rocky.

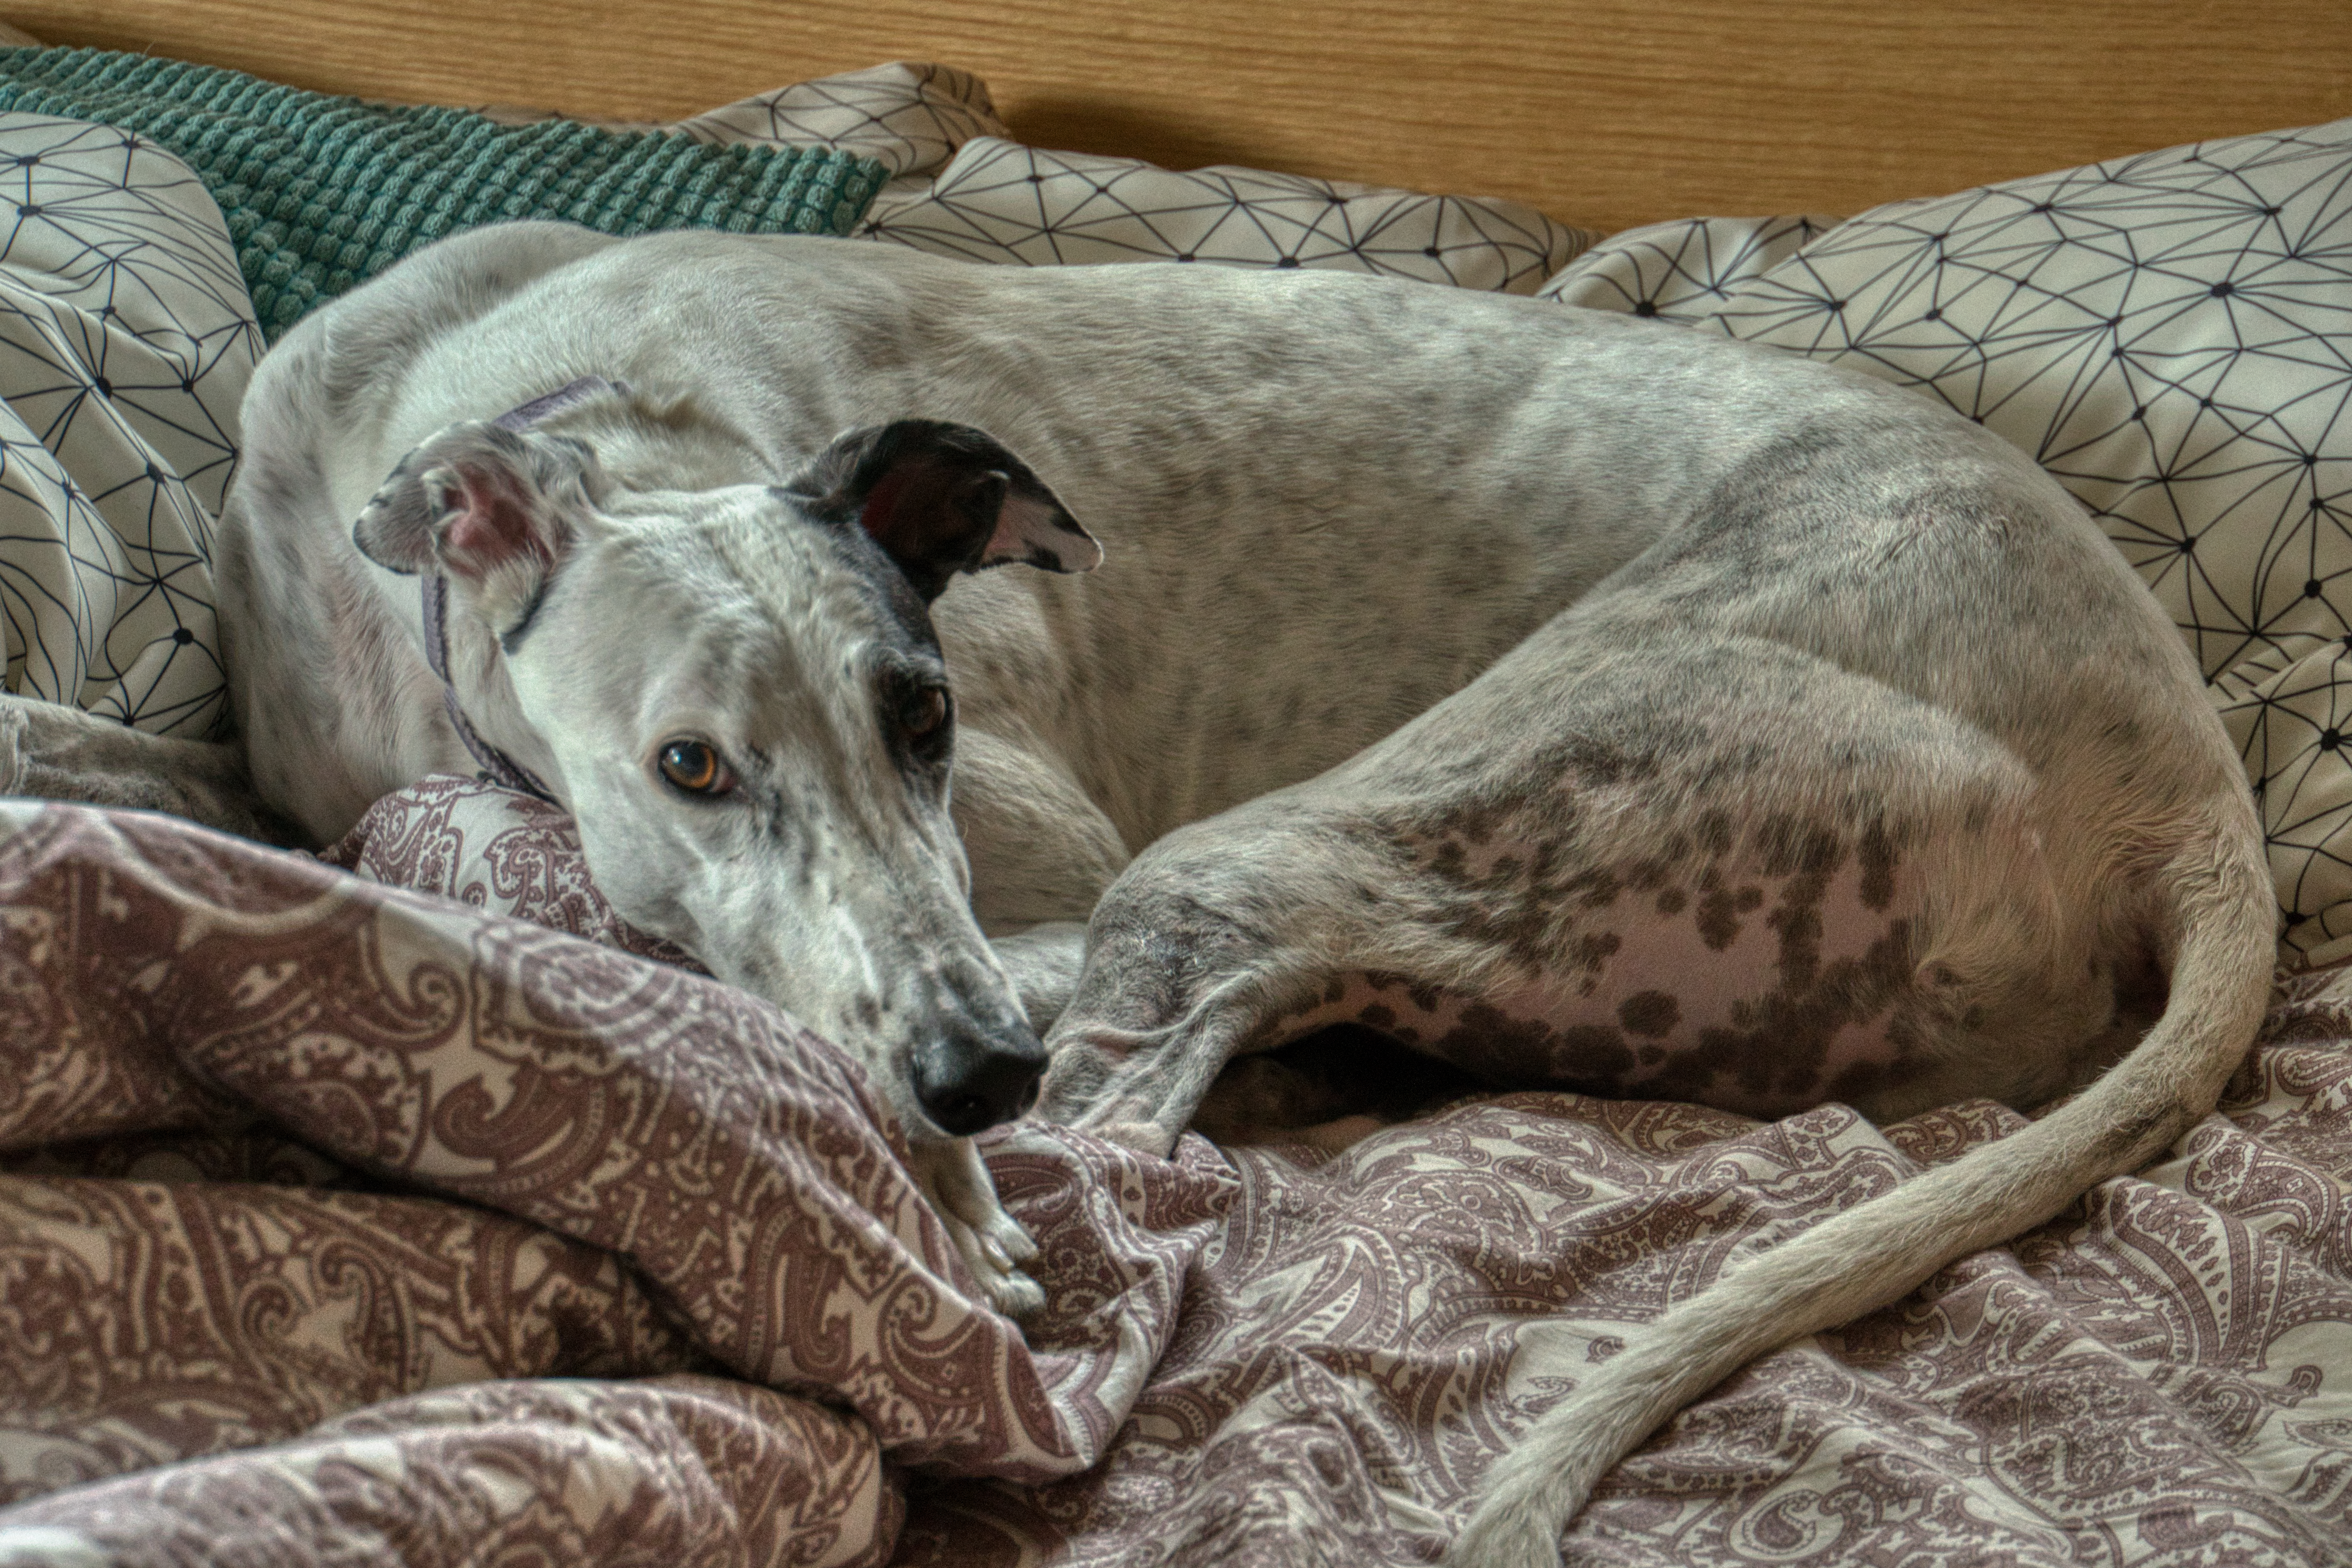
Rocky has some difficult spots (punny). His tail flea dirt area clips. His pirate’s patch clips. His left eye patch clips. Keeping facial details is hard.
Using Luminar structure and details tools tends to make him look like he’s been slimed for heartworm and hooks. And his spots (black ticking) go dark and coarse. His tattoos go India ink black. But this HDR merge is surprisingly natural. As is this HDR single.
Dave’s Apple Photos Workflow
Dave uses Apple Photos as his primary image asset manager. This is convenient as Apple has designed Photos and iPhones to play together nicely. Dave uses iCloud photo library.
- iPhone uploads to iCloud
- iPad uploads to iCloud
- Mac uploads to iCloud
- iCloud Photo library is on
- iCloud save originals to Mac is on
So when I take a photo, it just appears in all three places. Except when I use the Sony.
Adding Sony Images
Dave has a Sony A6300 which is not integrated with Photos at the moment. Dave is working on that using a Sony app that sends images from the camera to the iPhone but it is not yet configured. A coming post will explain this critter as some learning is required. Once configured, it seems to work well.
So, I add my Sony images by USB connection. The camera appears as a USB camera and Photos supports image exchange with USB cameras. Photos is aware of Sony ARW image file format and will render thumbnails from Sony RAW files. The camera is set to shoot ARW only. No JPEGS. They were getting in the way and Photos support boffins recommended disabling ARW+JPEG.
So connect the camera, import, and let Photos App churn. An ARW file thumbnail is created and integrated into the Library photo album.
Apple Photos Library Album
Here we duck out for a bit of a sidebar about the Apple Photos Library Album (what I’m calling it here).
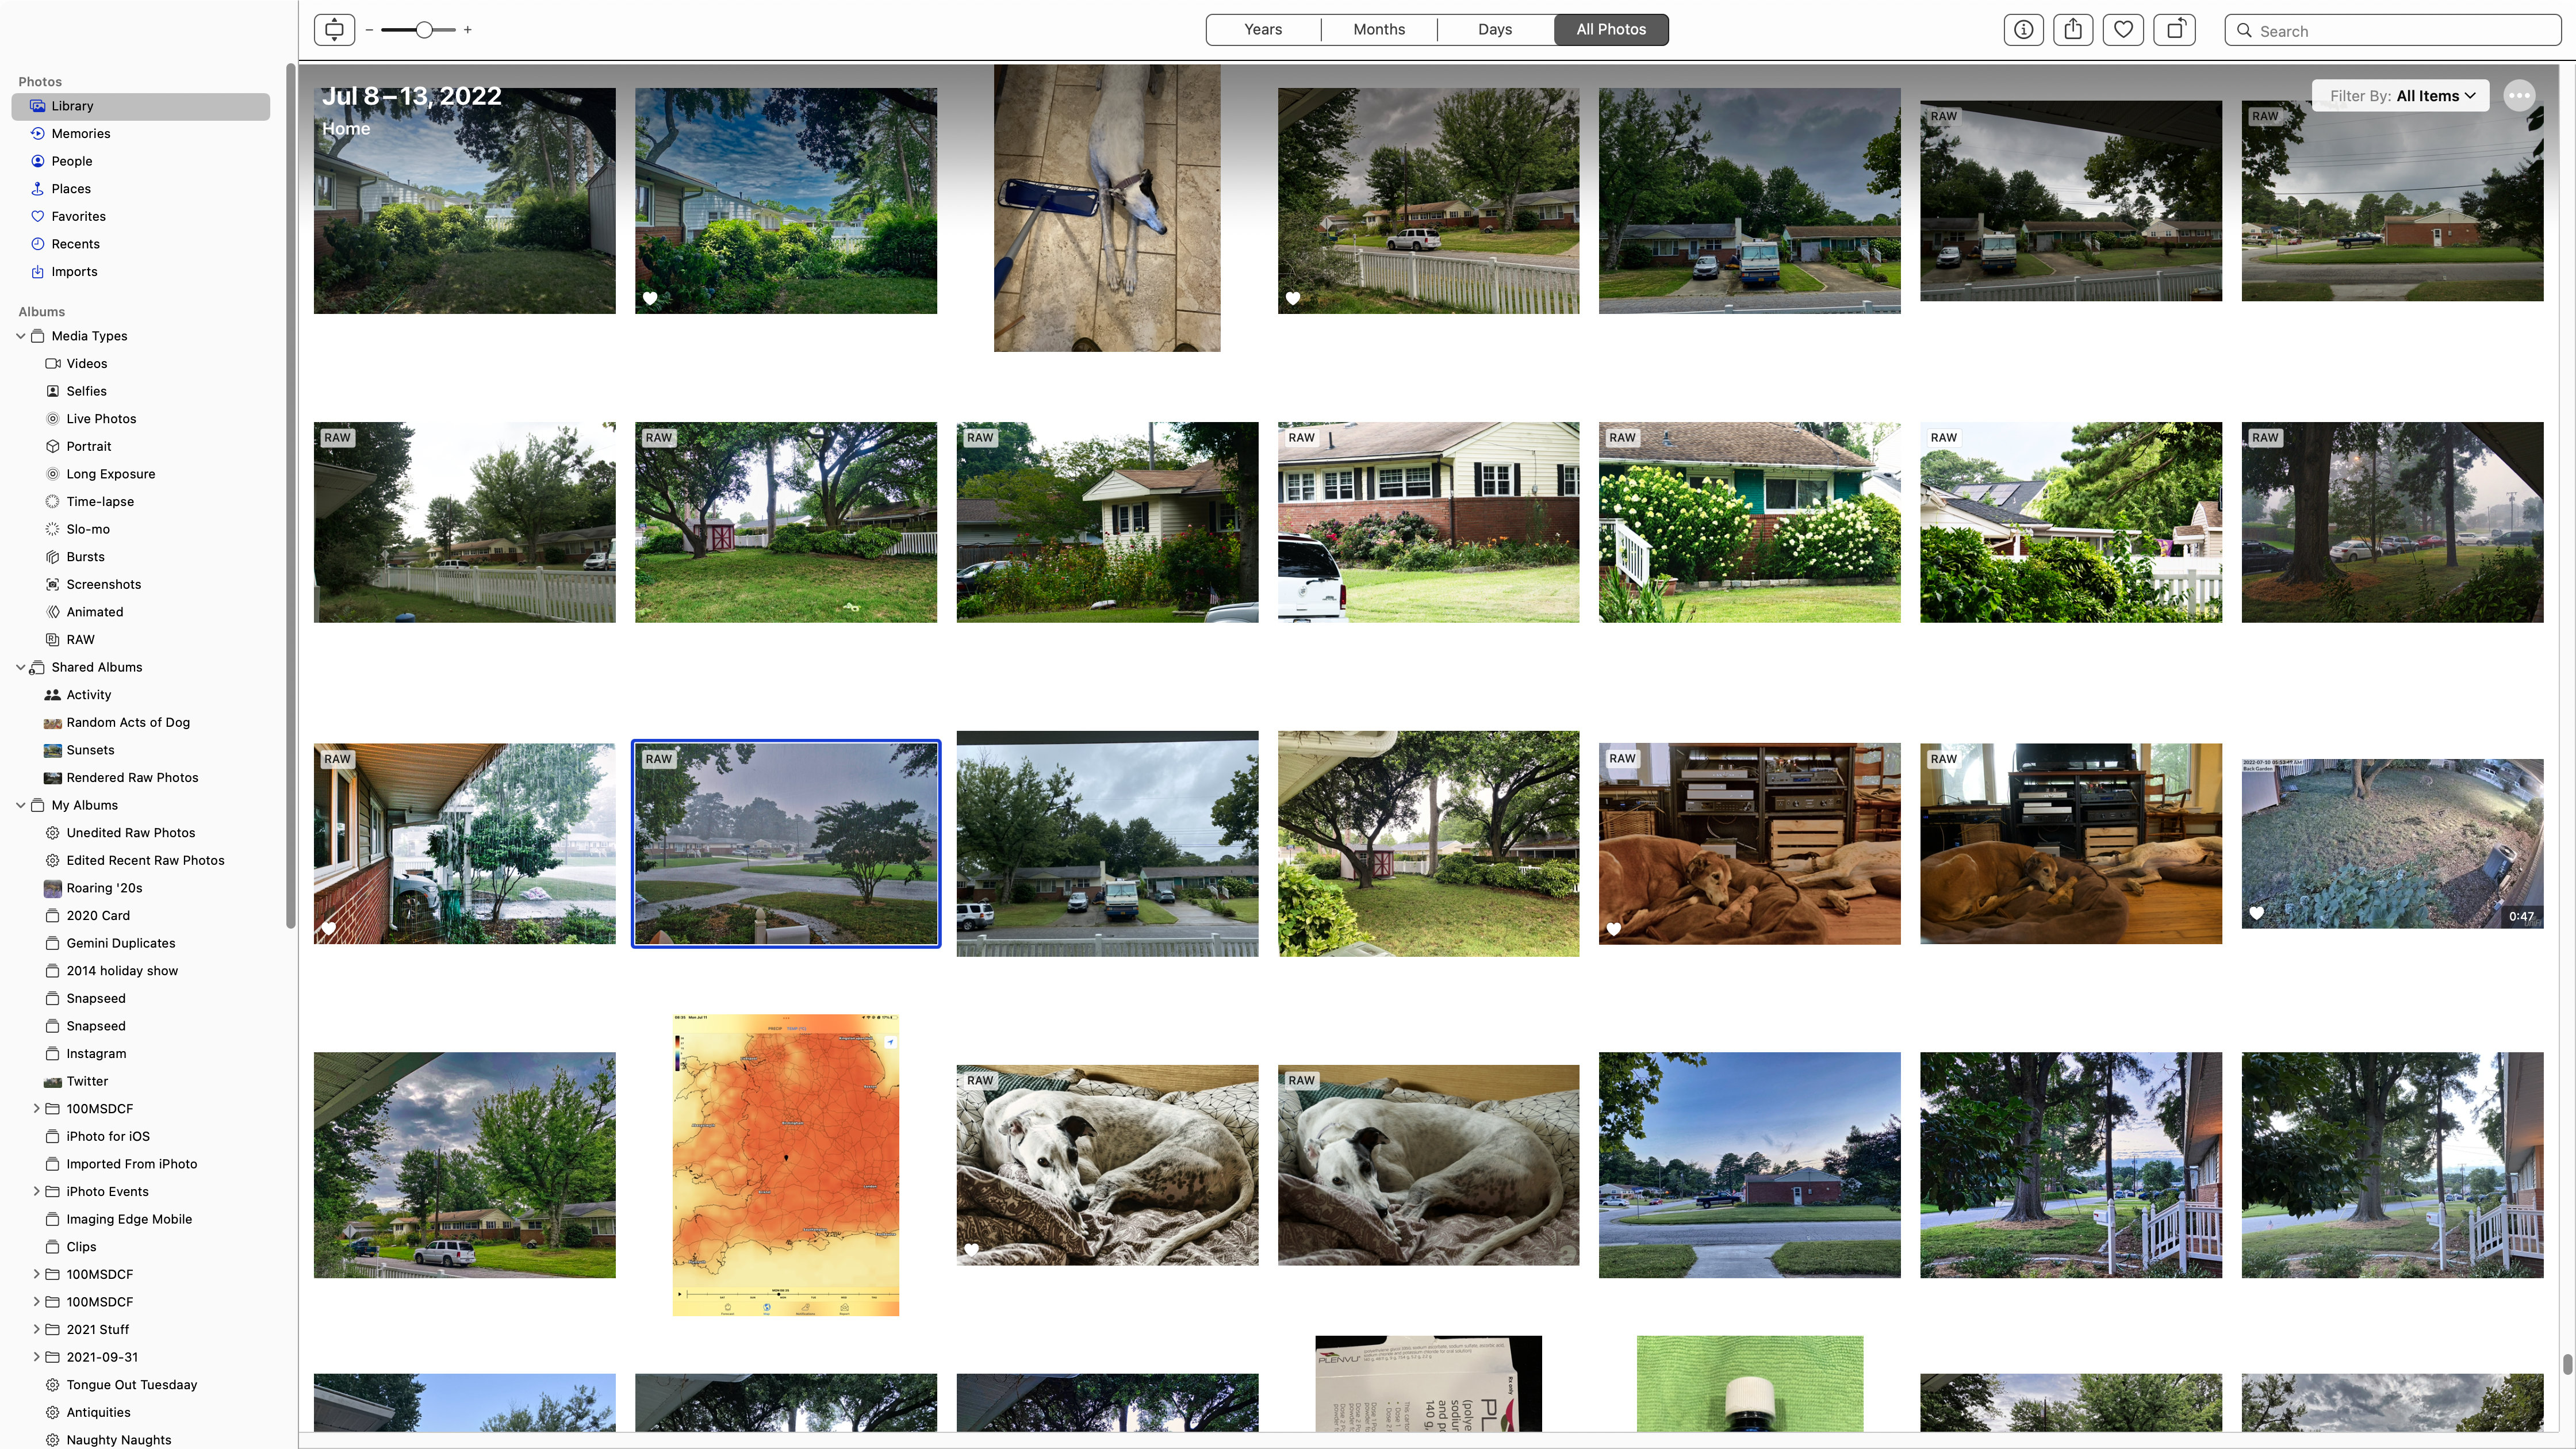
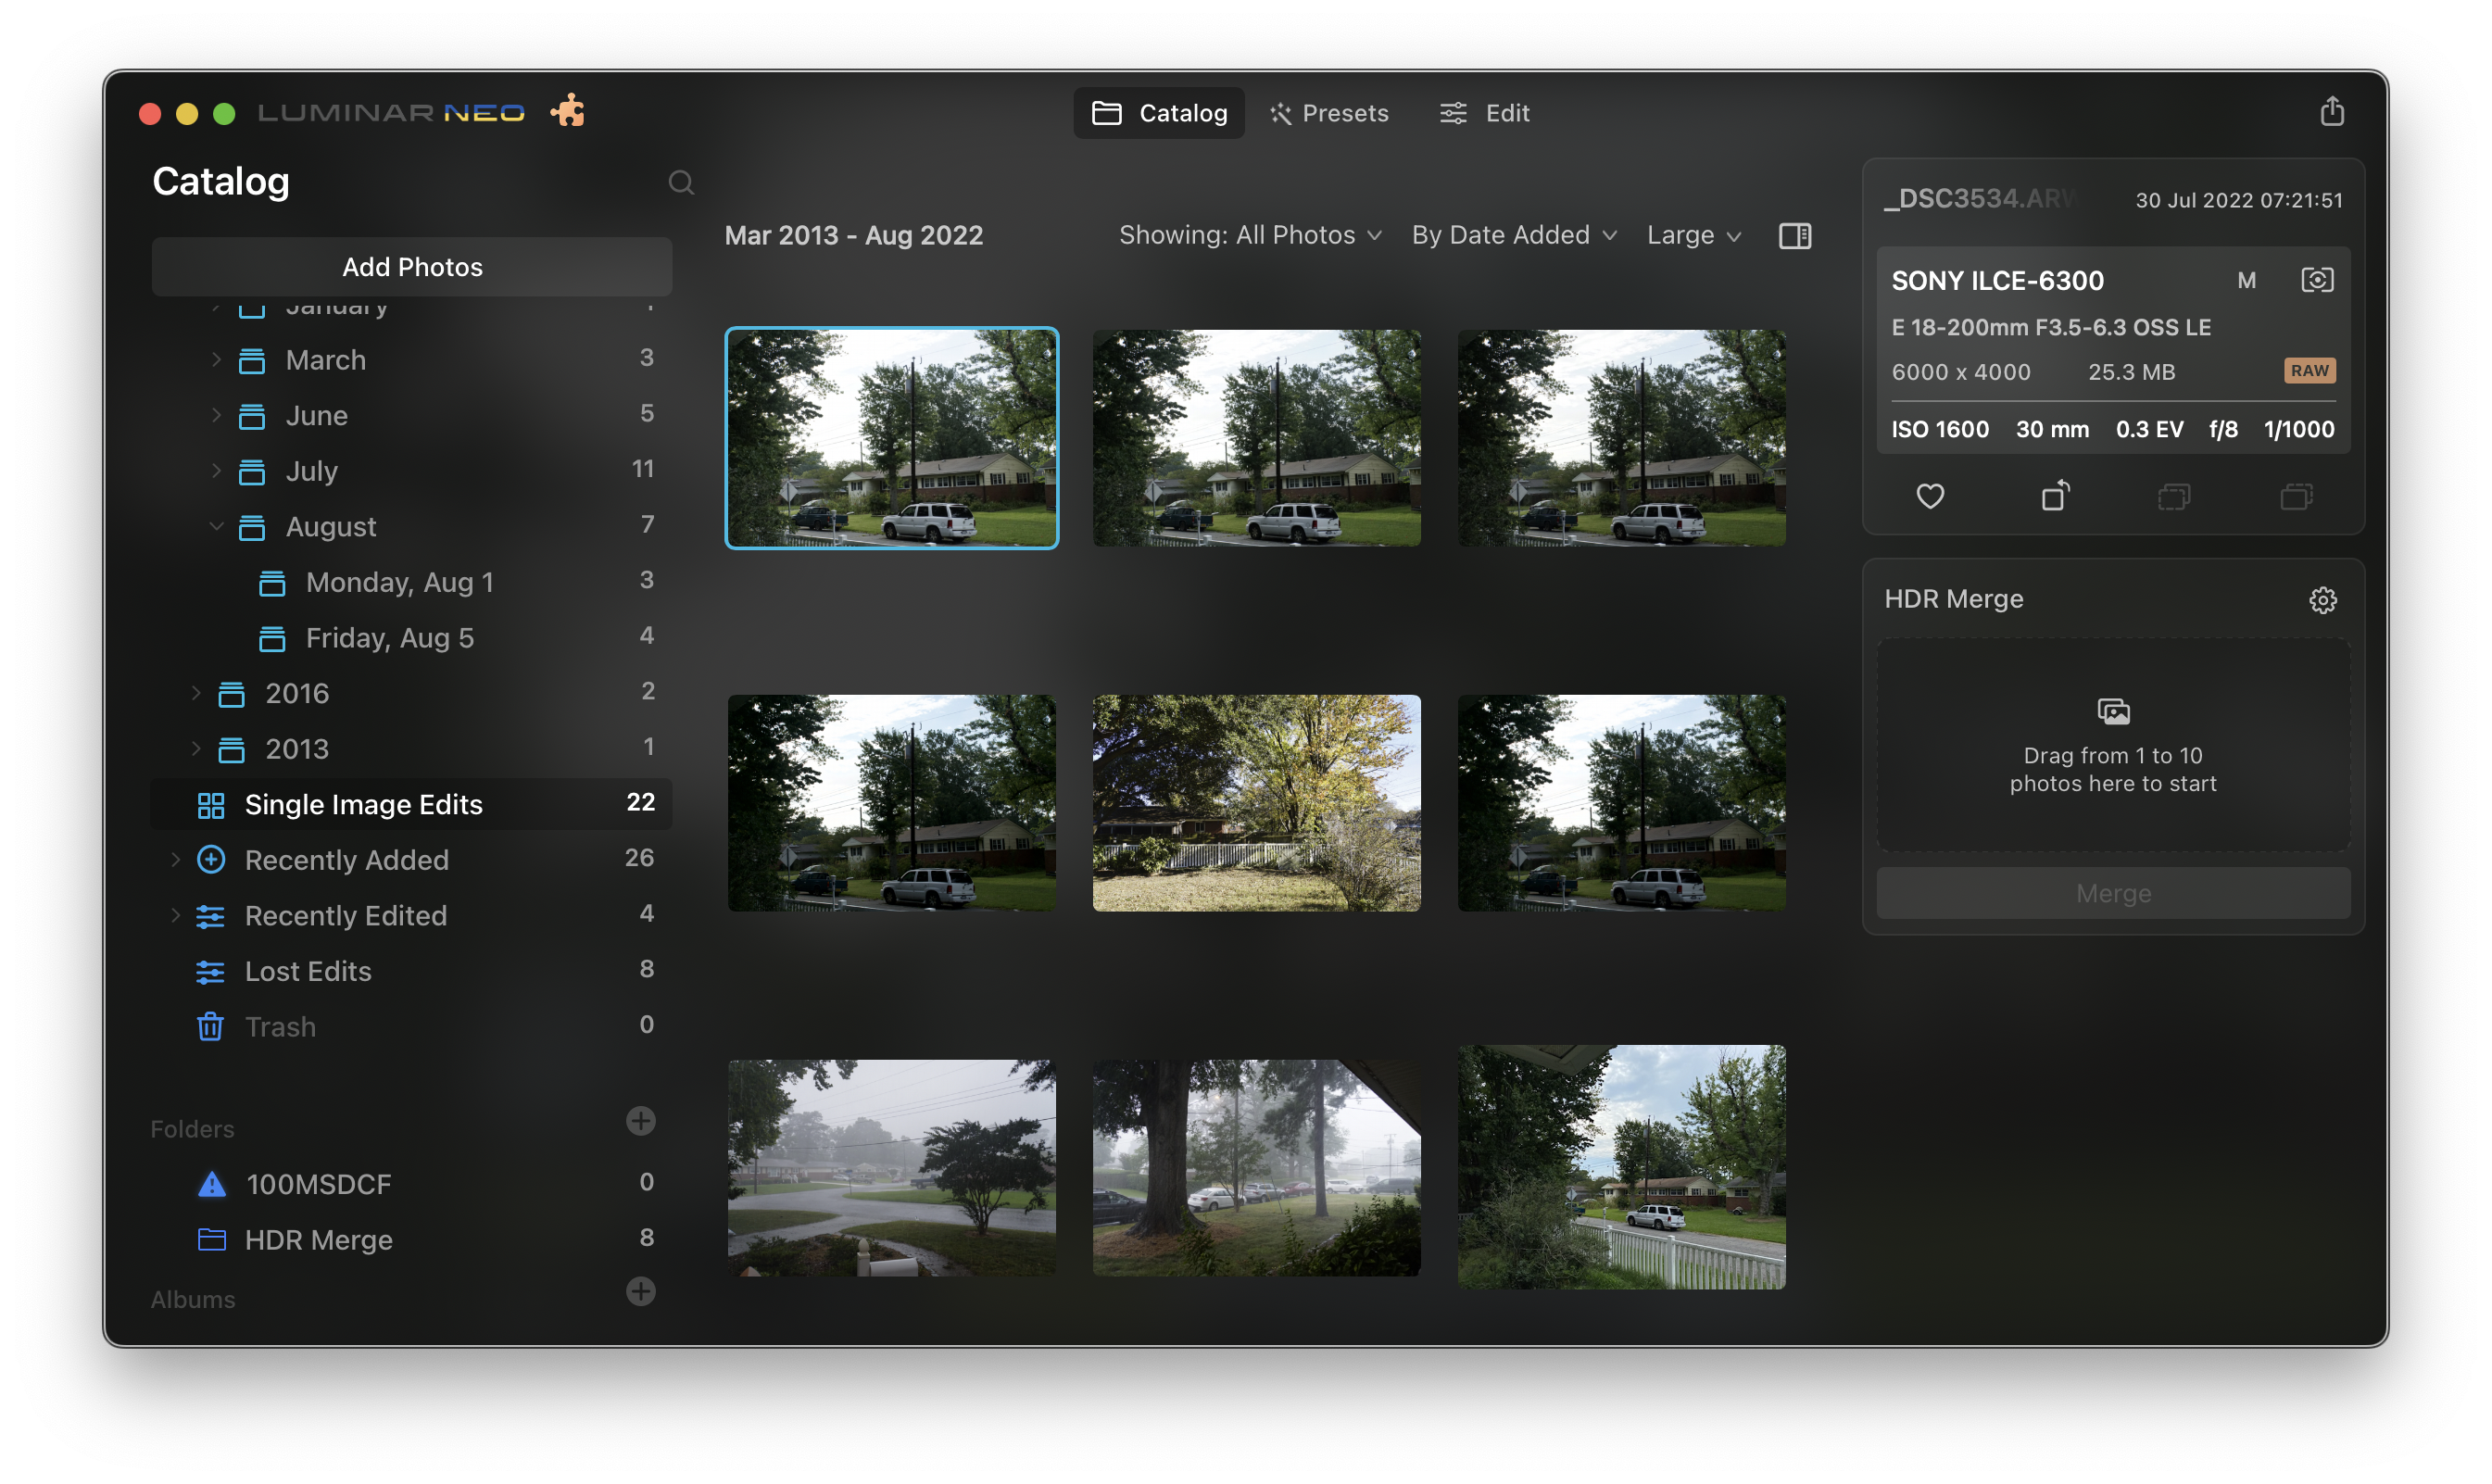
Apple does a lot of work to classify images and rank images. The view can be selected to Year, Month, Day, or all (a regular light table of thumbnails). This album is the best way I have found to locate images for reuse like adding to Twitter posts or this blog.
Everything ends up here. When an image is not a standard camera file (Apple is using .HEIC now), a badge indicates the additional file types available. So a Sony ARW file has a RAW badge.
When you switch from Album view to All Photos view, the badges appear.
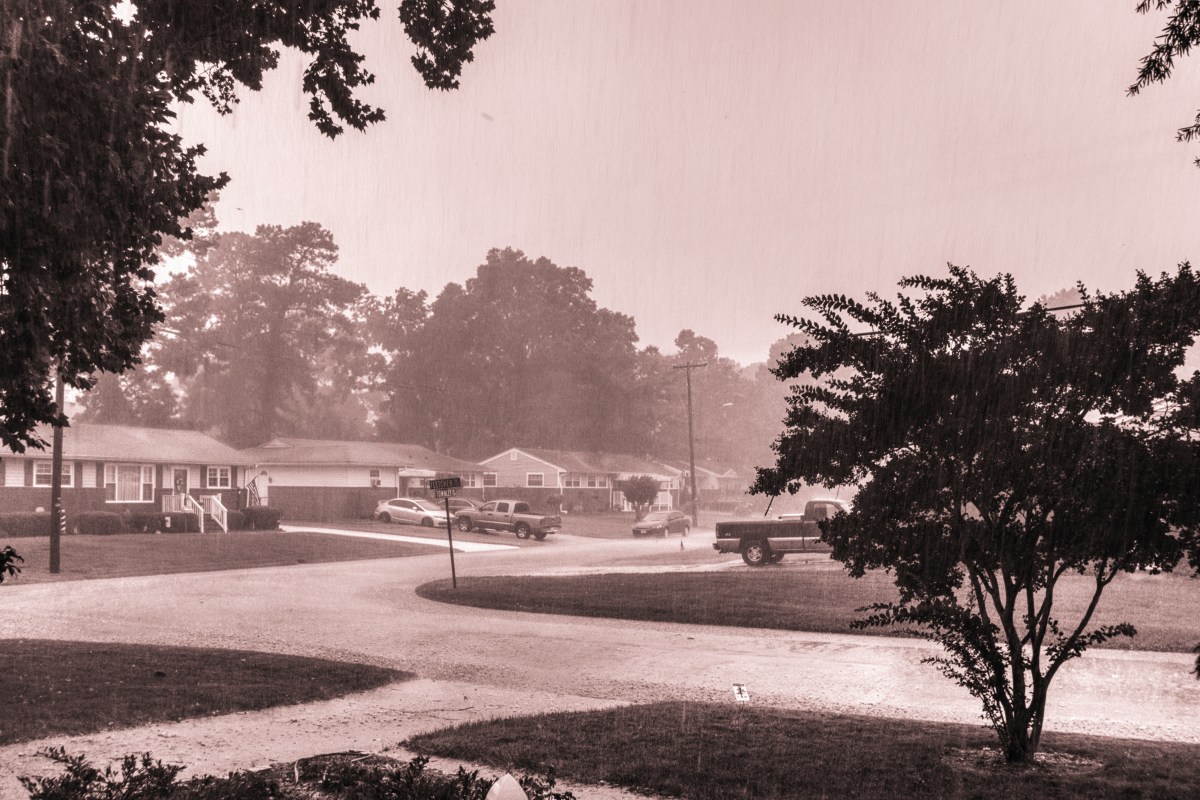
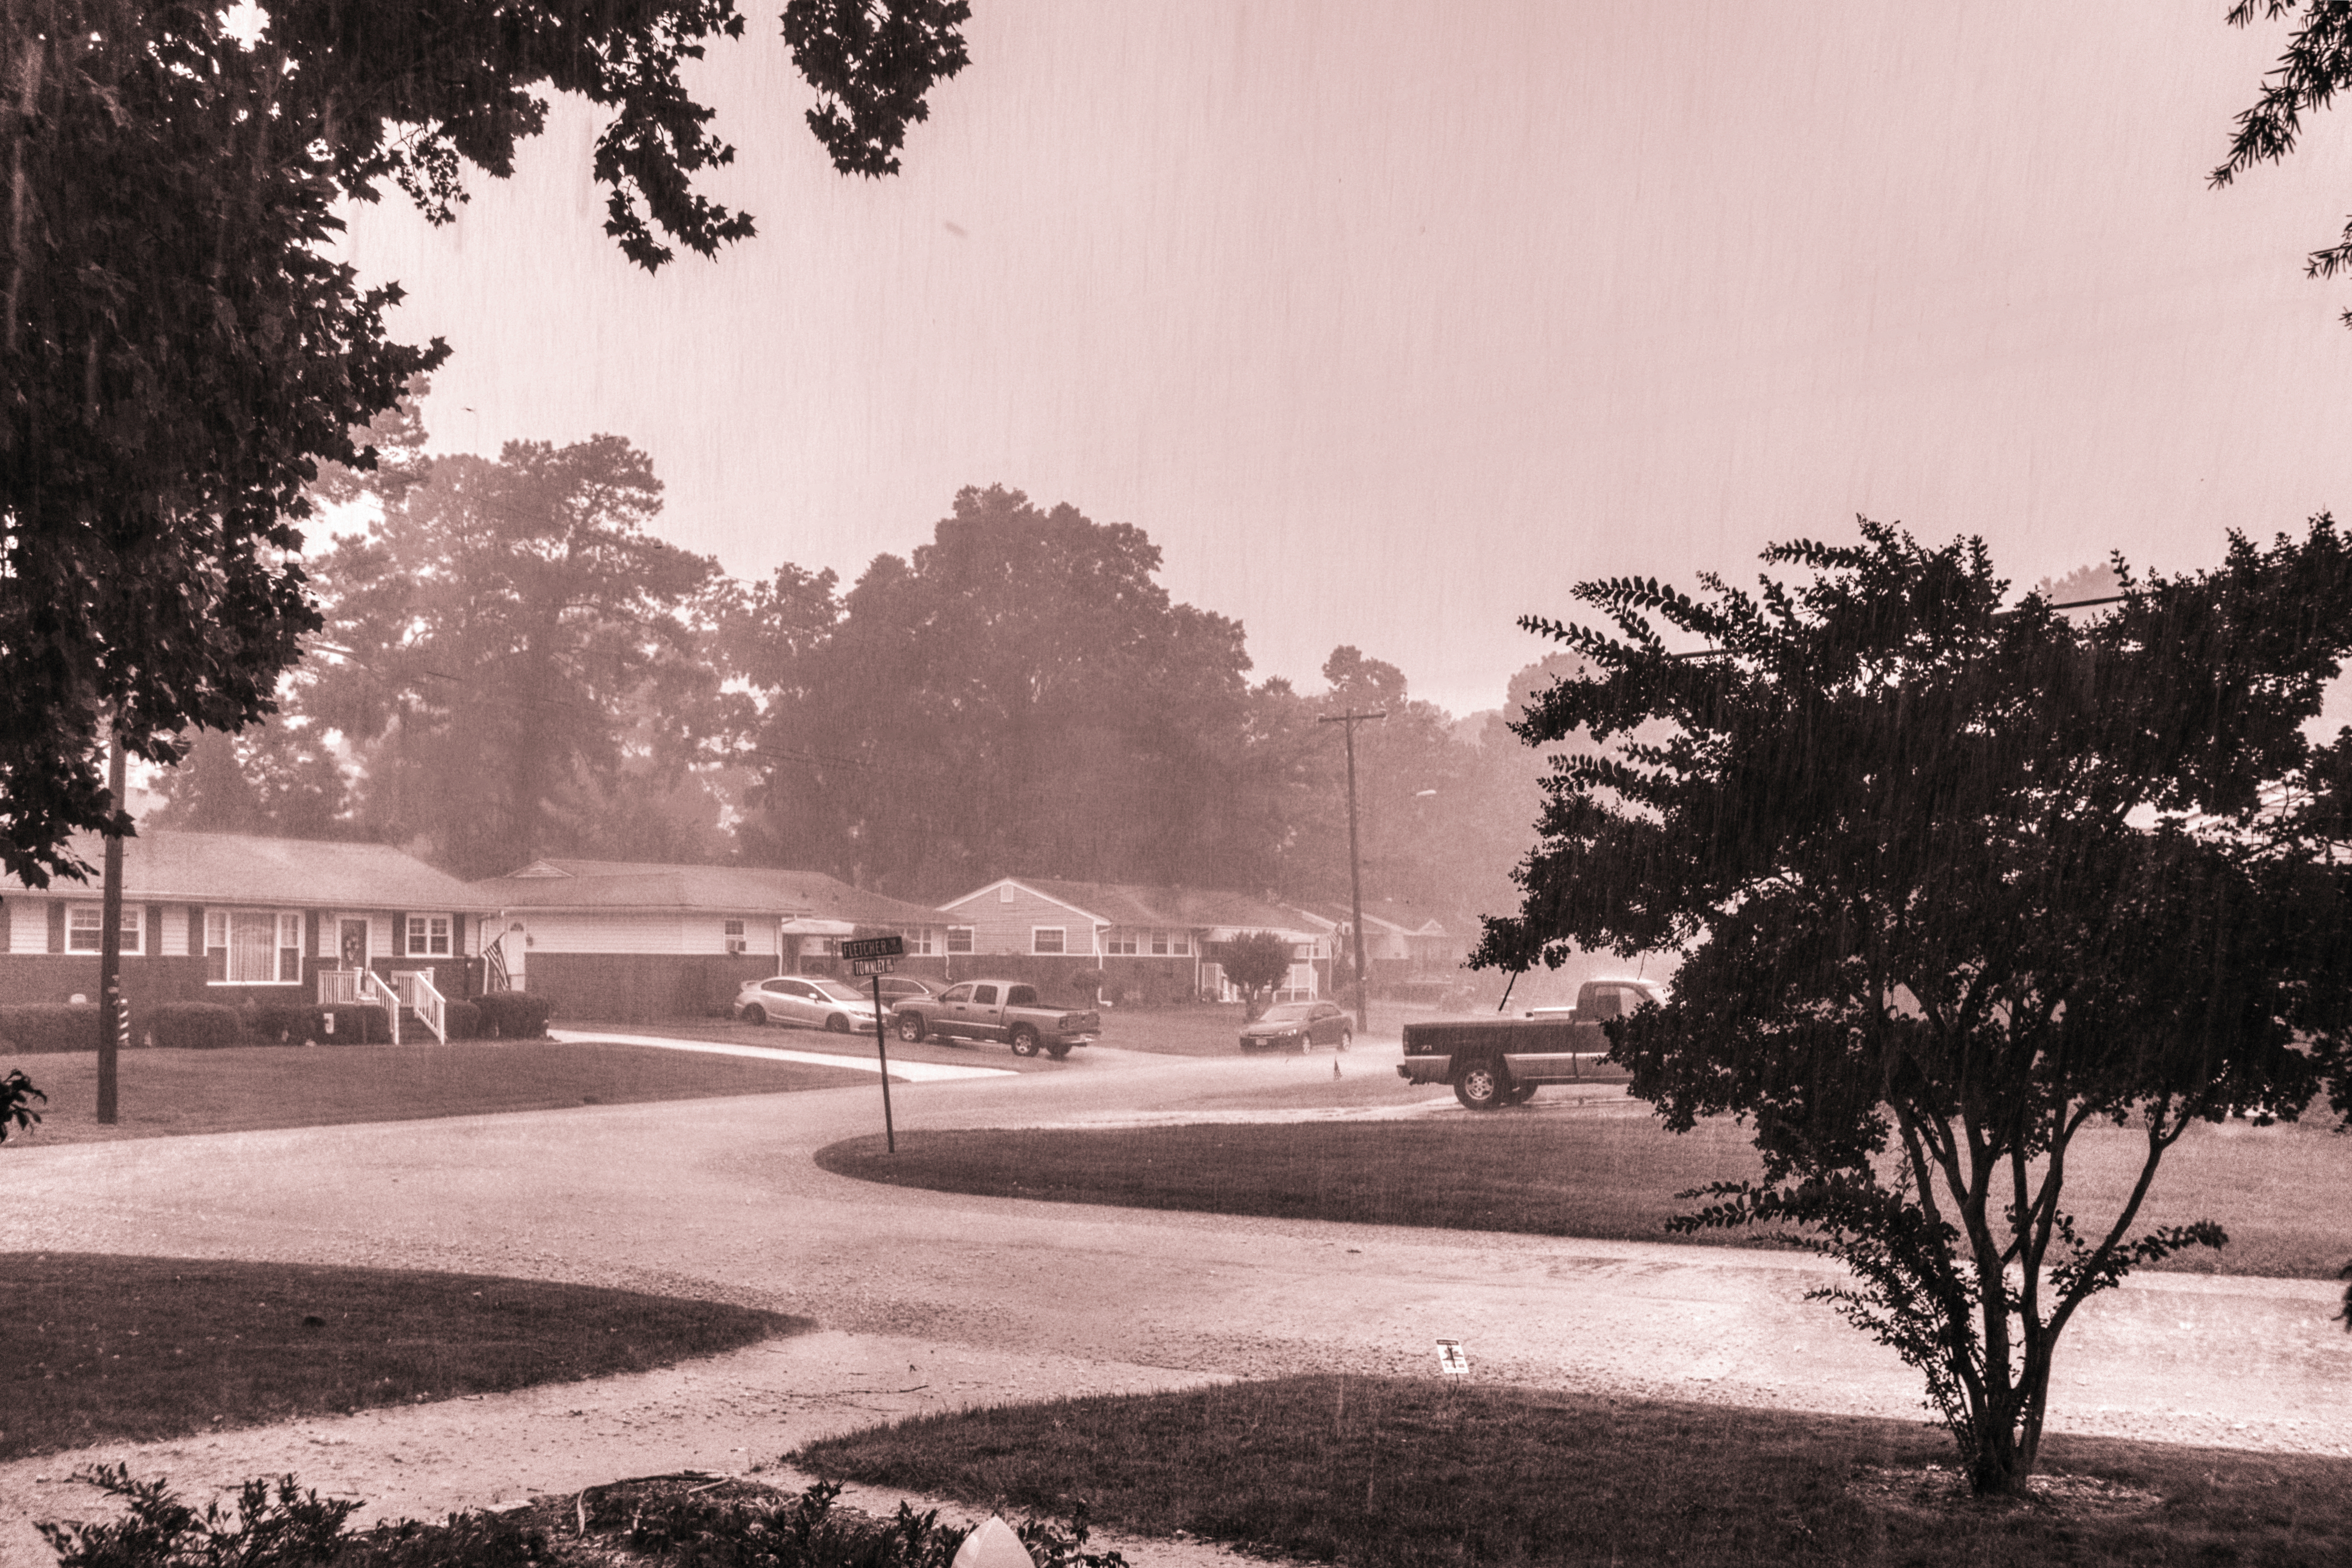
Third row second image became the sepia toned single image HDR appearing as the featured image. I chose this image because it was very low contrast originally. It needed careful processing to recover the falling rain. I did the original merge, worked through the develop options to make full use of screen dynamic range, then converted to monochrome and used the Toning tool to sepia tone the image. That yielded this result.
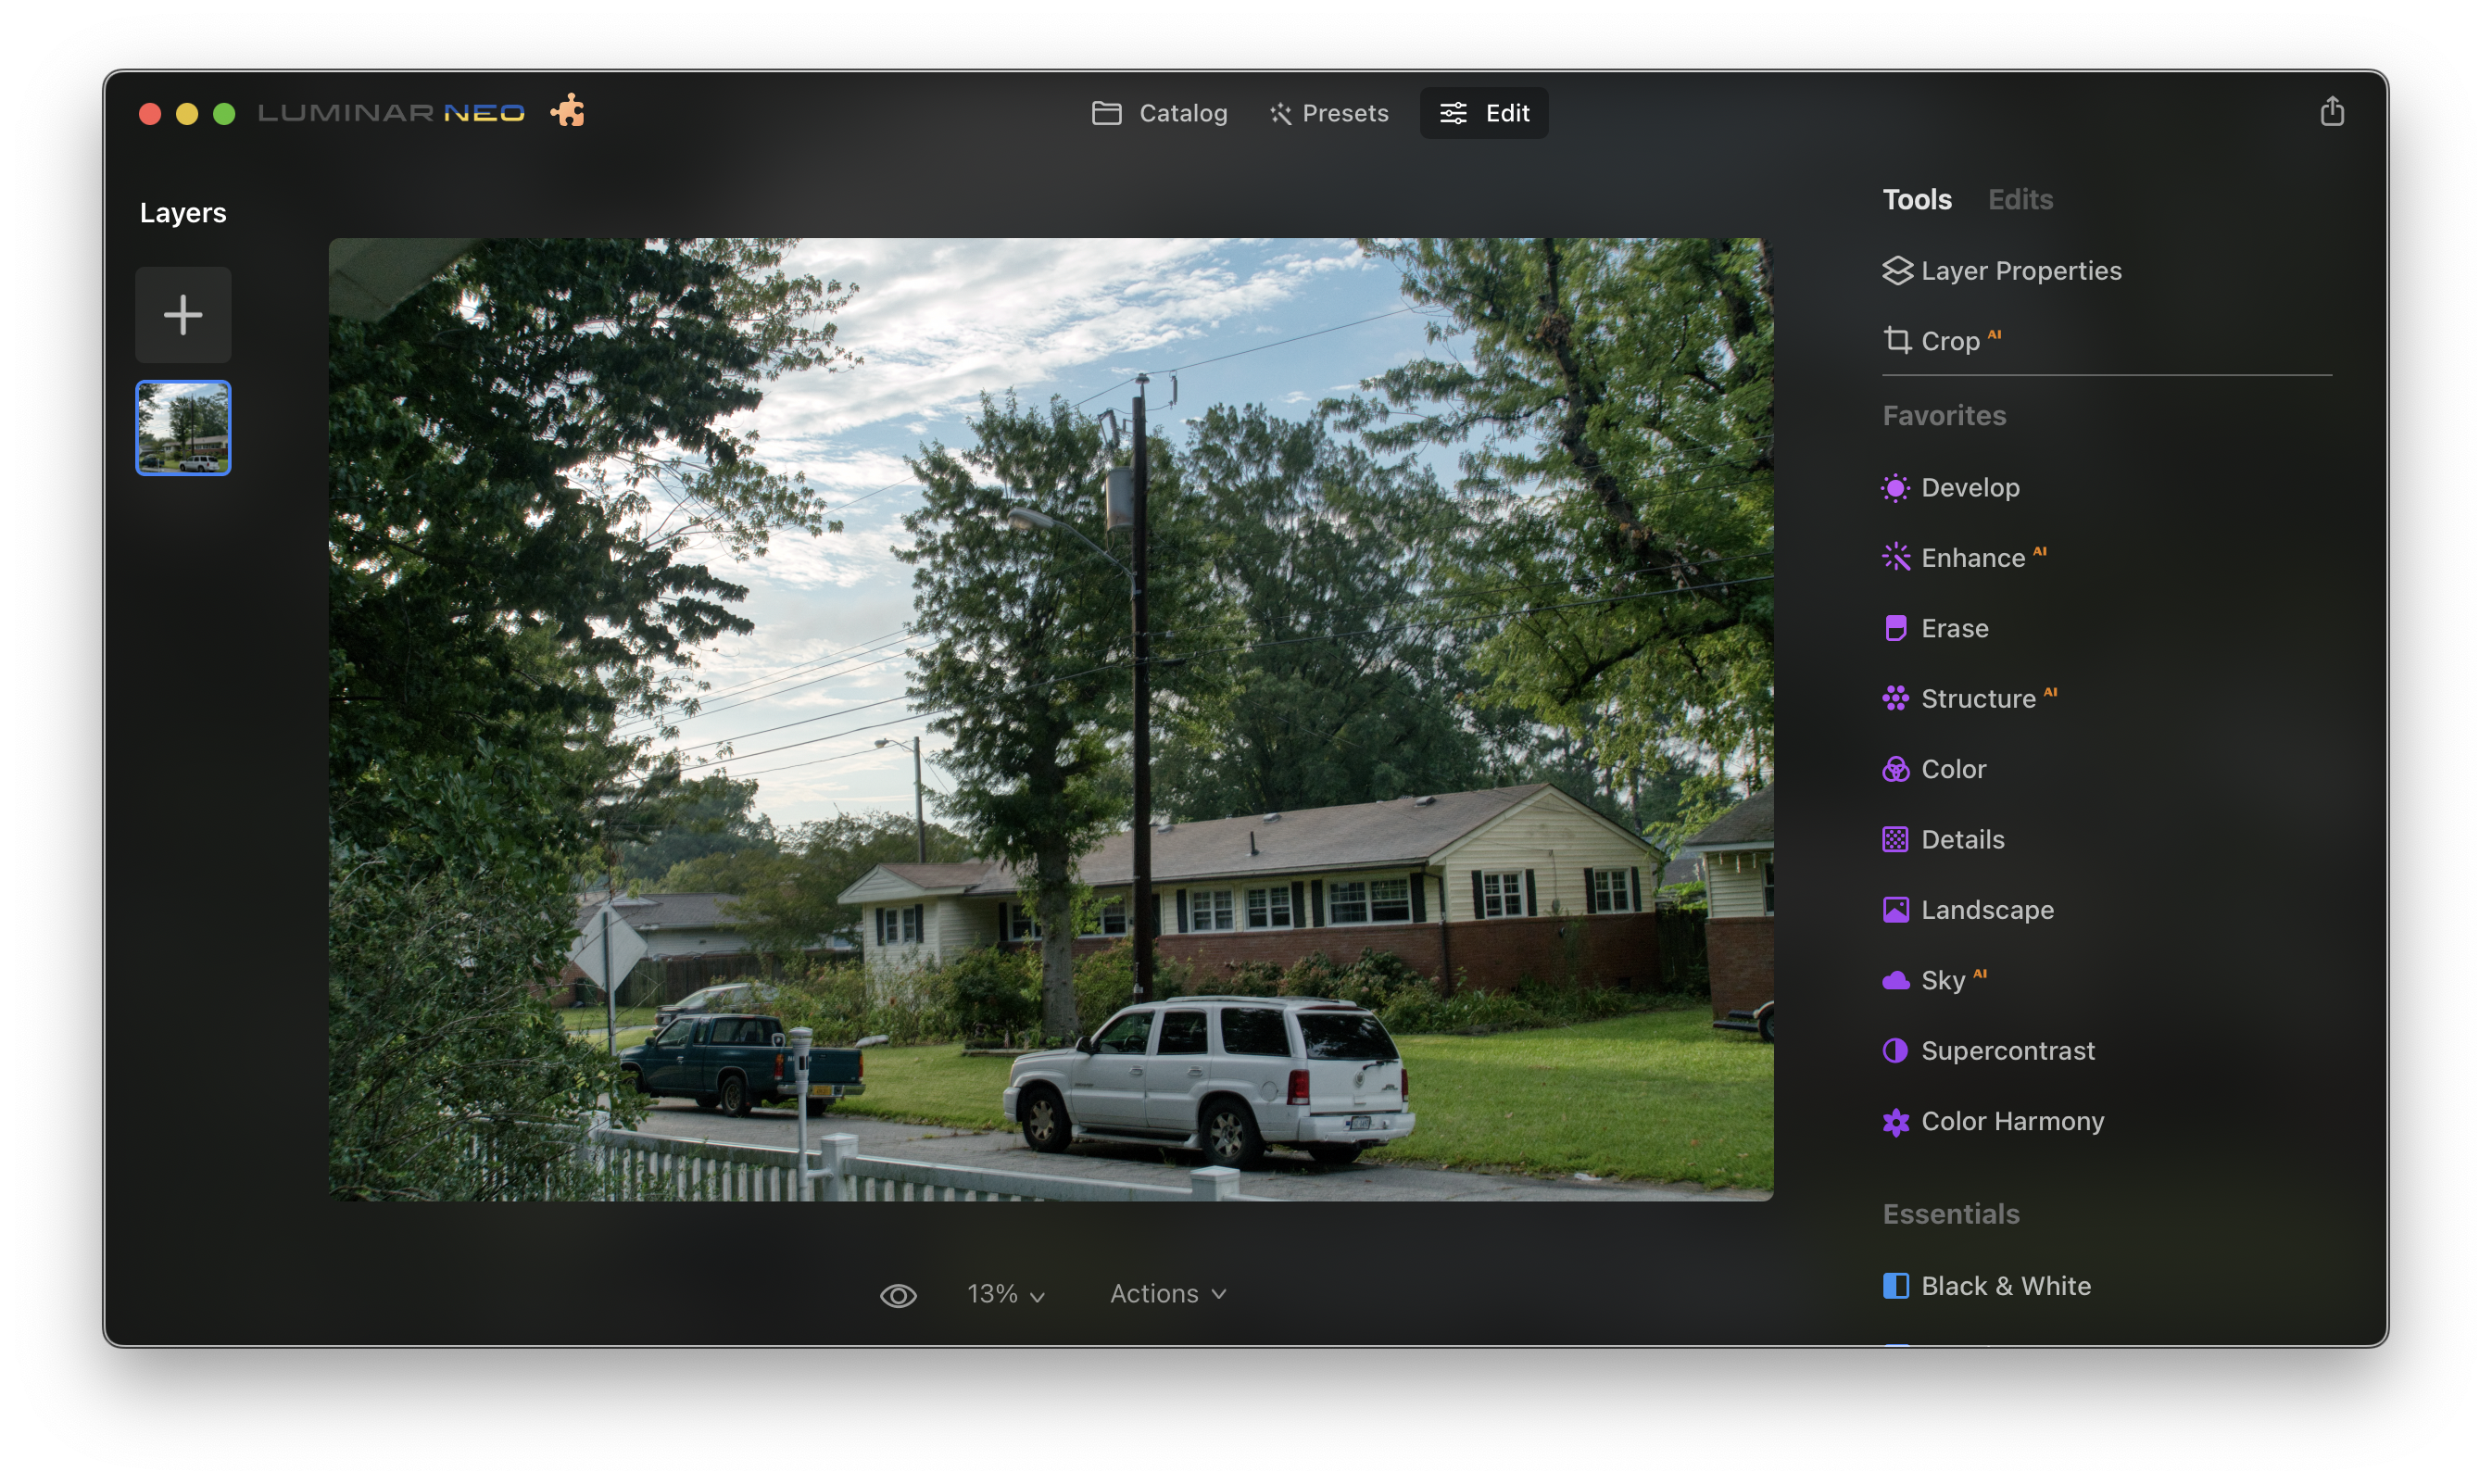
In Luminar Neo
The Jim Nix video shows how to do all this.
Start Luminar Neo. Once it is ready, open the catalog you are working with. I’m using 2022 Luminar Neo. Find the image in Photos. Switch to All Images view and select the image to be rendered. If bracket set, select all the members of the bracket set. Export them as unmodified originals to the file system.
In Luminar Neo select Add Photos. Drag and Drop the selected images just exported to the Luminar Add file chooser. The pane will grab the drop event, identify the file path names, and add the images. Don’t drag and drop Photos selections as Photos will do a “help” converting them from ARW to its favorite format of the OS release. It will warn you by notification though.
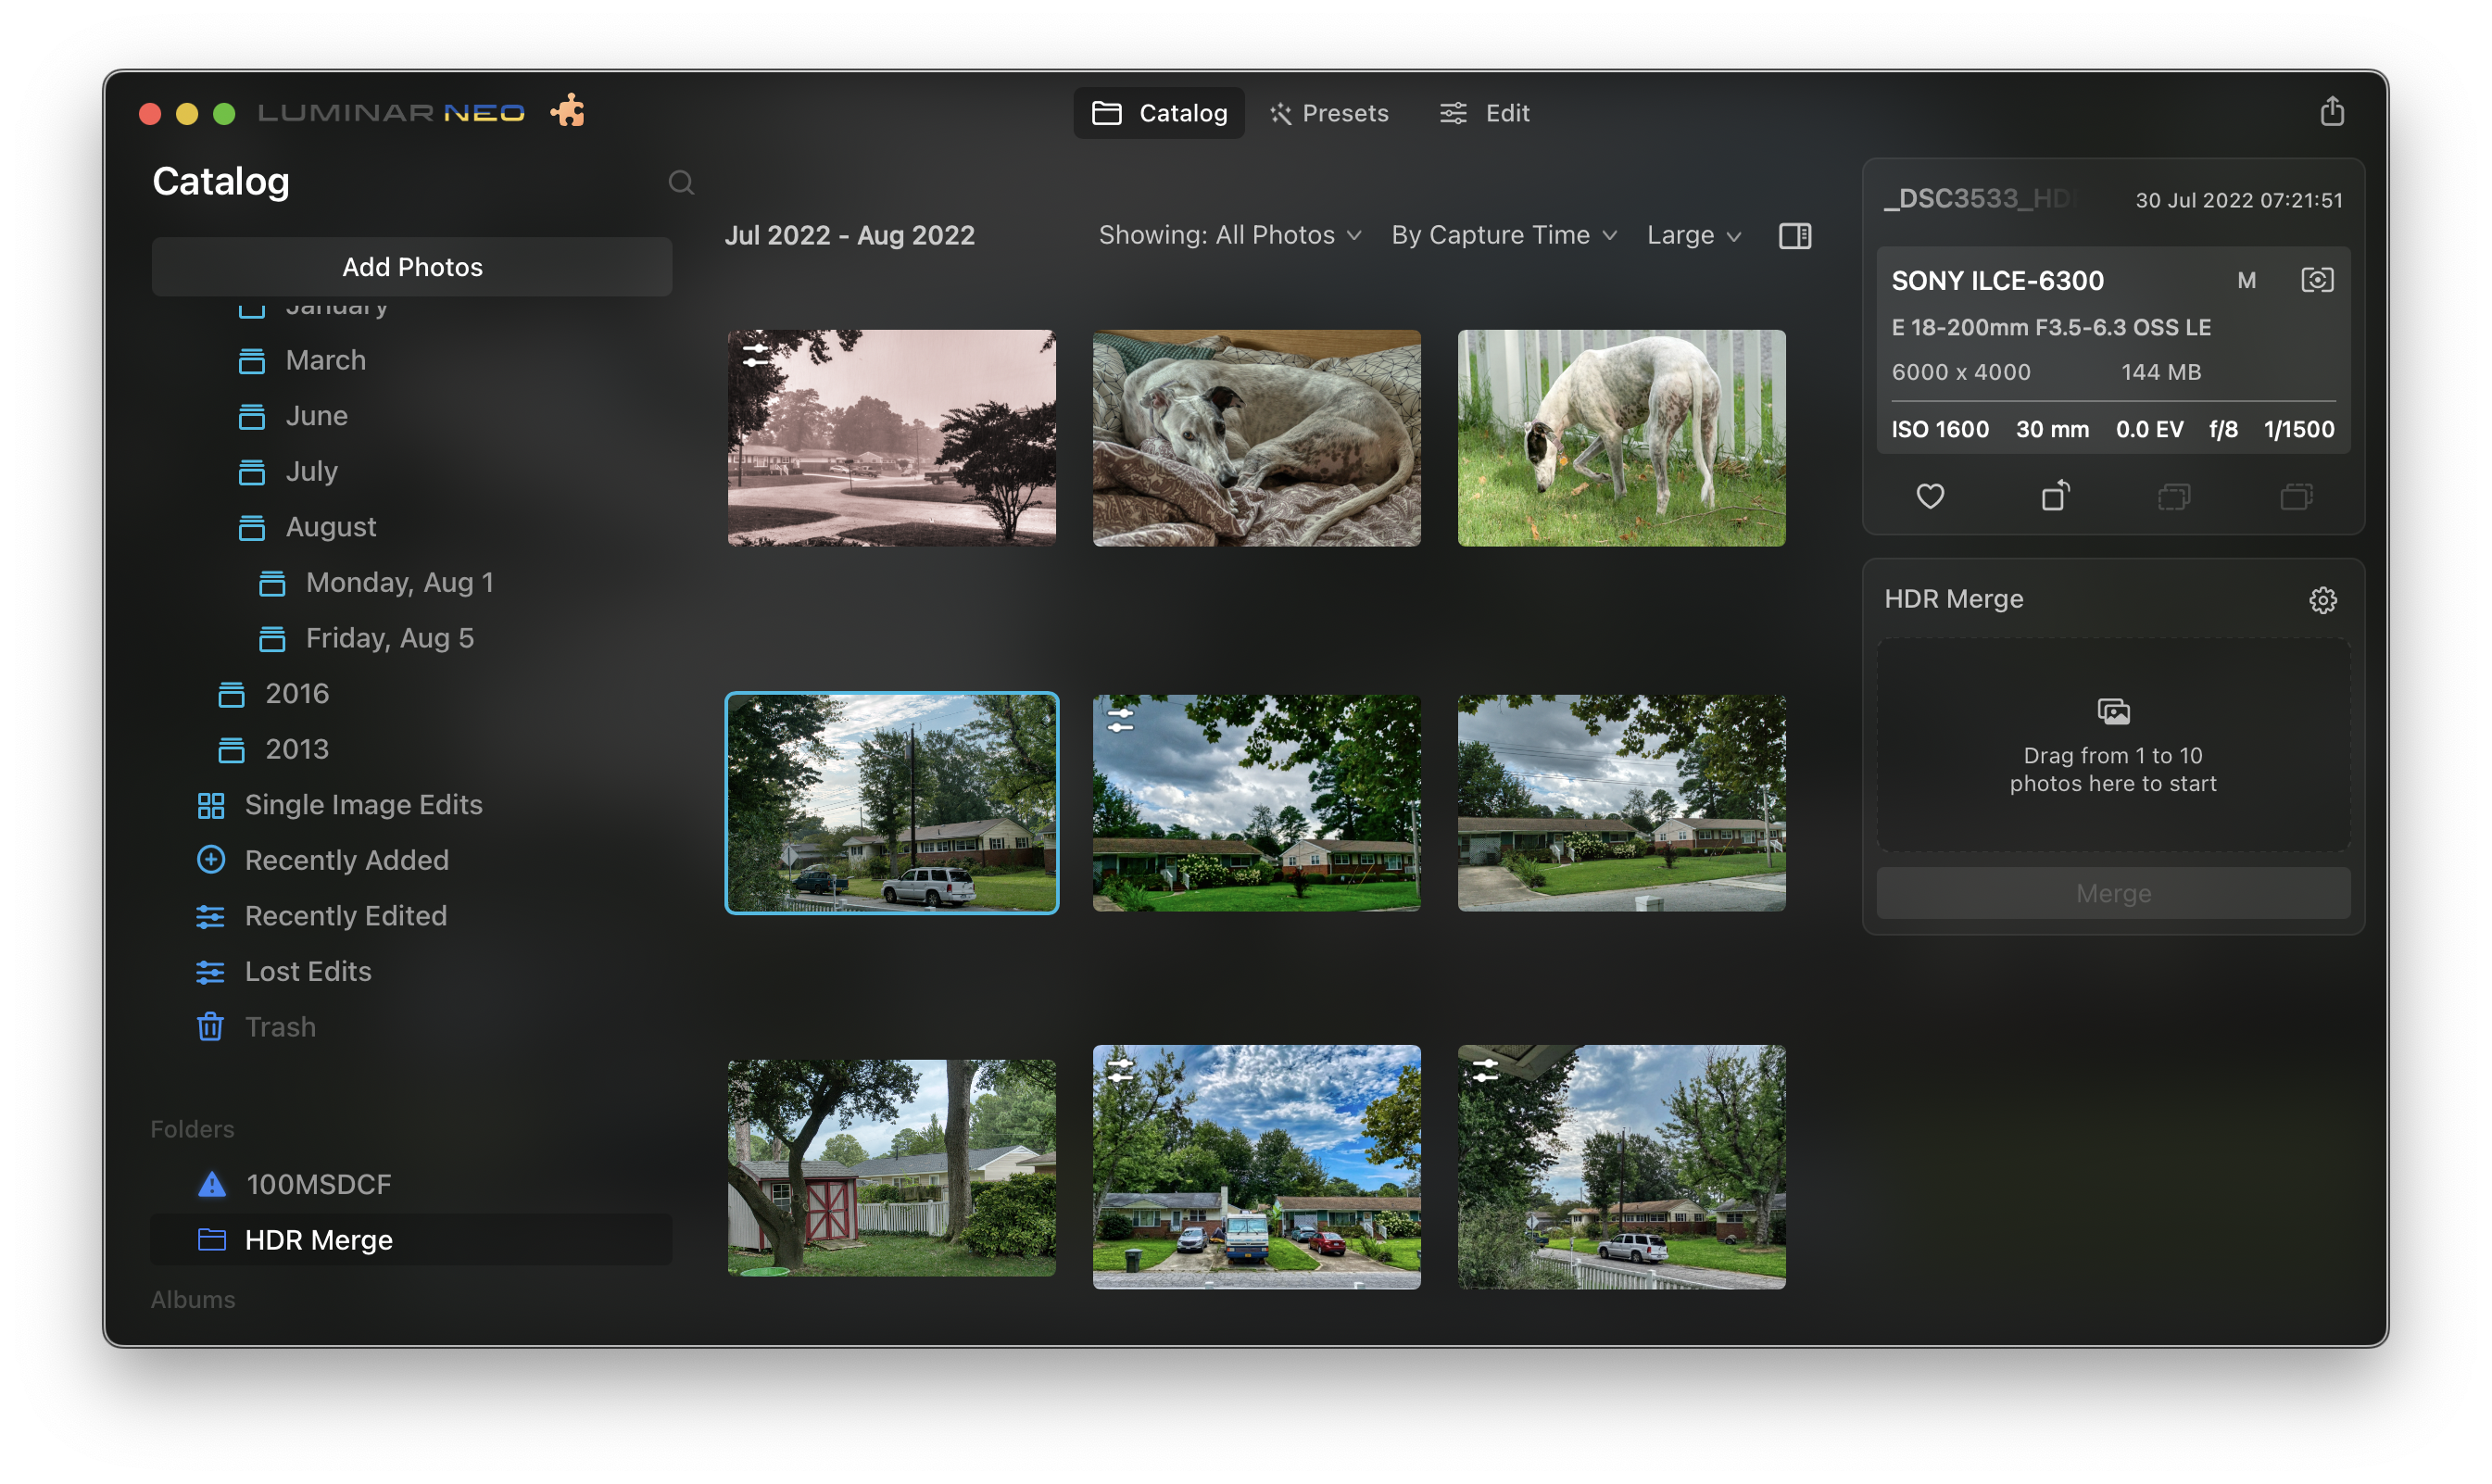
In Luminar, return to the catalog view. Select the images to be processed and drag to the HDR Merge tool on the right sidebar. Neo will open the files, merge, and return the merged result to the catalog replacing the precursor images with the HDR thumbnail.

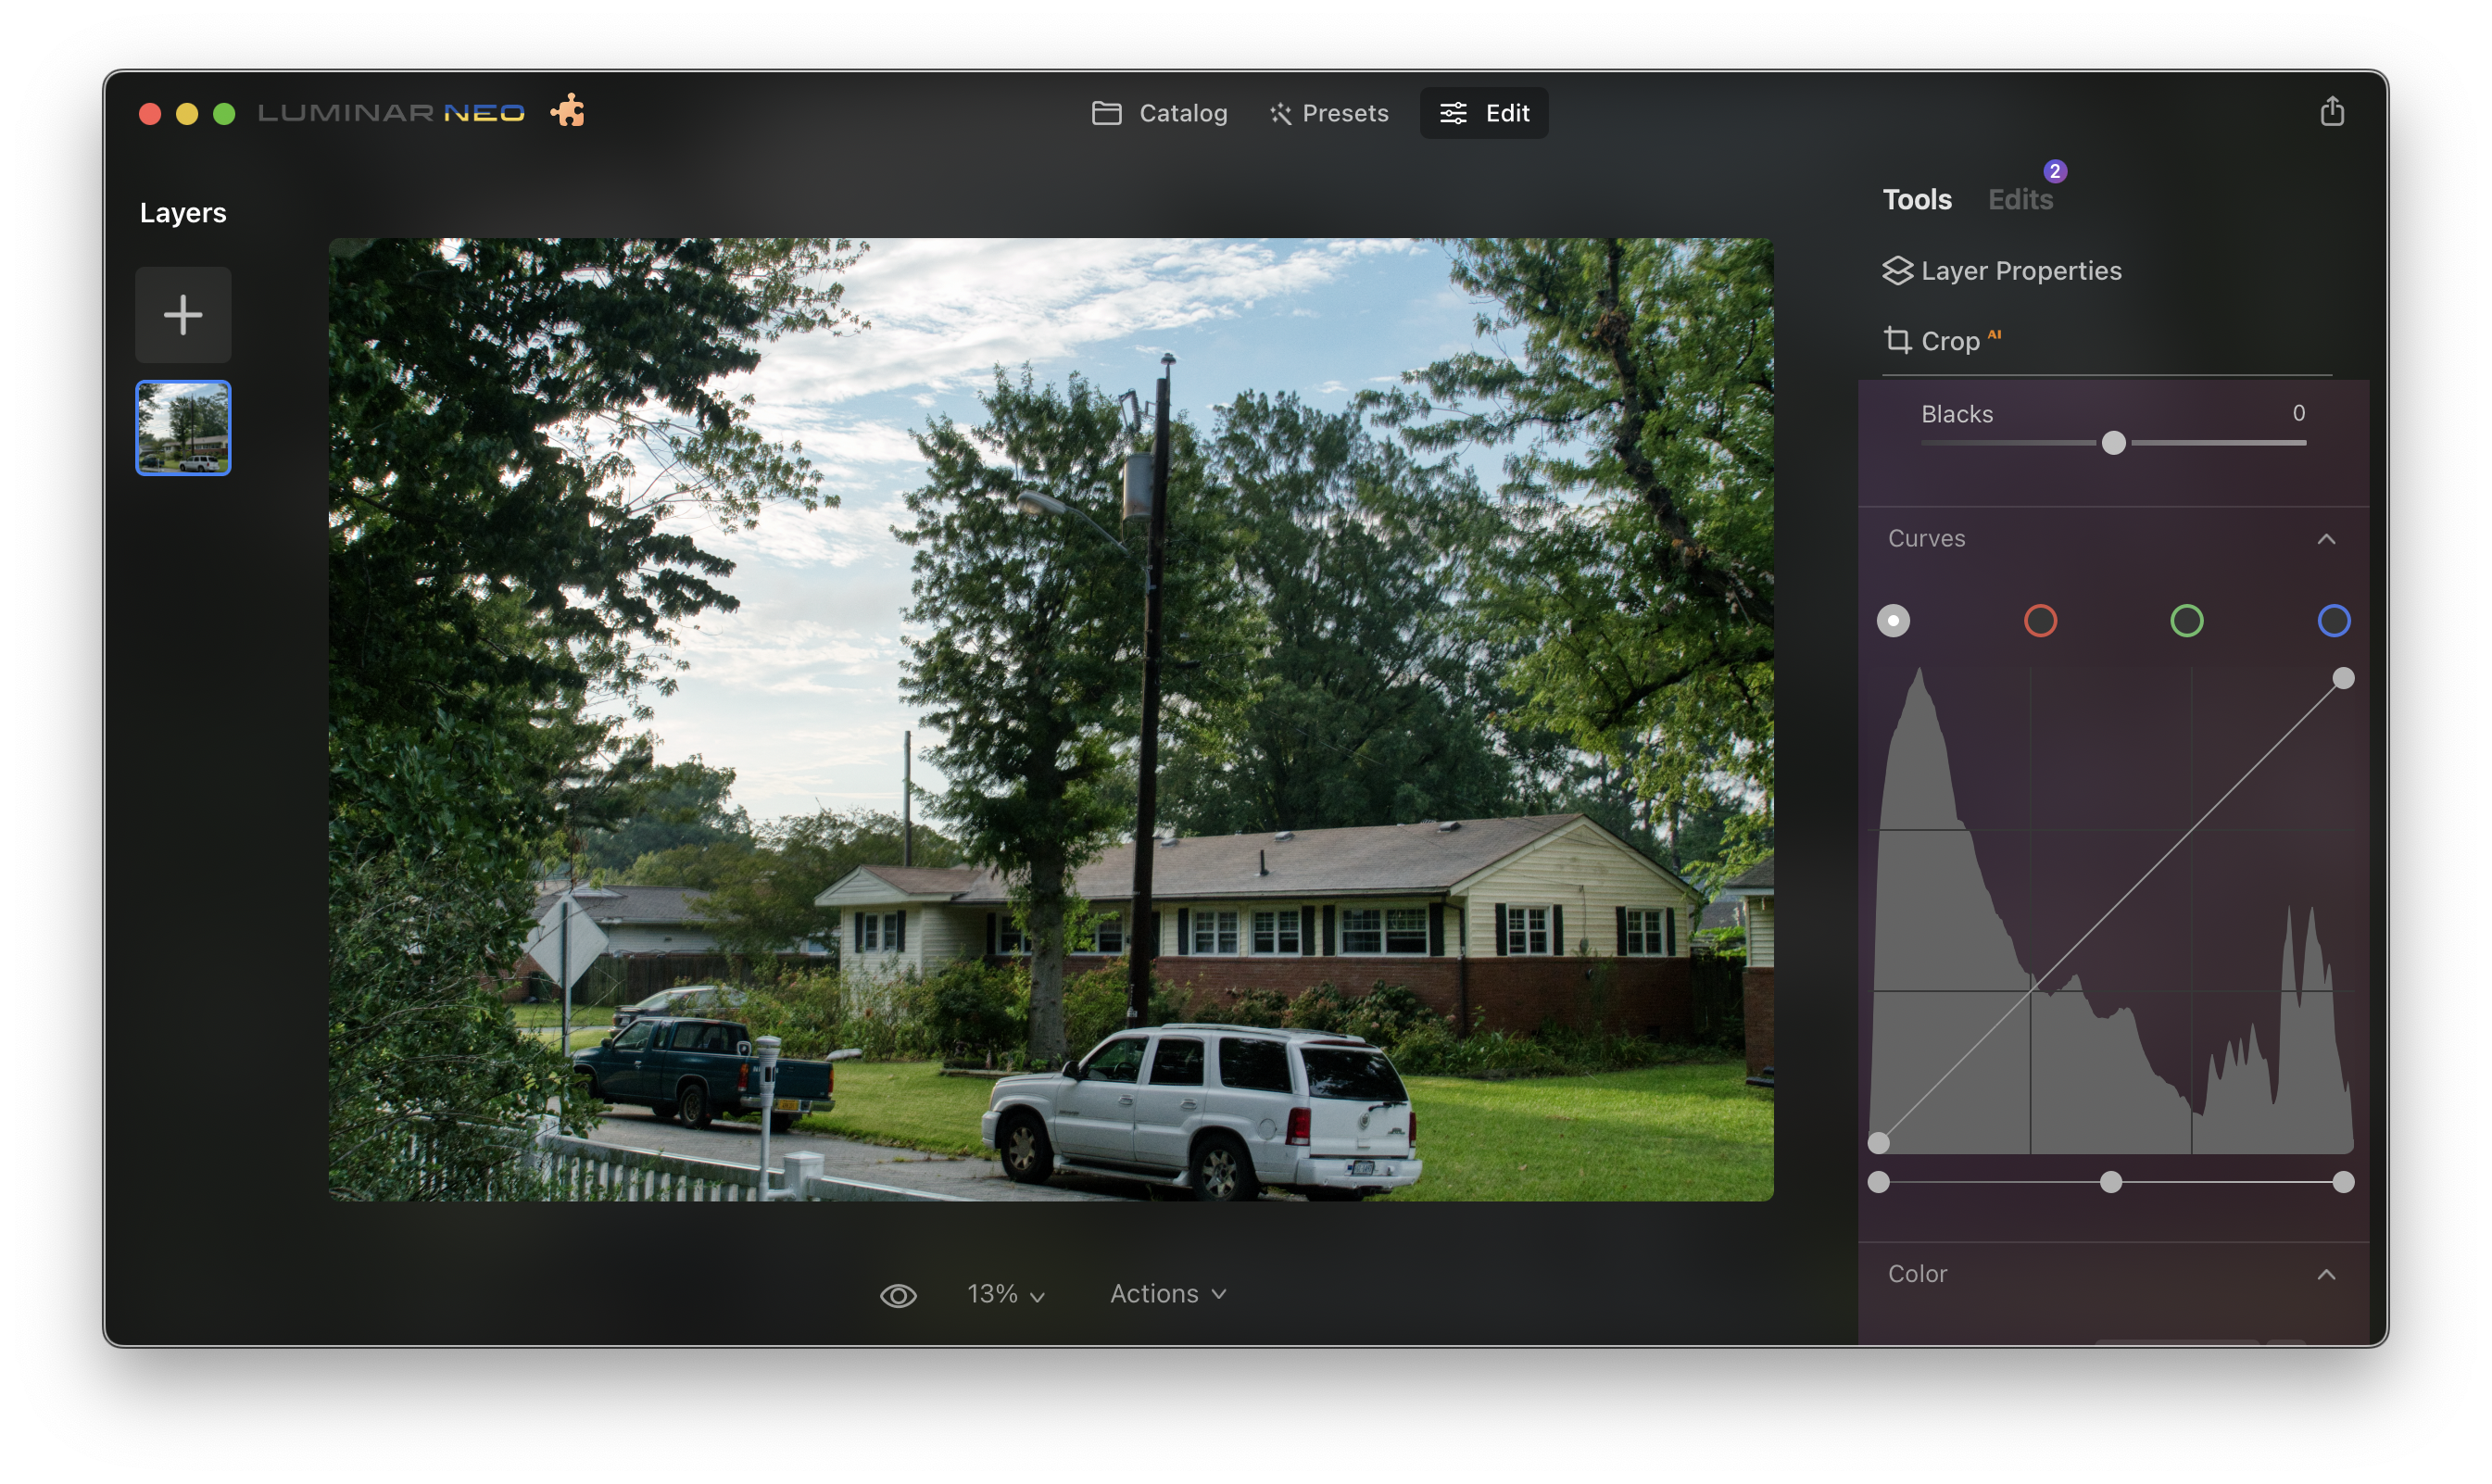
Once the thumbnail is in the catalog, the HDR product may be edited using normal Luminar Neo workflow.
Once edited, export the image to return it to Photos or save in the file system.
What HDR Merge does
HDR Merge scales the images so they can be aligned. It merges the bracket set into a single image that is then analyzed for luminosity. The luminosity is scaled to spread the pixel exposure values from minimum black to maximum white as shown in the histogram.
And here is the finished result after adding some enhancement, landscape foliage enhancement, and structure. The grass was masked off and brilliance and saturation reduced so it was not competing with the trees for attention.
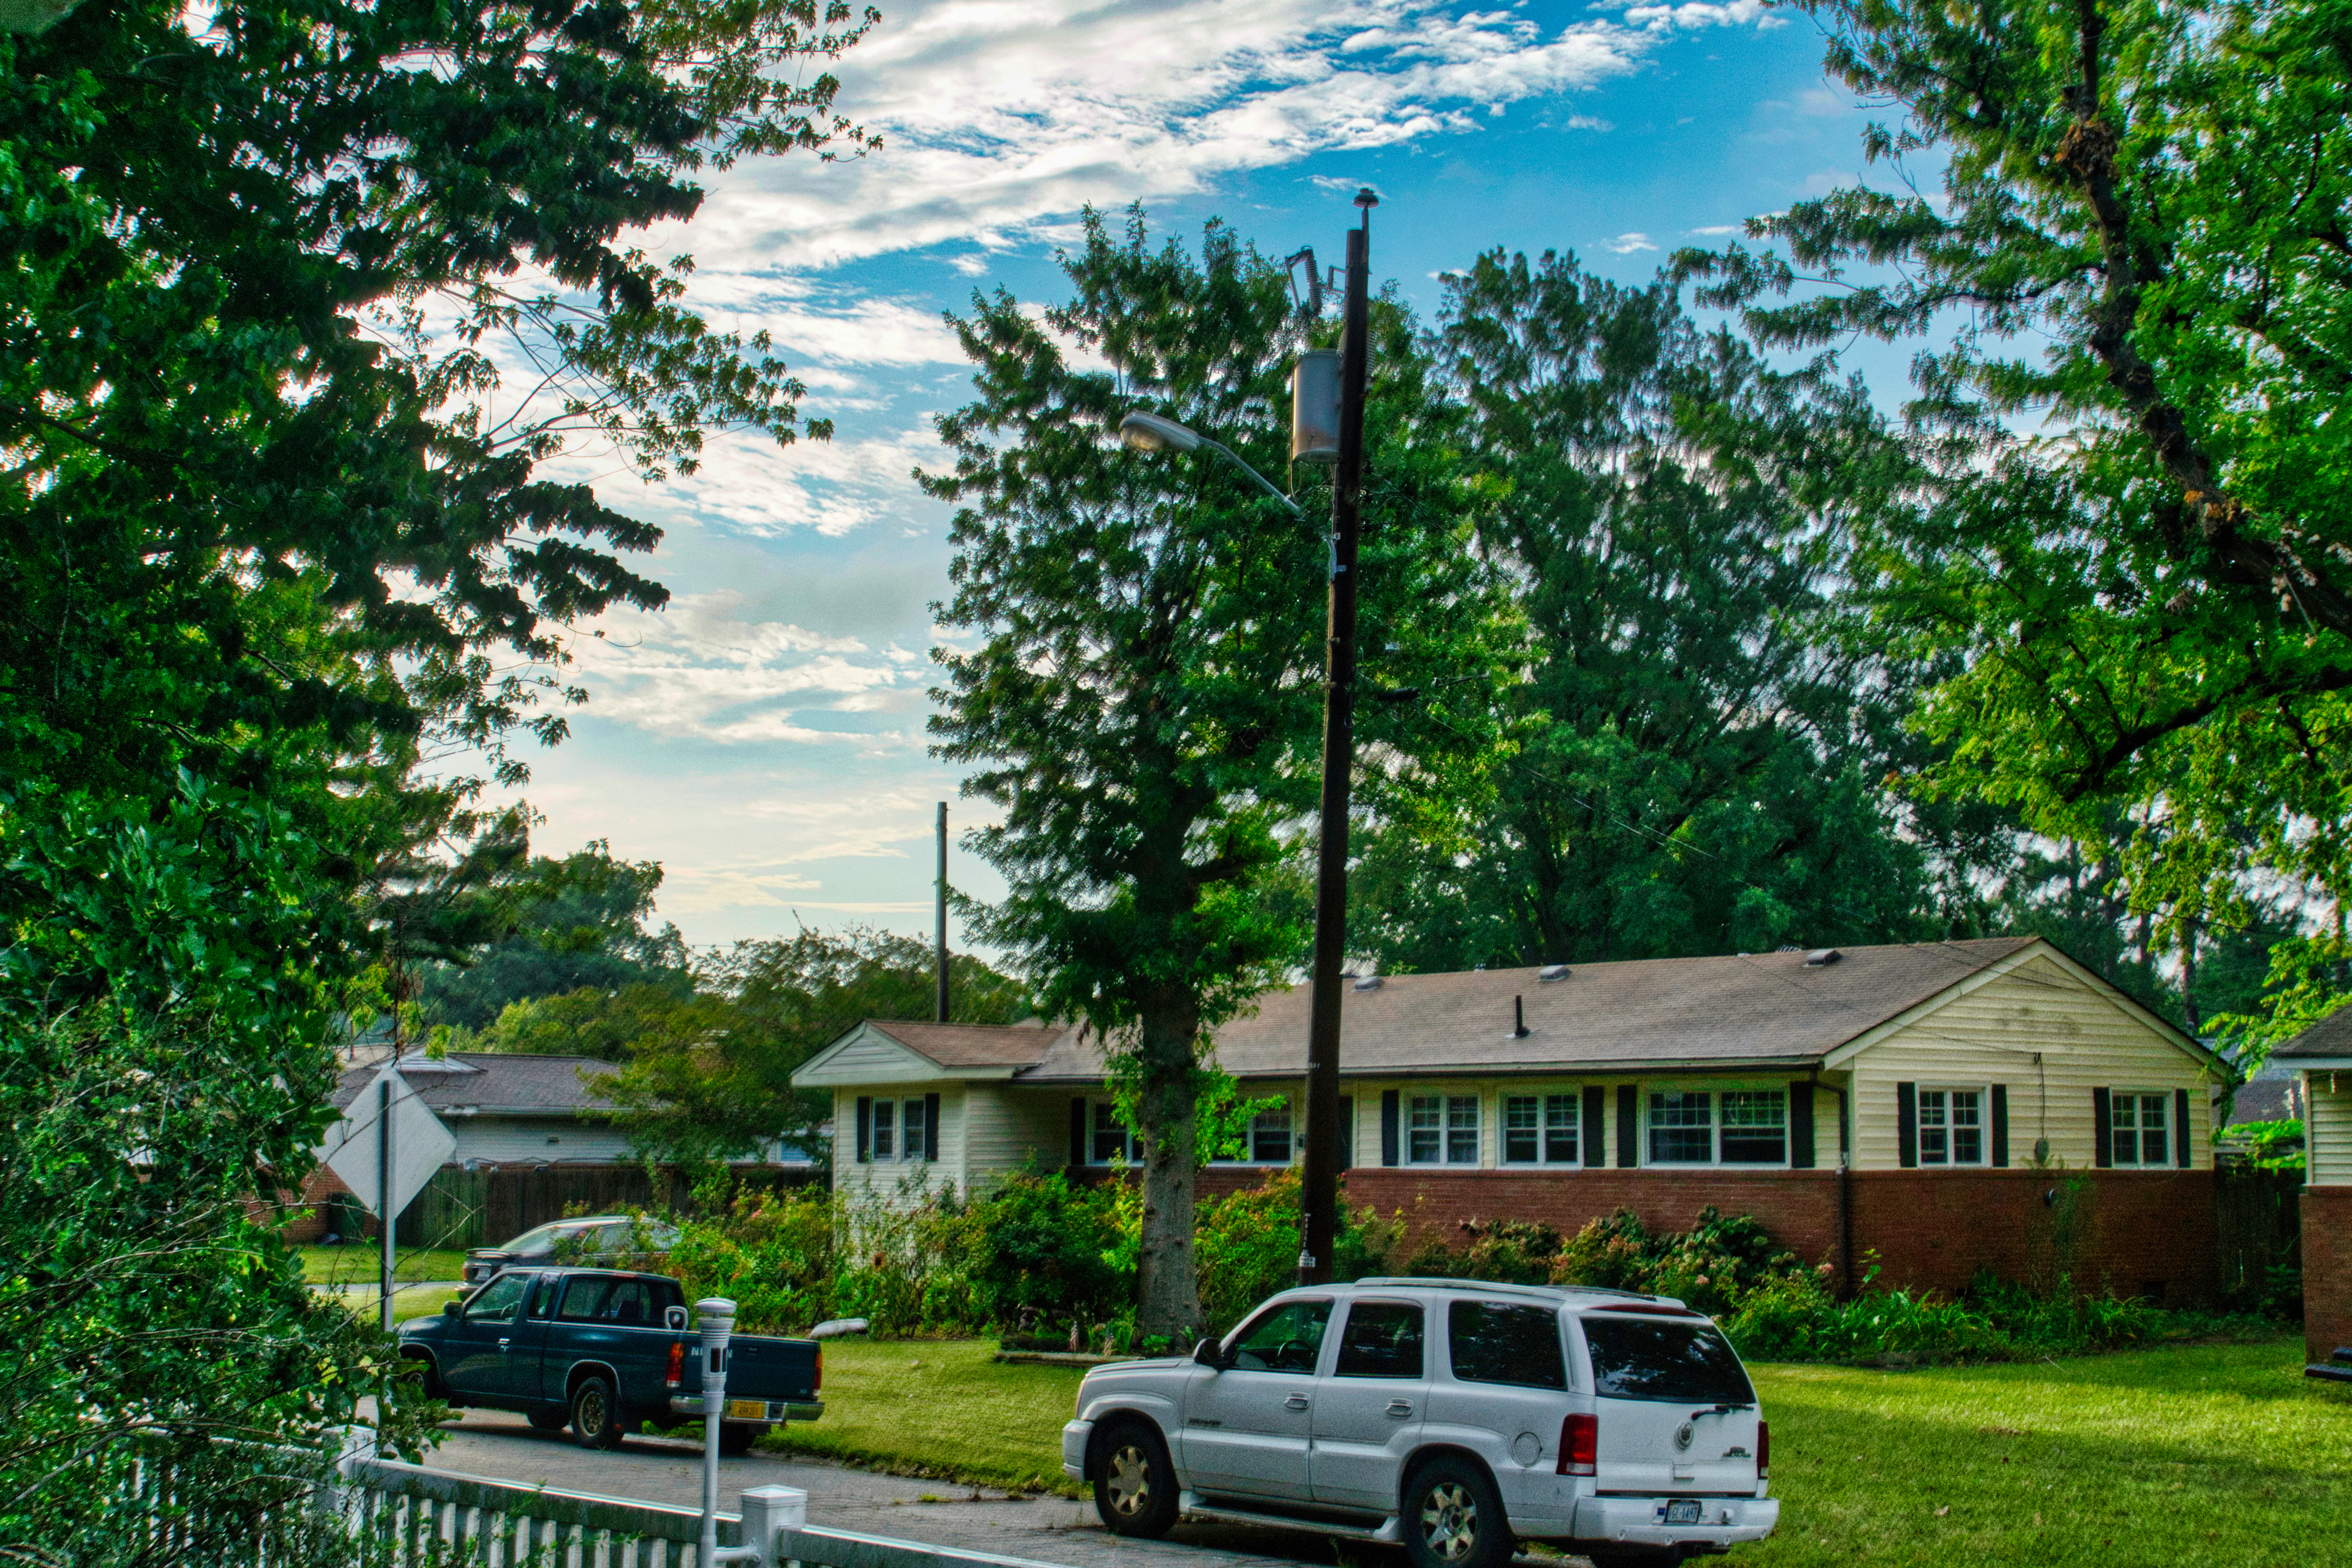
Something I’ve noticed about remove power lines. I suspect it starts its search at a pole. If it can’t find a pole, it doesn’t do much.
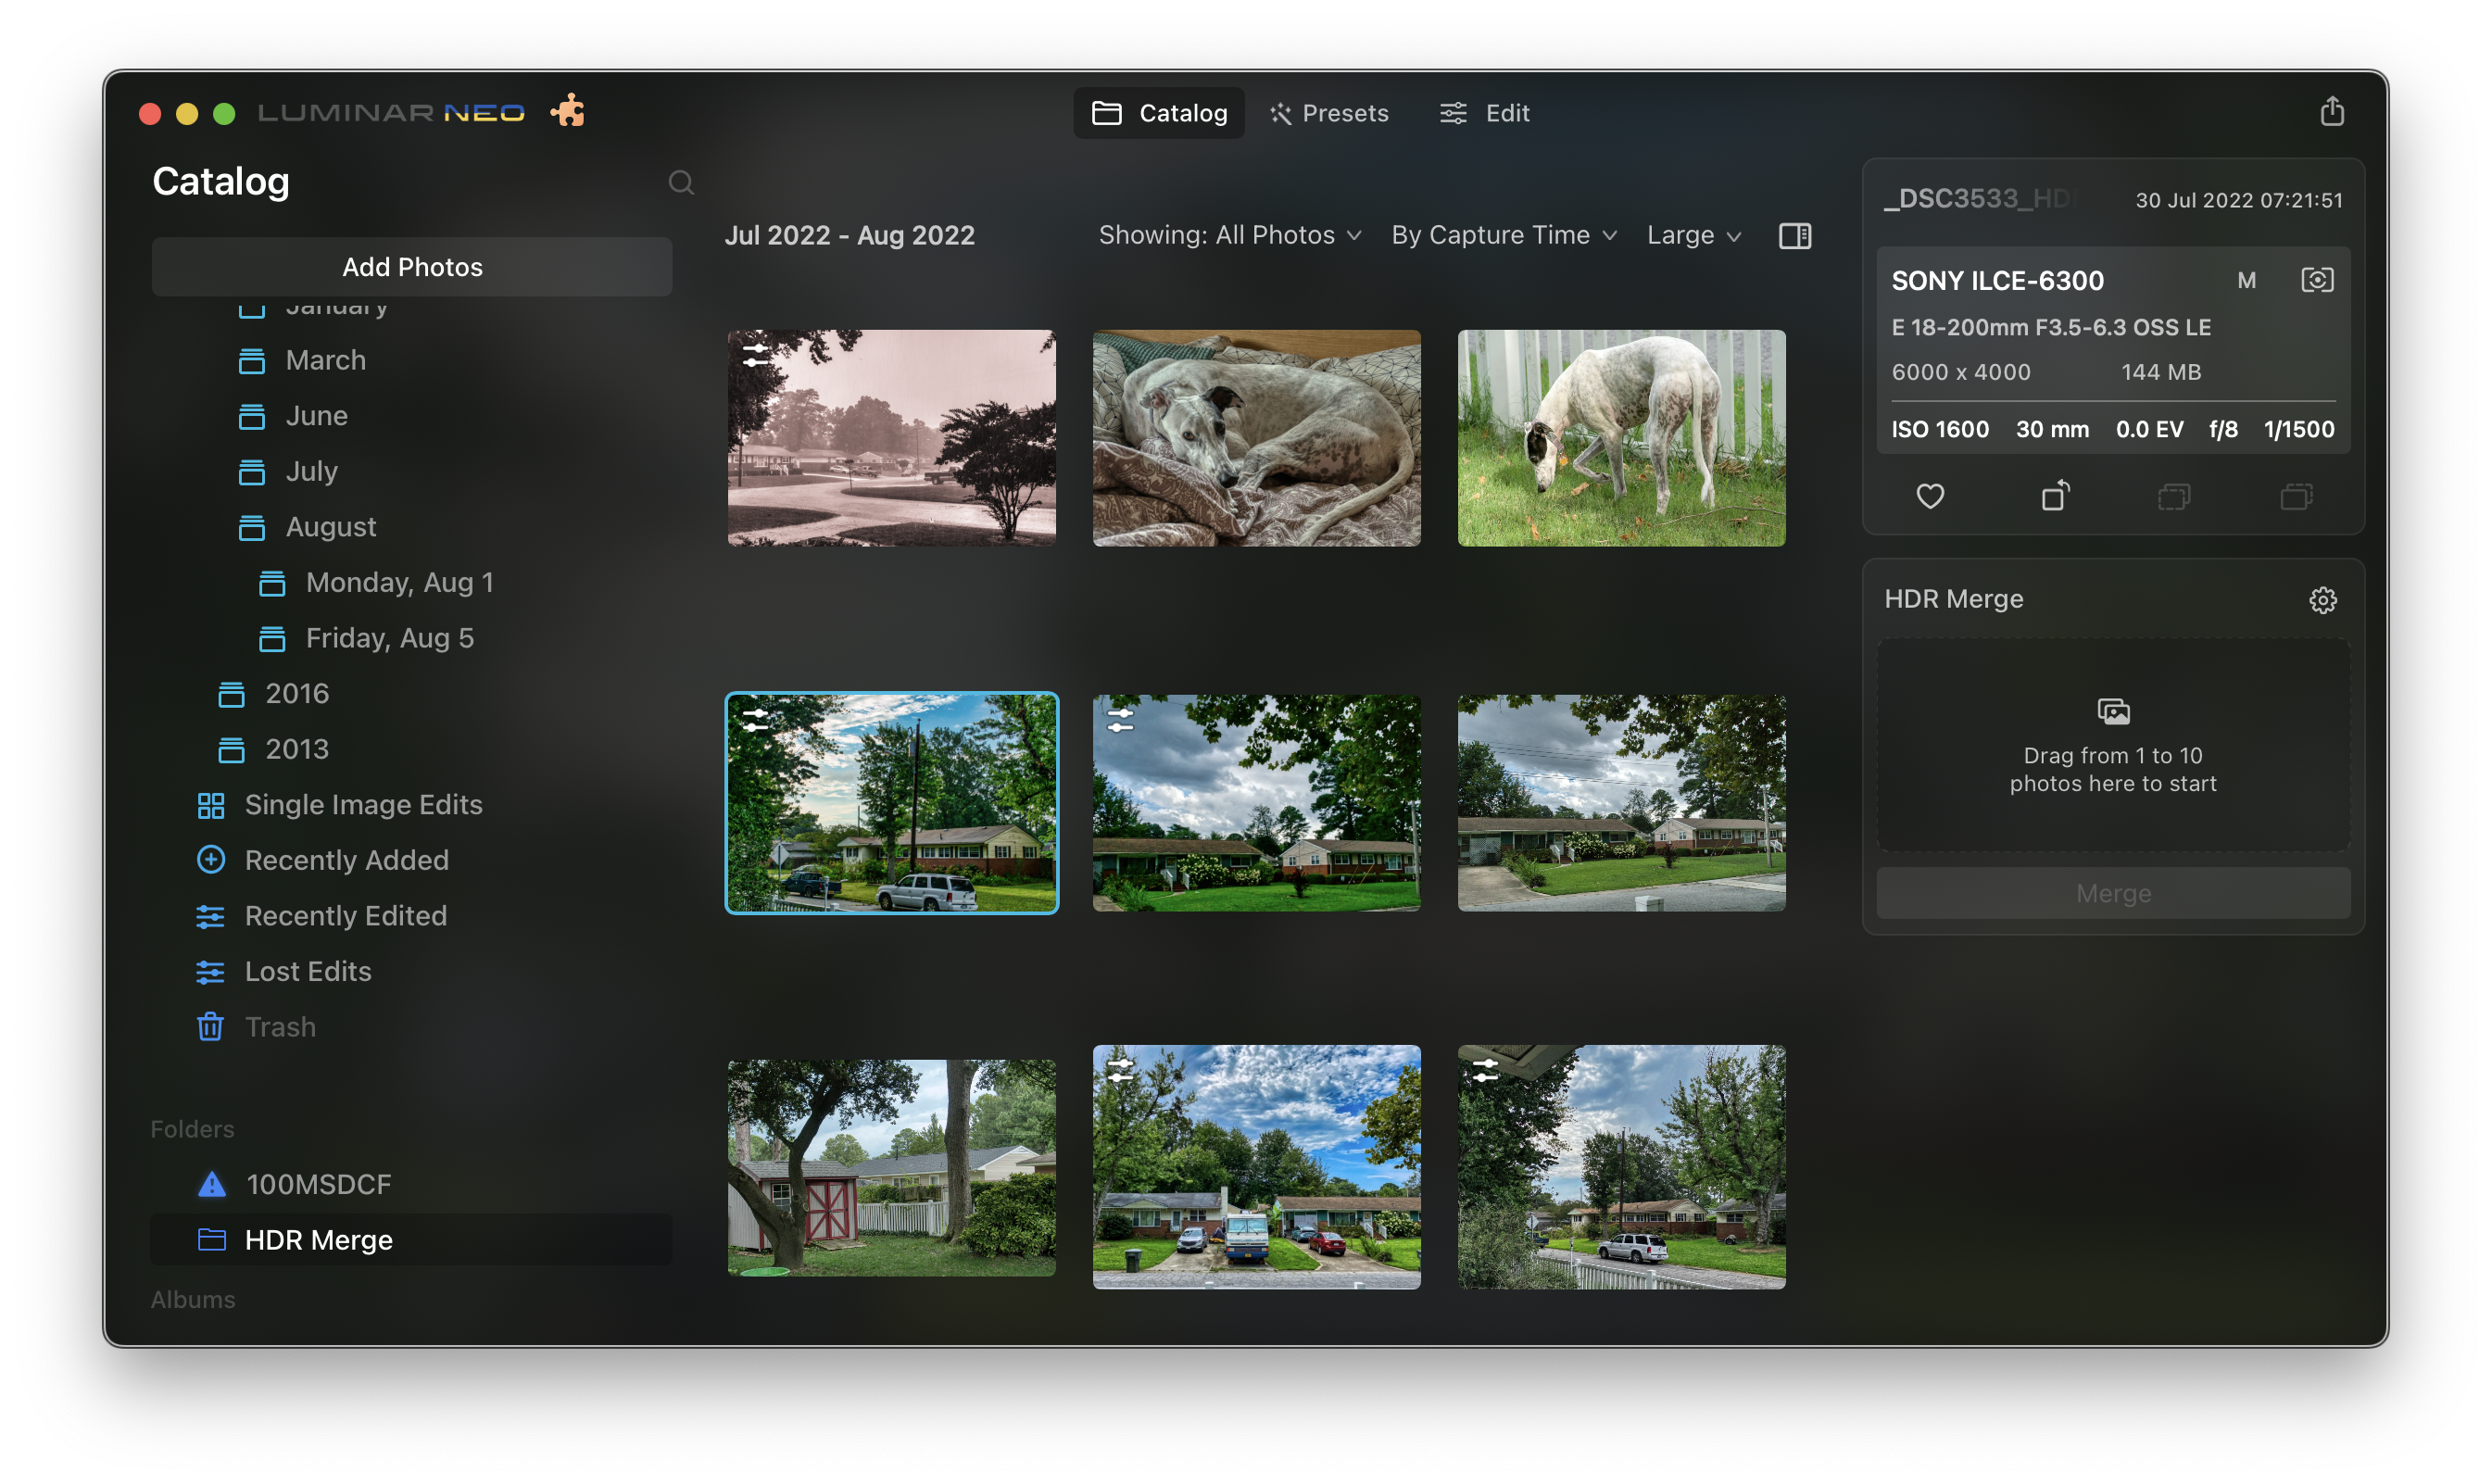
Where your HDR products live
To find your finished HDR images, look in the catalog. On the left sidebar, you’ll see folder HDR Merge. That’s where they are. You can select the images for export with scaling and transcoding using File -> Export in the menu bar.
And back to Photos
I’ve taken to prepending the export files with “E_”. So rendered example images are now in Luminar Catalog/Luminar Exports/2022/08 August. I import these back into Photos for future use.
Backup
Both the Photos app library and the Luminar catalog directory are in Time Machine backup directories. Time Machine grabs them and saves on Peabody. Peabody replicates to Sherman. Sherman replicates to a second internal pool.
Also both Apple Photos app library and Luminar catalogs are under the watchful eye of Backblaze Backup.

You must be logged in to post a comment.