
Photo: by the author and edited in the new Skylum Luminar Neo
Skylum is a group of Ukrainian photographers and programmers with a 20+ year history of developing photo editing tools designed to reduce the amount of fiddling needed to develop and render fine art photos. Luminar makes the process so quick that phone snapshots can be made presentable in a minute or two. With a bit of care, Luminar Neo can make sophisticated edits as demonstrated by the candid portrait edits toward the end of this post. Luminar can be used from within Photos or a Photos image may be added to the Luminar catalog to retain the edit history.
Skylum Folk are at Risk in Kyiv
Skylum was proudly founded in Ukraine, and our core development center is based in Kyiv. At this harrowing time, unfortunately we cannot guarantee the on-time delivery of updates to Luminar Neo. We strive for excellence in everything we do, and we will make sure to further develop and improve Neo and to keep you updated on any news.
https://skylum.com/blog/act-now-save-ukraine-defend-democracy-24
A number of the leading small software shops are located in Ukraine and are directly affected by Putin’s war. These engineers remain in our thoughts.
Revision History
- 2022-03-26 Original
- 2022-03-28 Added a description of the Luminar Neo edit stack and the technique of using a tool under mask to change parts of an image in different ways using the tool.
References
- Luminar Neo Version 1.02 on MacOS and Apple Silicon M1 iMac
- https://skylum.com/luminar
- https://skylum.com/blog/act-now-save-ukraine-defend-democracy-24
- https://macpaw.com/news/macpaw-amidst-aggression
- Third-party editors in apple photos
- Jim Nix edits a Sonoran Desert landscape using Luminar Neo
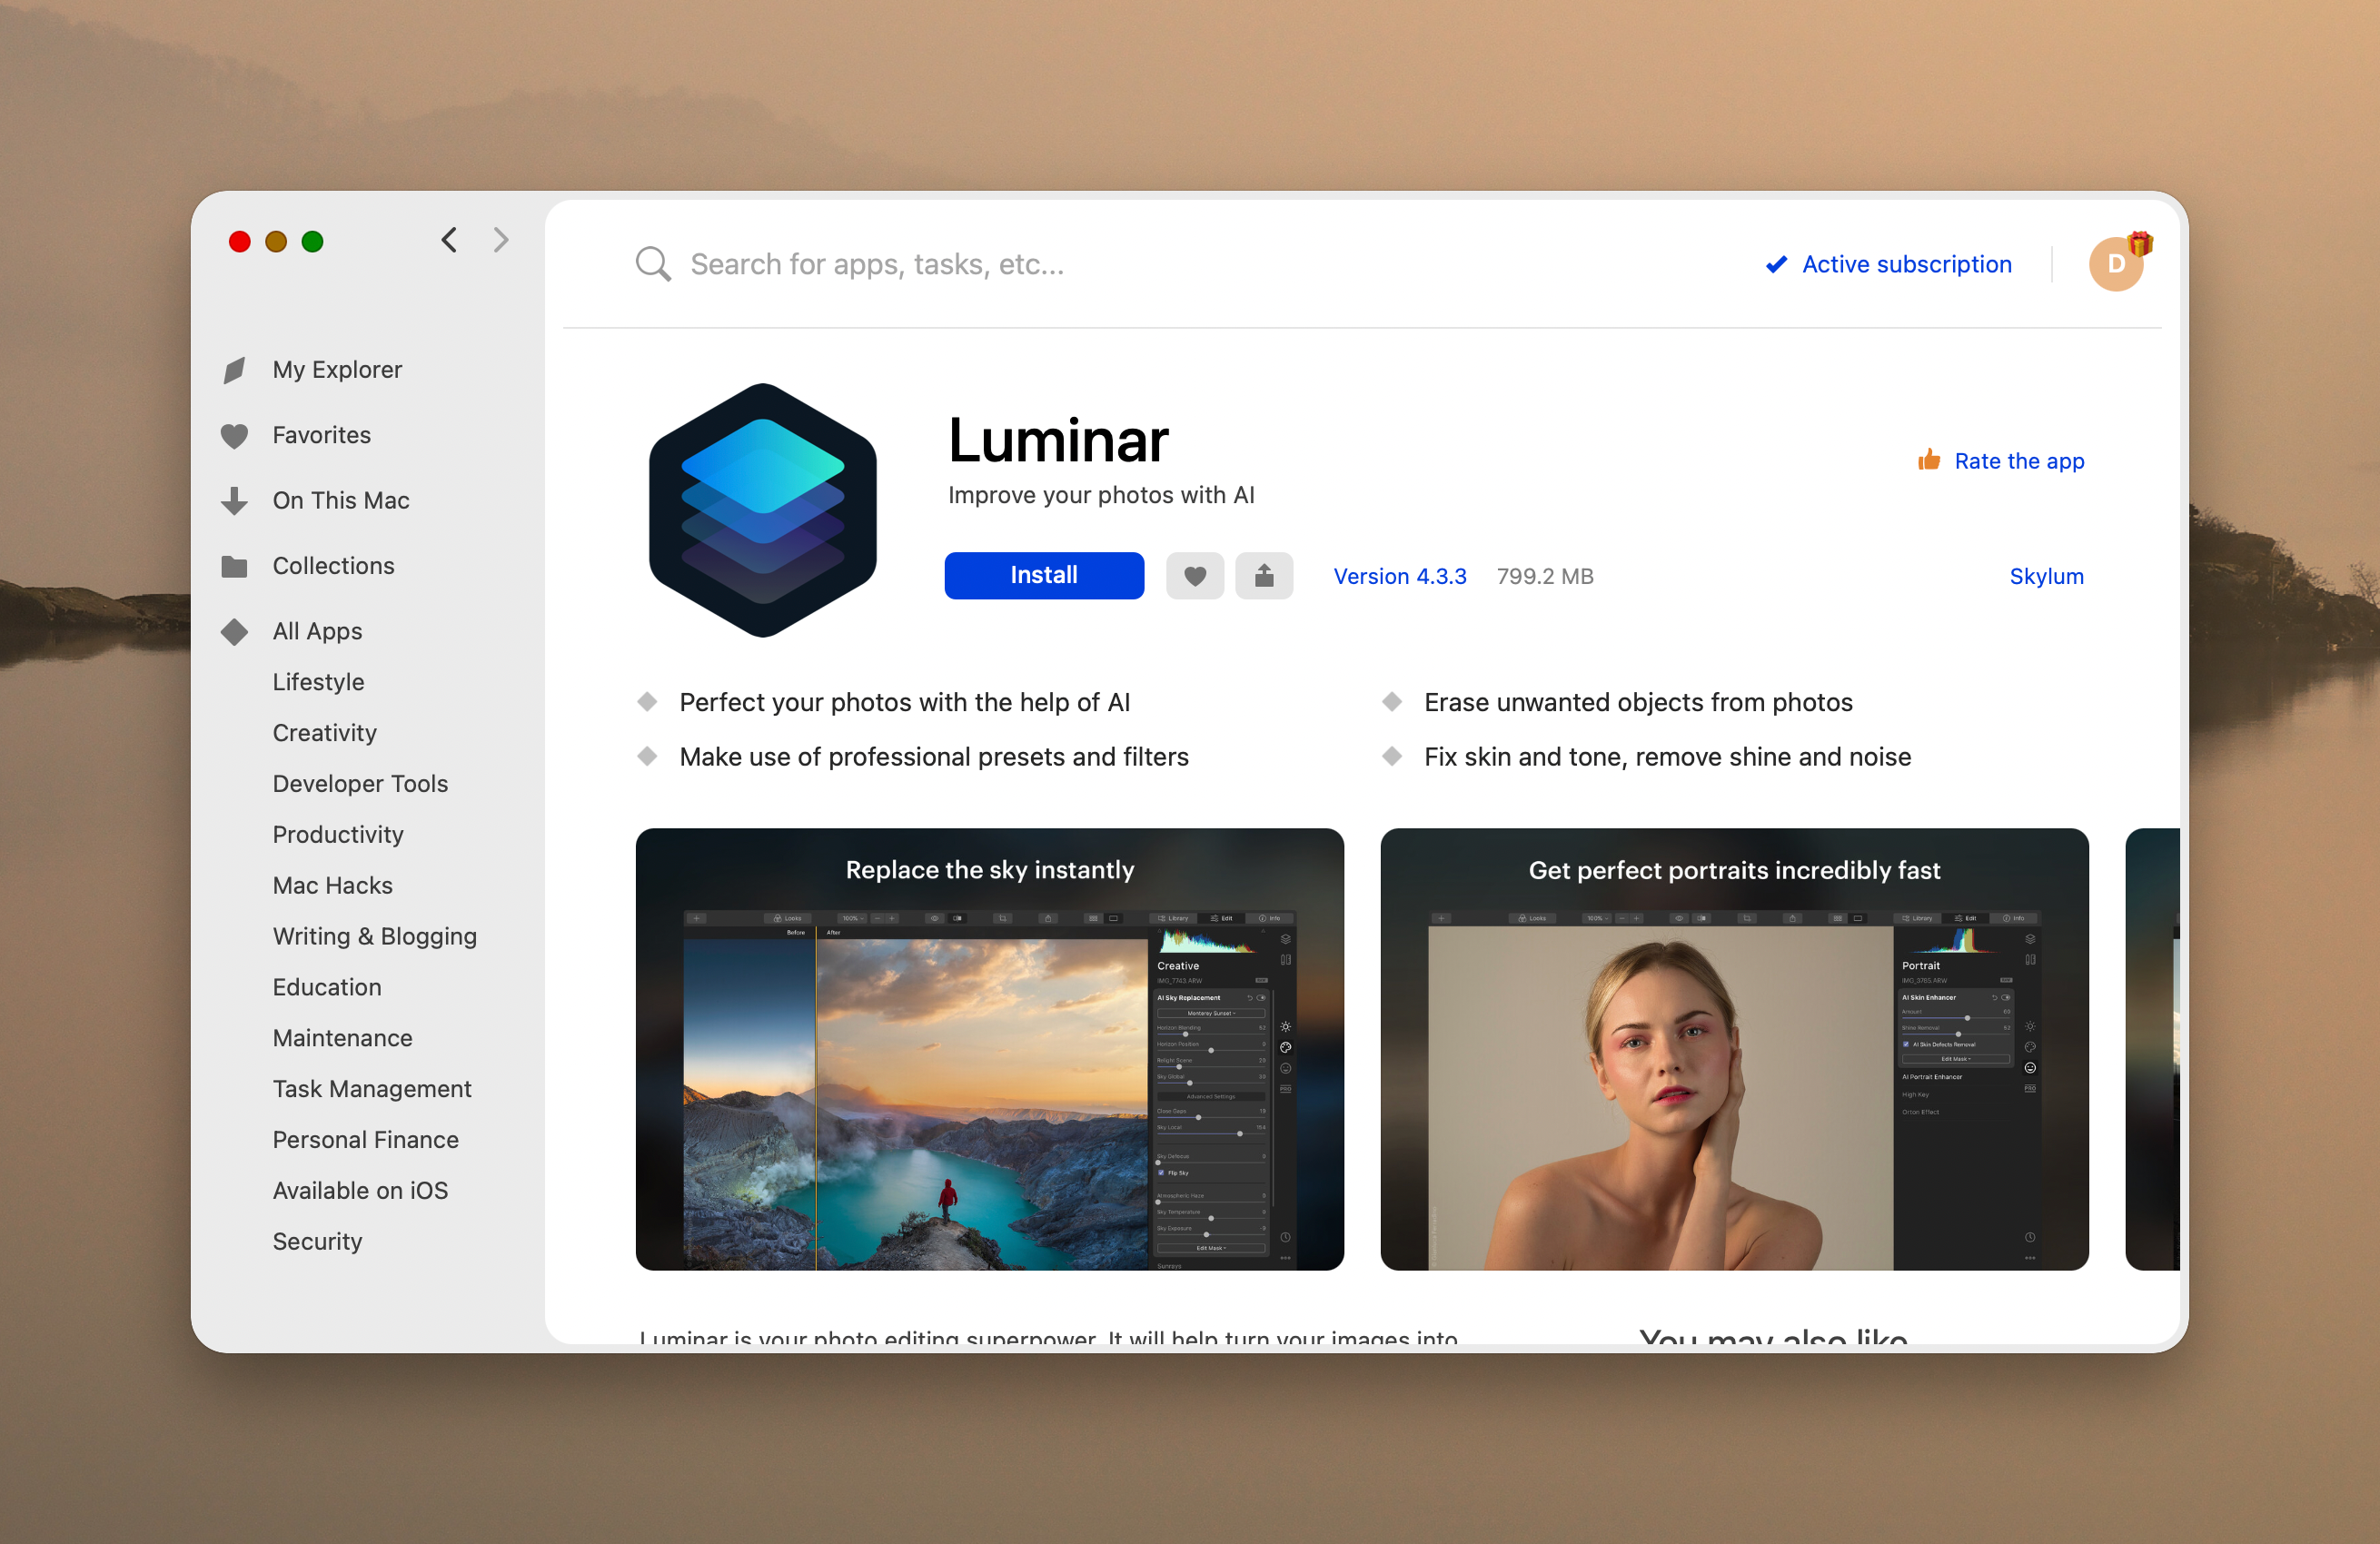
Obtaining Luminar
Luminar Neo is currently available from the Skylum website listed in the references. As the product enters beta testing, Skylum offers early orders at a discount, usually 2/3 the expected selling price. Skylum also offers product versions in the Apple App store and the SetApp App store.
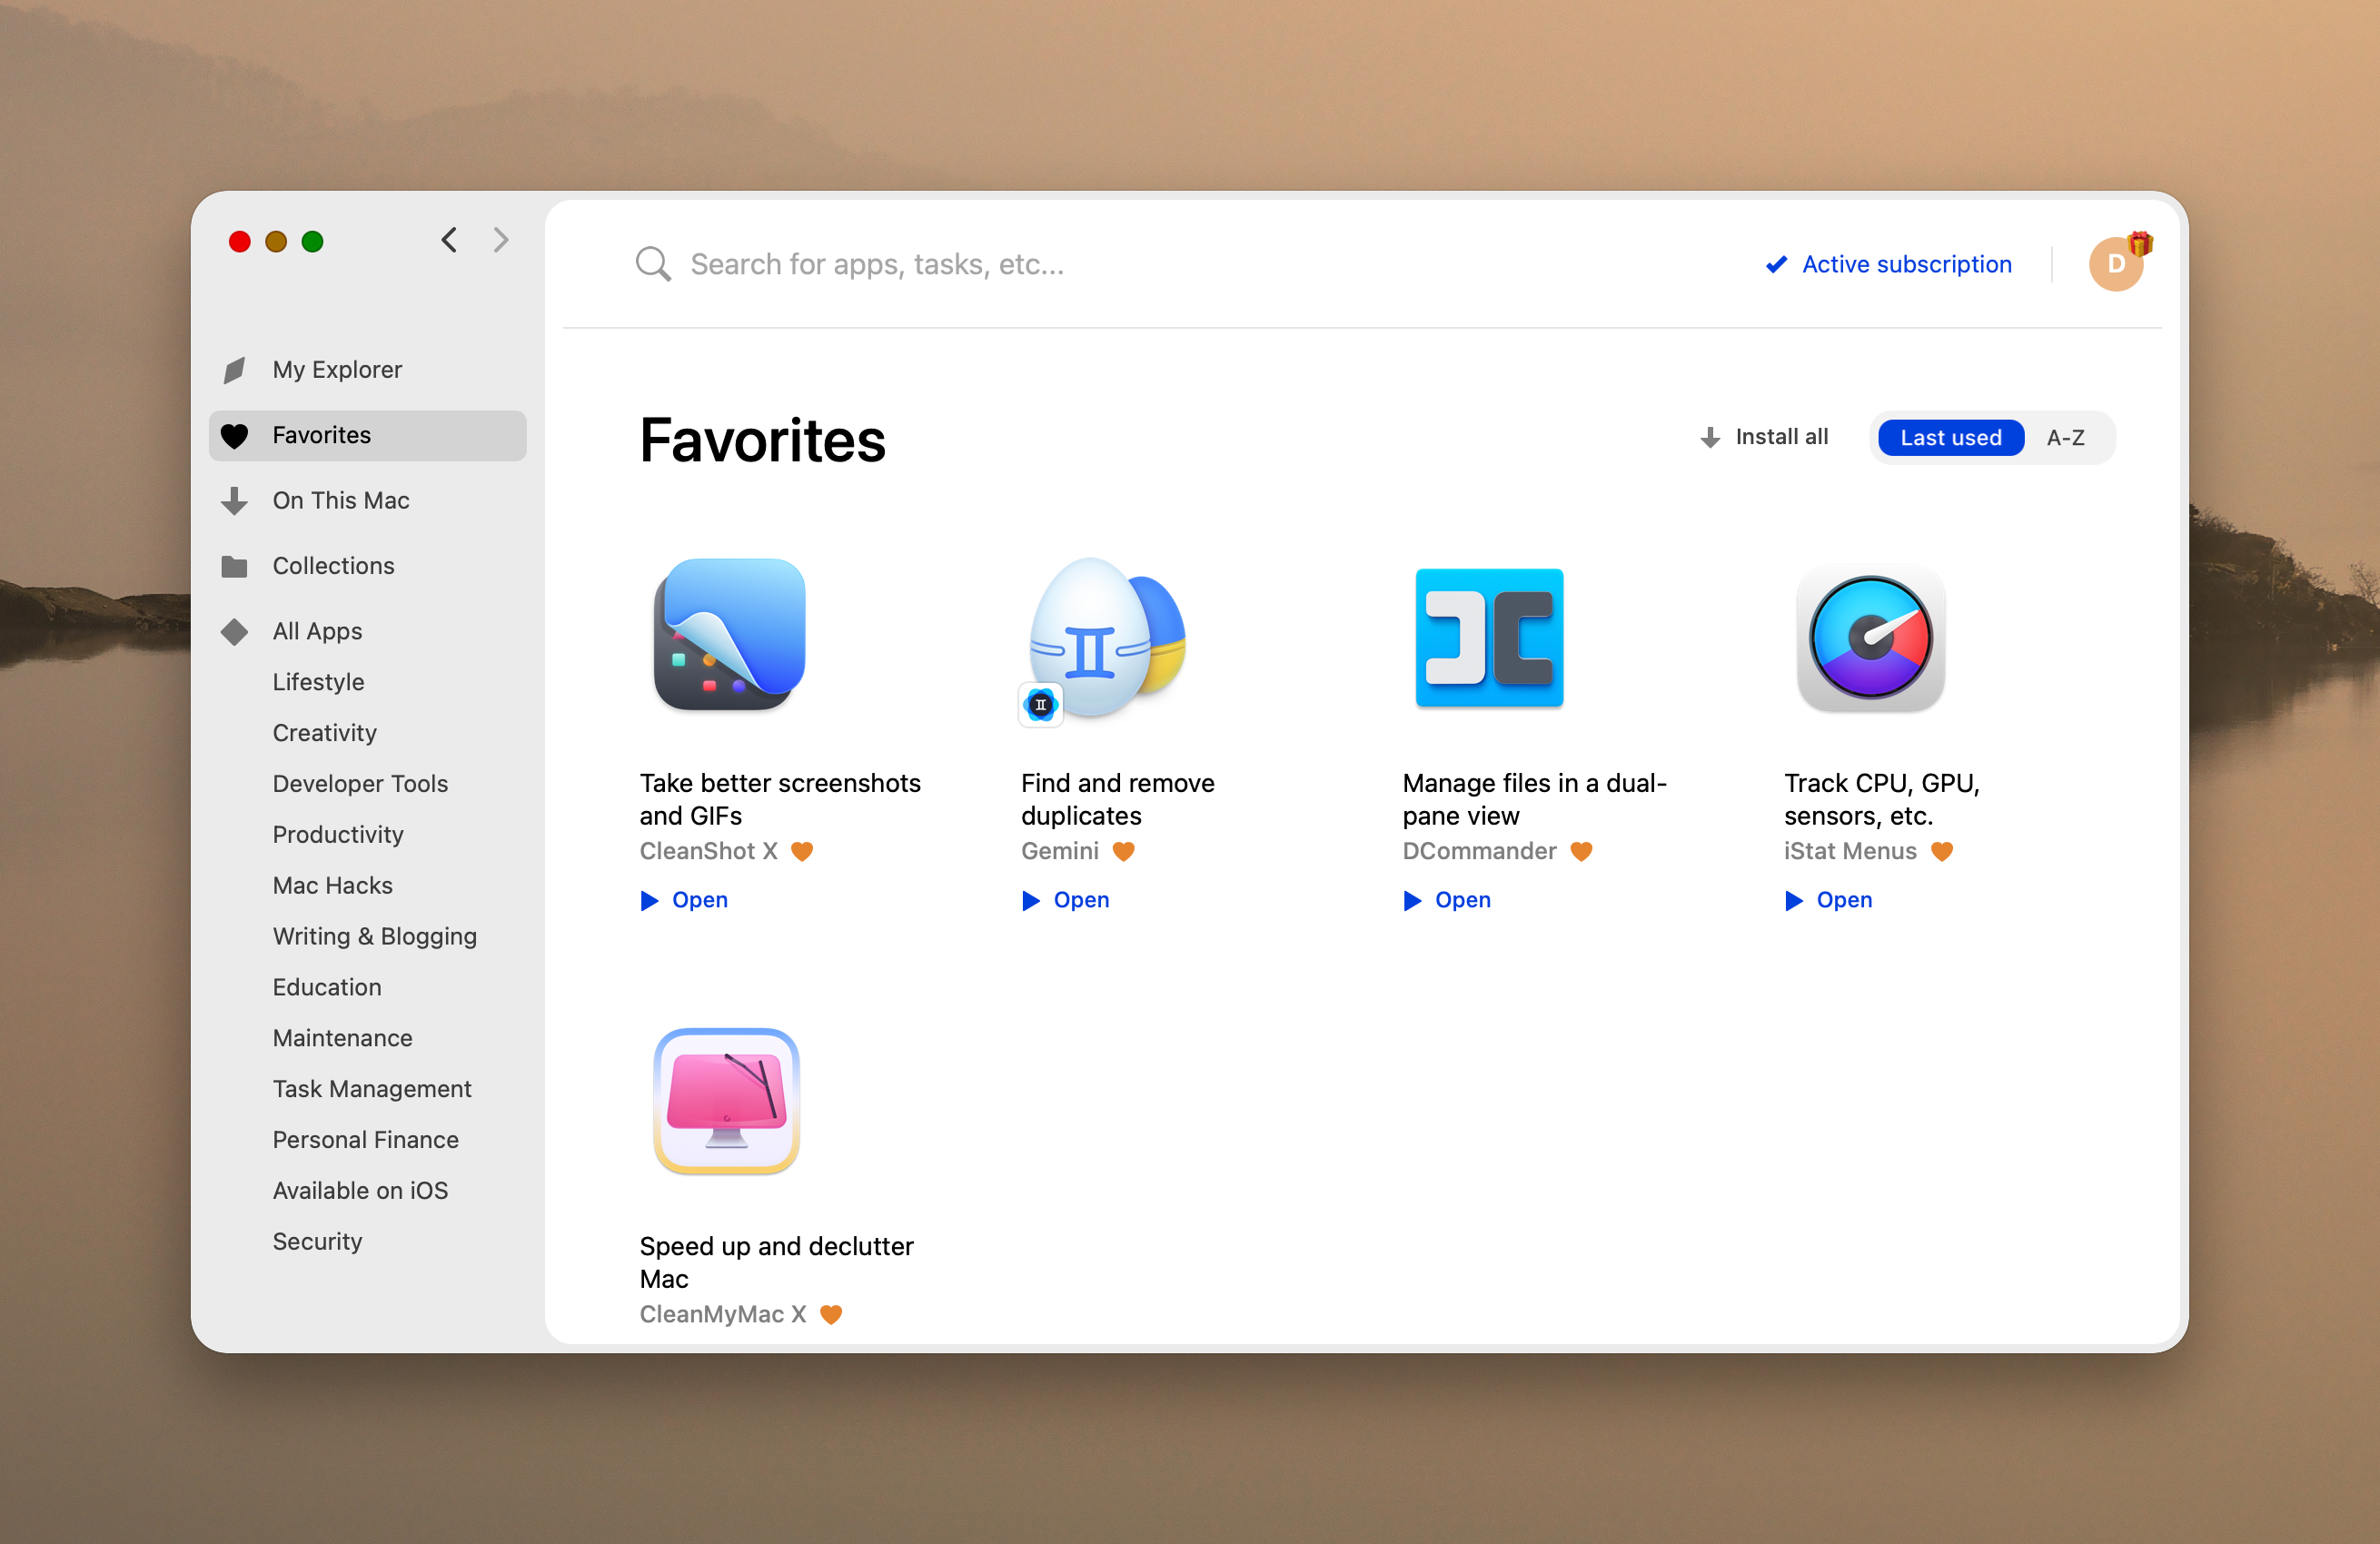
SetApp Store
SetApp is a McPaw product that allows use of a number of products for a monthly subscription of about $10. A number of these are popular products that are used as tasks arise. Luminar AI but not Neo is available in SetApp. SetApp is a good way to obtain access to tools you use every now and again as with Clean My Mac and Gemini. It is also a good way to try apps like Luminar. Because I use Luminar daily, I subscribe directly from Skylum
Luminar Versions
Skylum is offering two versions of Luminar in late March 2022. Luminar AI remains in the Apple App Store and in SetApp. Luminar Neo is available from the Skylum website as it is newly released. Typically, Skylum offers product directly to early adopters and, once the dust settles, to the wider audience on the App Store and SetApp.
Luminar is available for MacOS and Windows 11. The MacOS version is a universal binary meaning that the App kit contains both an Intel image and an Apple Silicon image. Neo feels a little slower than AI but this is to be expected as the rendering process was completely rewritten to make updating easier.
Skylum Business Model
Skylum offers product named versions on perpetual license but each new named version requires a new license purchase and SetApp Store remains a version behind current.
Each version remains usable until MacOS or Mac hardware changes make it obsolete. You’re not compelled to get on the version treadmill and SetApp lets you subscribe but a year behind current. This seems a fair balance between capability and cost. Each new named version offers a significant new capability in the form of increased automation or improved performance.
New versions may or may not be able to apply prior version edits. Read the release notes to determine if a new version can import a prior version catalog and update it to work with the new version.
Stand Alone or as an Adobe Photo Shop Plugin
Luminar‘s architecture allows it to be used as a stand-alone process or as Adobe processing plugin in Photoshop and, I guess, Lightroom.
Apple Photos as My Asset Manager
After much wailing and gnashing of teeth and stubbed toes from Adobe and Phase 1, I find it easiest for me as a recreational photographer to use Apple Photos as my asset manager. Photos App makes it easy to find an image for a Twitter post or to insert into the blog.

I have found Apple Photos library view shown above to be a superior way to locate a photo for use in a slide show, holiday card, blog post, or Twitter post. I can thumb through quickly to find what I need.
Luminar Stands Alone or With Your Favorite Asset Manager
Luminar runs as a Photos App external editor and appears in a Photos as if it were running on the desktop. I believe everything is there including the ability to open additional images for compositing.

Luminar App Includes a Basic Asset Manager
Luminar has a basic asset manager and ability to import images from camera media built in. But asset management is not a primary project objective. Other smart people at Skylum are developing an asset manager that is expected to solve all the worlds asset management problems. It will probably be client and project oriented but they may surprise us with a time oriented product like Photos.
Luminar is a Rendering Tool
Luminar is designed to be an effects oriented editor and rendering tool that makes it easy to apply and modify a sequence of transformations to an unprocessed image to produce a finished image. Luminar is non-destructive. Manipulating Luminar controls creates a sequence of transformations to be applied to the original image. Luminar stores these rendering instructions and a link to the unprocessed image in its catalog.
Luminar plus Photos or Adobe
When used as an external editor, Photos hands off either a TIFF (iPhone images) or a camera-raw file (iPhone Pro or SLR shooting raw). Luminar uses its internal raw file converter to make a working raw image. As tools are applied, transform parameters are determined and saved on the edits stack. When the image is returned to Photos, the edits are applied and a TIFF image is returned. The transform stack is lost.
Learning About Luminar
The Luminar products are largely effects oriented. The Crop and Develop tools behave very much like traditional photo editors. The remaining tools make changes across the image to alter its look in an abstract way suggested (but not always) by the tool’s name. This is generally OK as each transformation is saved on the edits stack, transformations are orthogonal in their settings, and individual transformations can be undone.
Learning about Neo is largely a matter of using Neo. Jim Nix has an excellent series of videos exploring Luminar Neo and showing how Neo’s tools may be used making repeated selected edits. Jim Nix makes editing with Luminar appear easy because he has deep experience with photo editing and with the Luminar family of editors. What he demonstrates in 10 or so minutes may be the result of far more experimentation that occurred when the image was originally edited. When recreating a prior result, Jim always mentions that he is working from notes.
[6] is a good example of using Luminar Neo to edit a landscape. Jim Nix shows how to make repeated use of the develop and other editing tools to turn an ordinary snapshot into something worthy of Arizona Highways. His Luminar Neo Essentials video is a good place to begin. Most of his videos illustrate the use of a specific tool or technique.
Luminar Neo First Impressions
Luminar Neo has a new look. The tool has 2 side bars, the layers sidebar that allows you to create layers, load an image into a layer, and edit that image and blend it with the other layers. The right sidebar has three views, the processing tab, the edits tab, and the presets tab. Left sidebar lets you choose the image to process. Right sidebar lets you choose how to transform the image.

Templates are Now Presets
Skylum has renamed the cataloged editing instructions calling them presets. Luminar Neo retains the Luminar AI preset kit and adds a few new ones in the bundle. The older presets have been refined. For example, Backlit Clouds not longer insists on turning the background sky blue. If the sky is fully overcast, the background will remain gray.
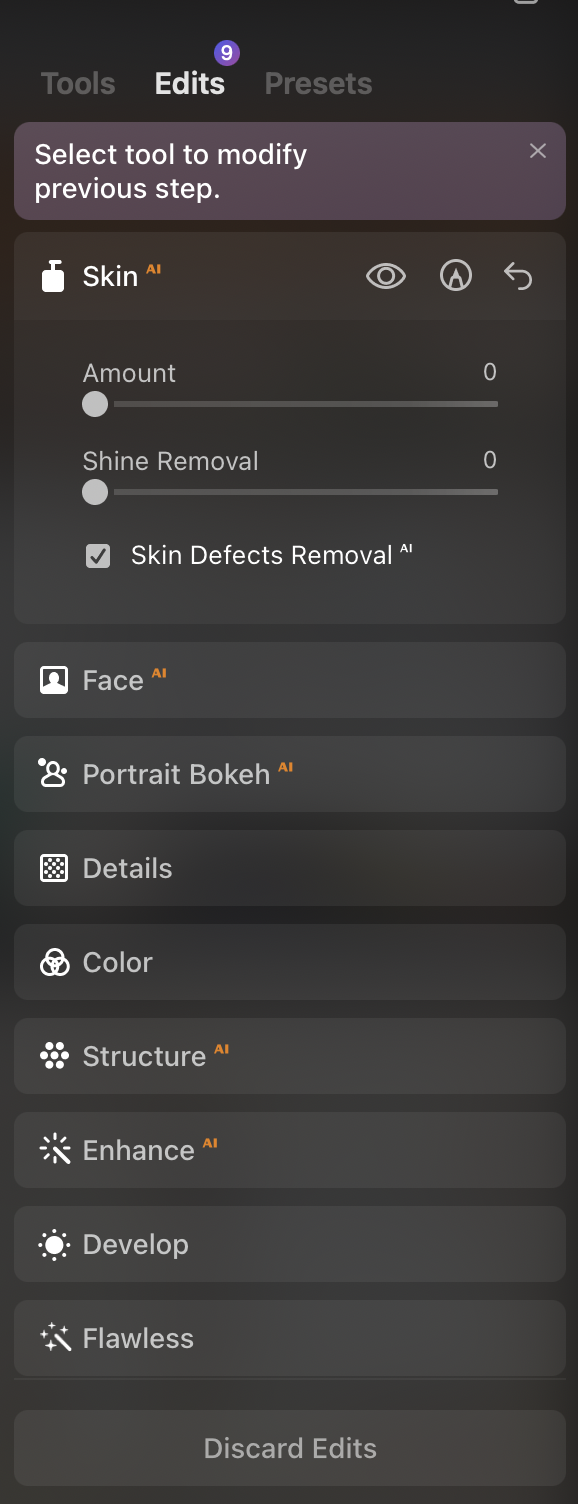
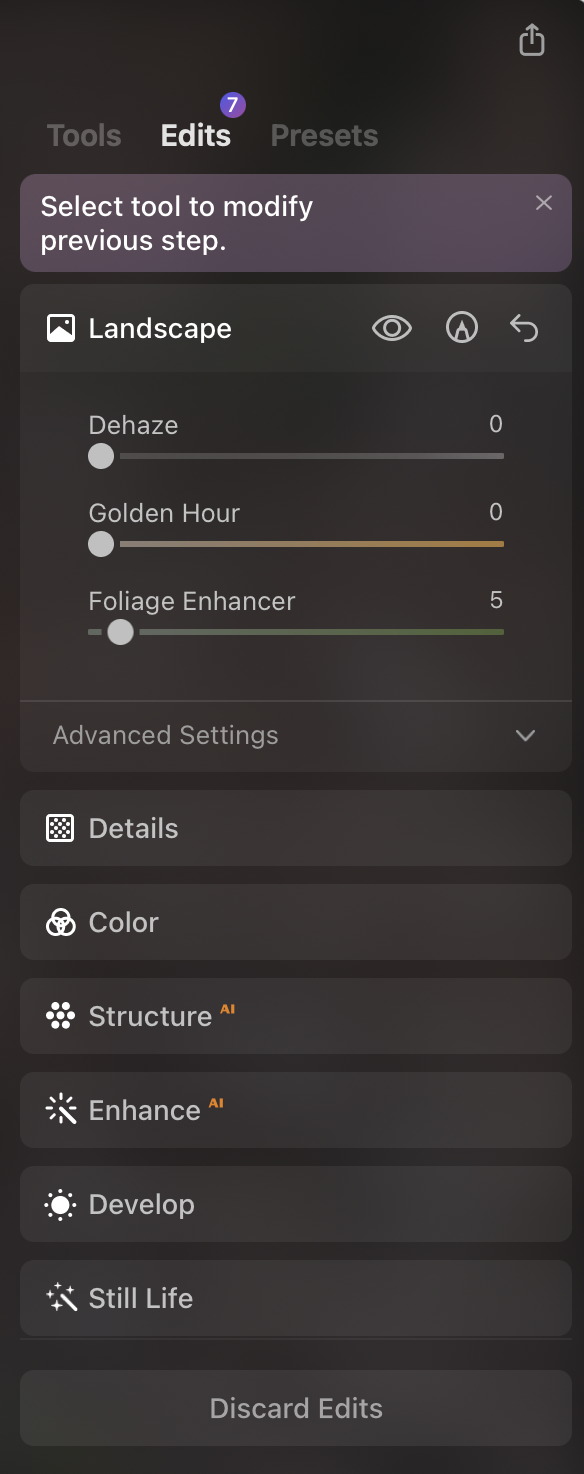
Luminar Neo’s New Edits Stack
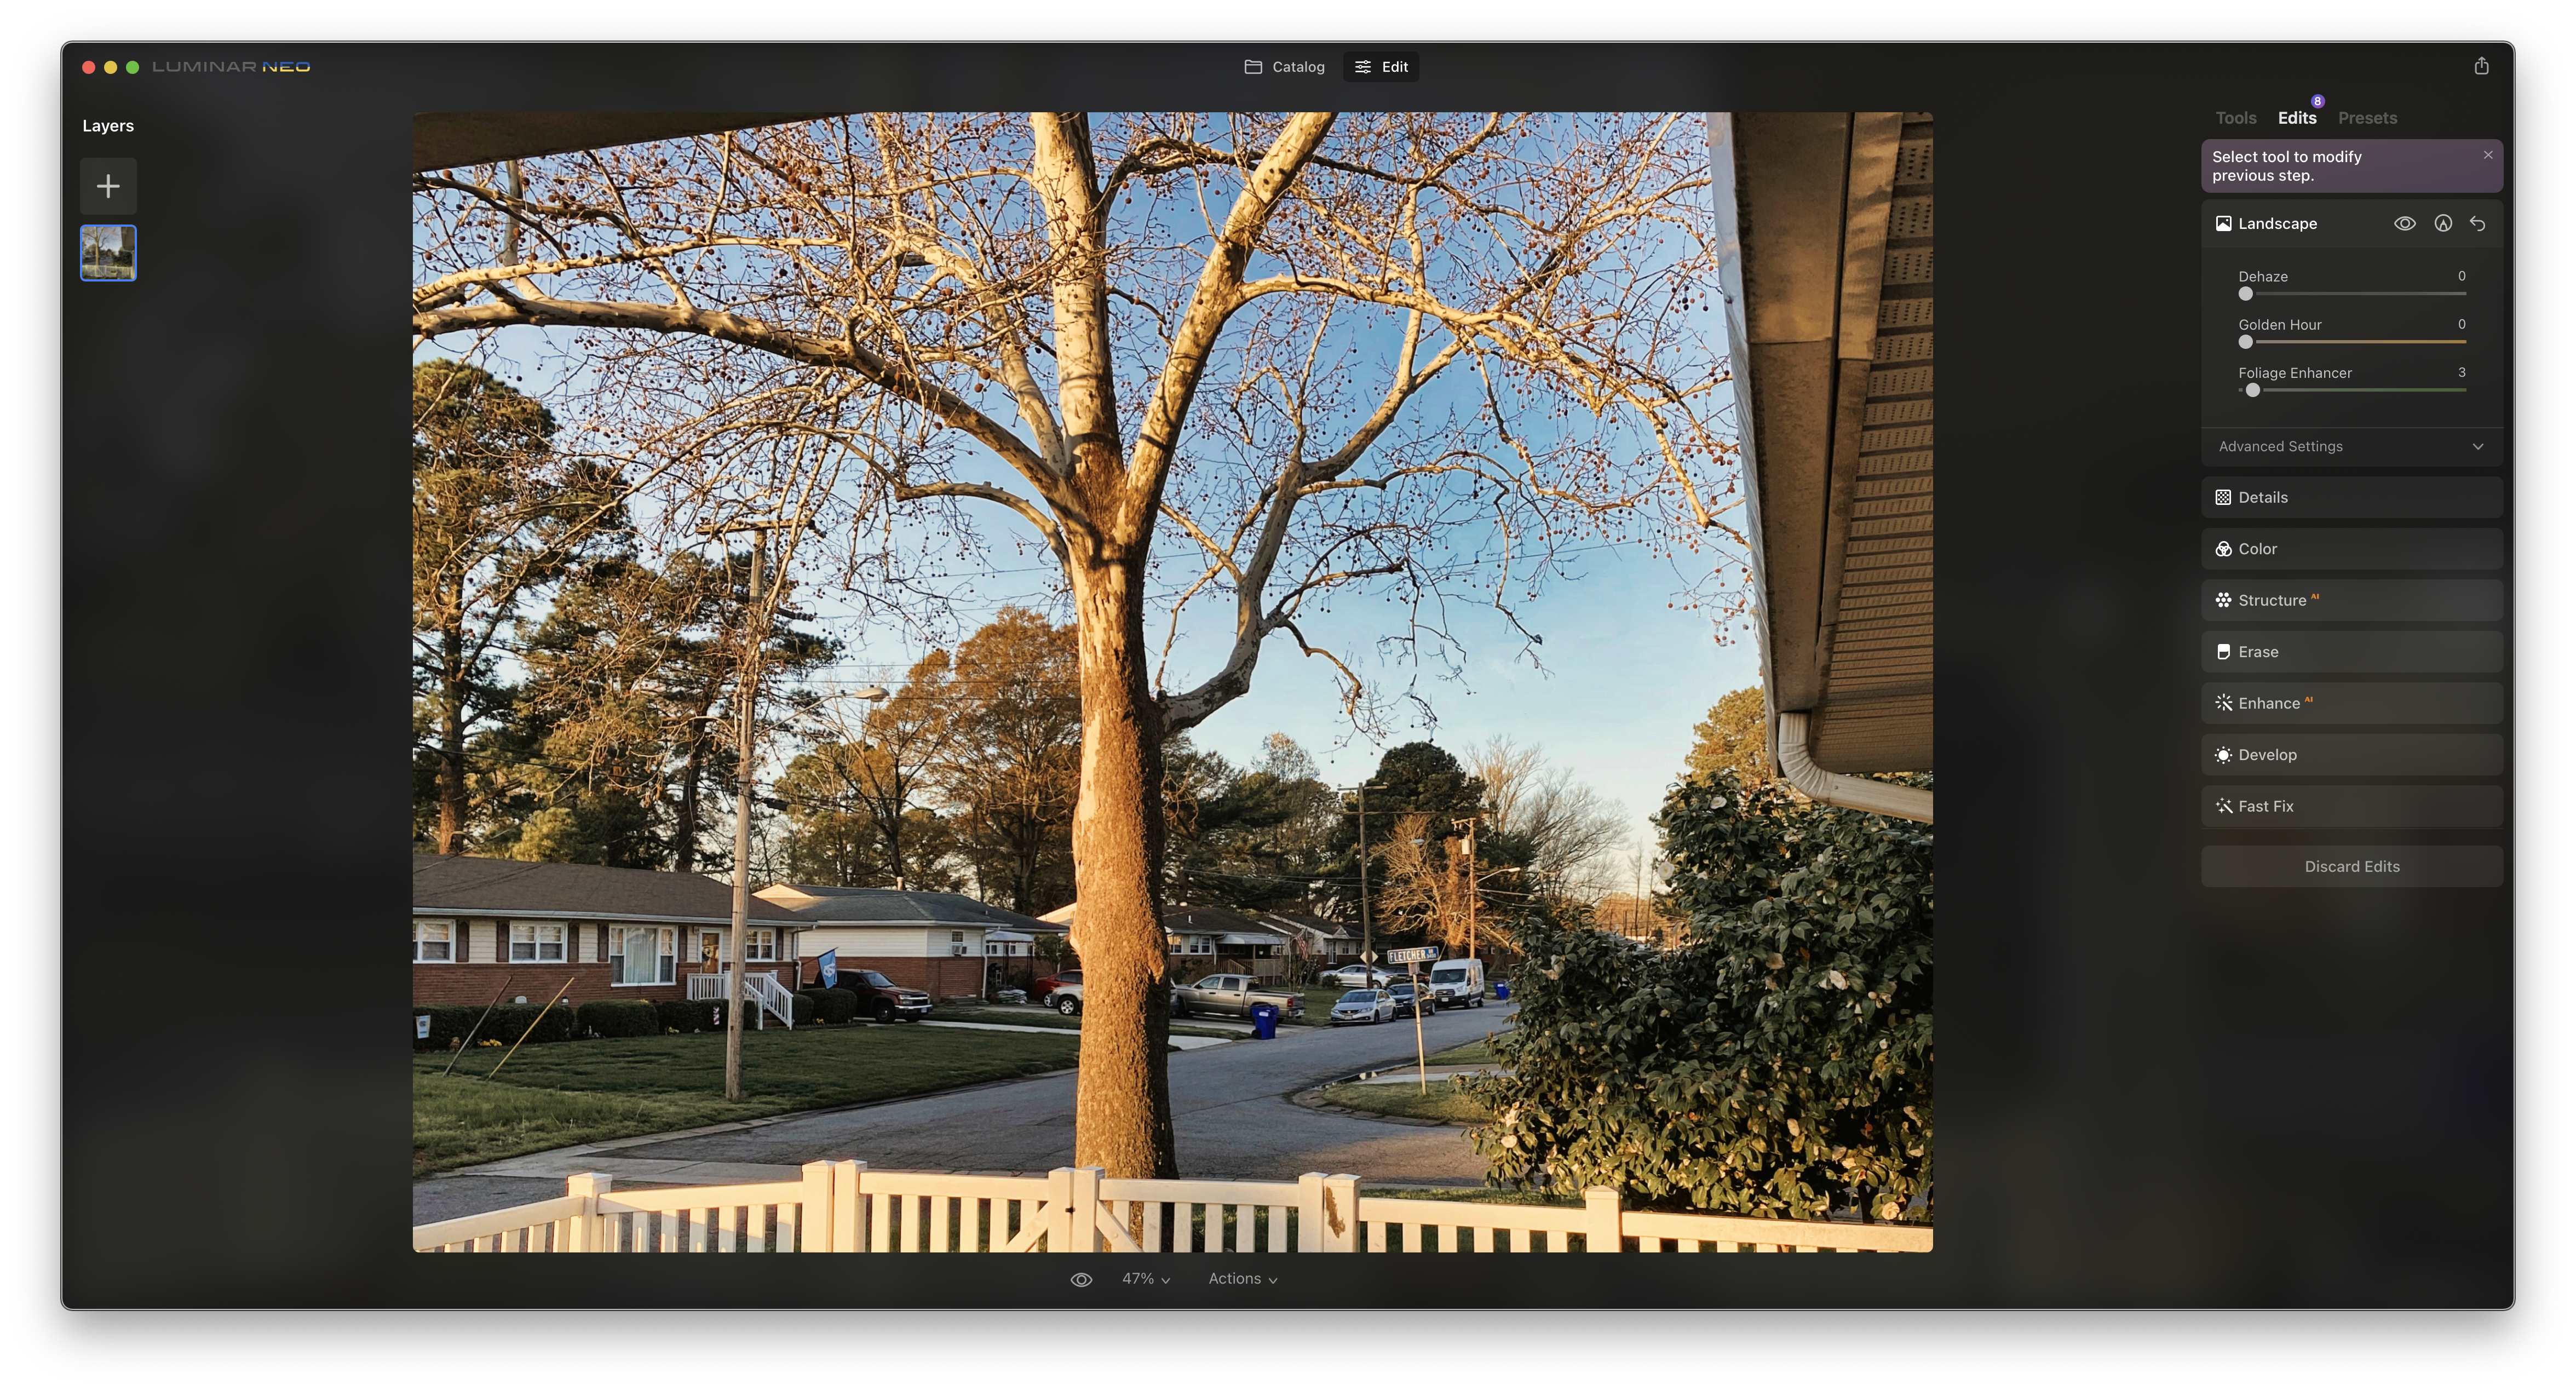
Luminar Neo maintains an edit stack. All tools with the exception of the exception of the crop tool make an entry on the edit stack. Most tools operate on a masked area. Usually, masking selects the area to be edited but masking can also be used to bypass an area. Select the area, adjust the tool’s strength settings, then close the tool frame. At this point, the edit is saved on the stack and rendered.
Note that this design allows a tool to be used in multiple parts of an image at multiple points in the editing workflow in different ways. For example, develop tool can be used for burning and dodging by selecting an area and increasing or decreasing its exposure. So highlights can be burned in (darkened) or shadows dodged (lightened) by using the develop exposure tool twice with different masks choosing the area to be burned in or dodged. Develop is direct acting, you can see the changes, undo and redo as needed to get the look desired. The inverted thinking of burning and dodging is a thing of the past.
Luminar Neo Tools
Luminar Neo calls the individual editing functions tools. The Neo tools are a refinement and expansion of the AI tools. Tools are now organized into 3 groups, essentials, creative tools, and portrait tools. The Crop tool and Develop tools are pretty traditional. They operate on the image composition and pixel processing to establish the base appearance of the image. The remaining tools refine the image in some way, often abstract, that alters the look of the image. The color balance and saturation can be manipulated in a manner similar to that in photos or in a subject matter oriented manner. For example, the Landscape tools relight the image with golden-hour light and enhance foliage greens without affecting, say, the color of green siding on a house.

Luminar Neo Tools and Workflow
Luminar’s user experience designers have though carefully about how Luminar’s tools should be used. The tools appear in the sidebar in the recommended order of use. Tools are grouped into 3 groups, Essentials, Creative, and Portrait intended for working with portrait images of people. The essential tool set begins with the crop tool, then develop, enhance, erase, structure, color, etc. Essential tools refine the image.
Creative tools apply fine art photography looks to the image, for example, relighting the image, replacing the sky, adding haze or that night time movie look, grain, sepia or other toning, etc. The mood tool applies replaces an image pixel value with one looked up from a map. The mood tool can emulate various color films and processing tricks.
Lastly, Portrait Tools work with skin tones and skin correction and can simulate portrait lighting techniques.
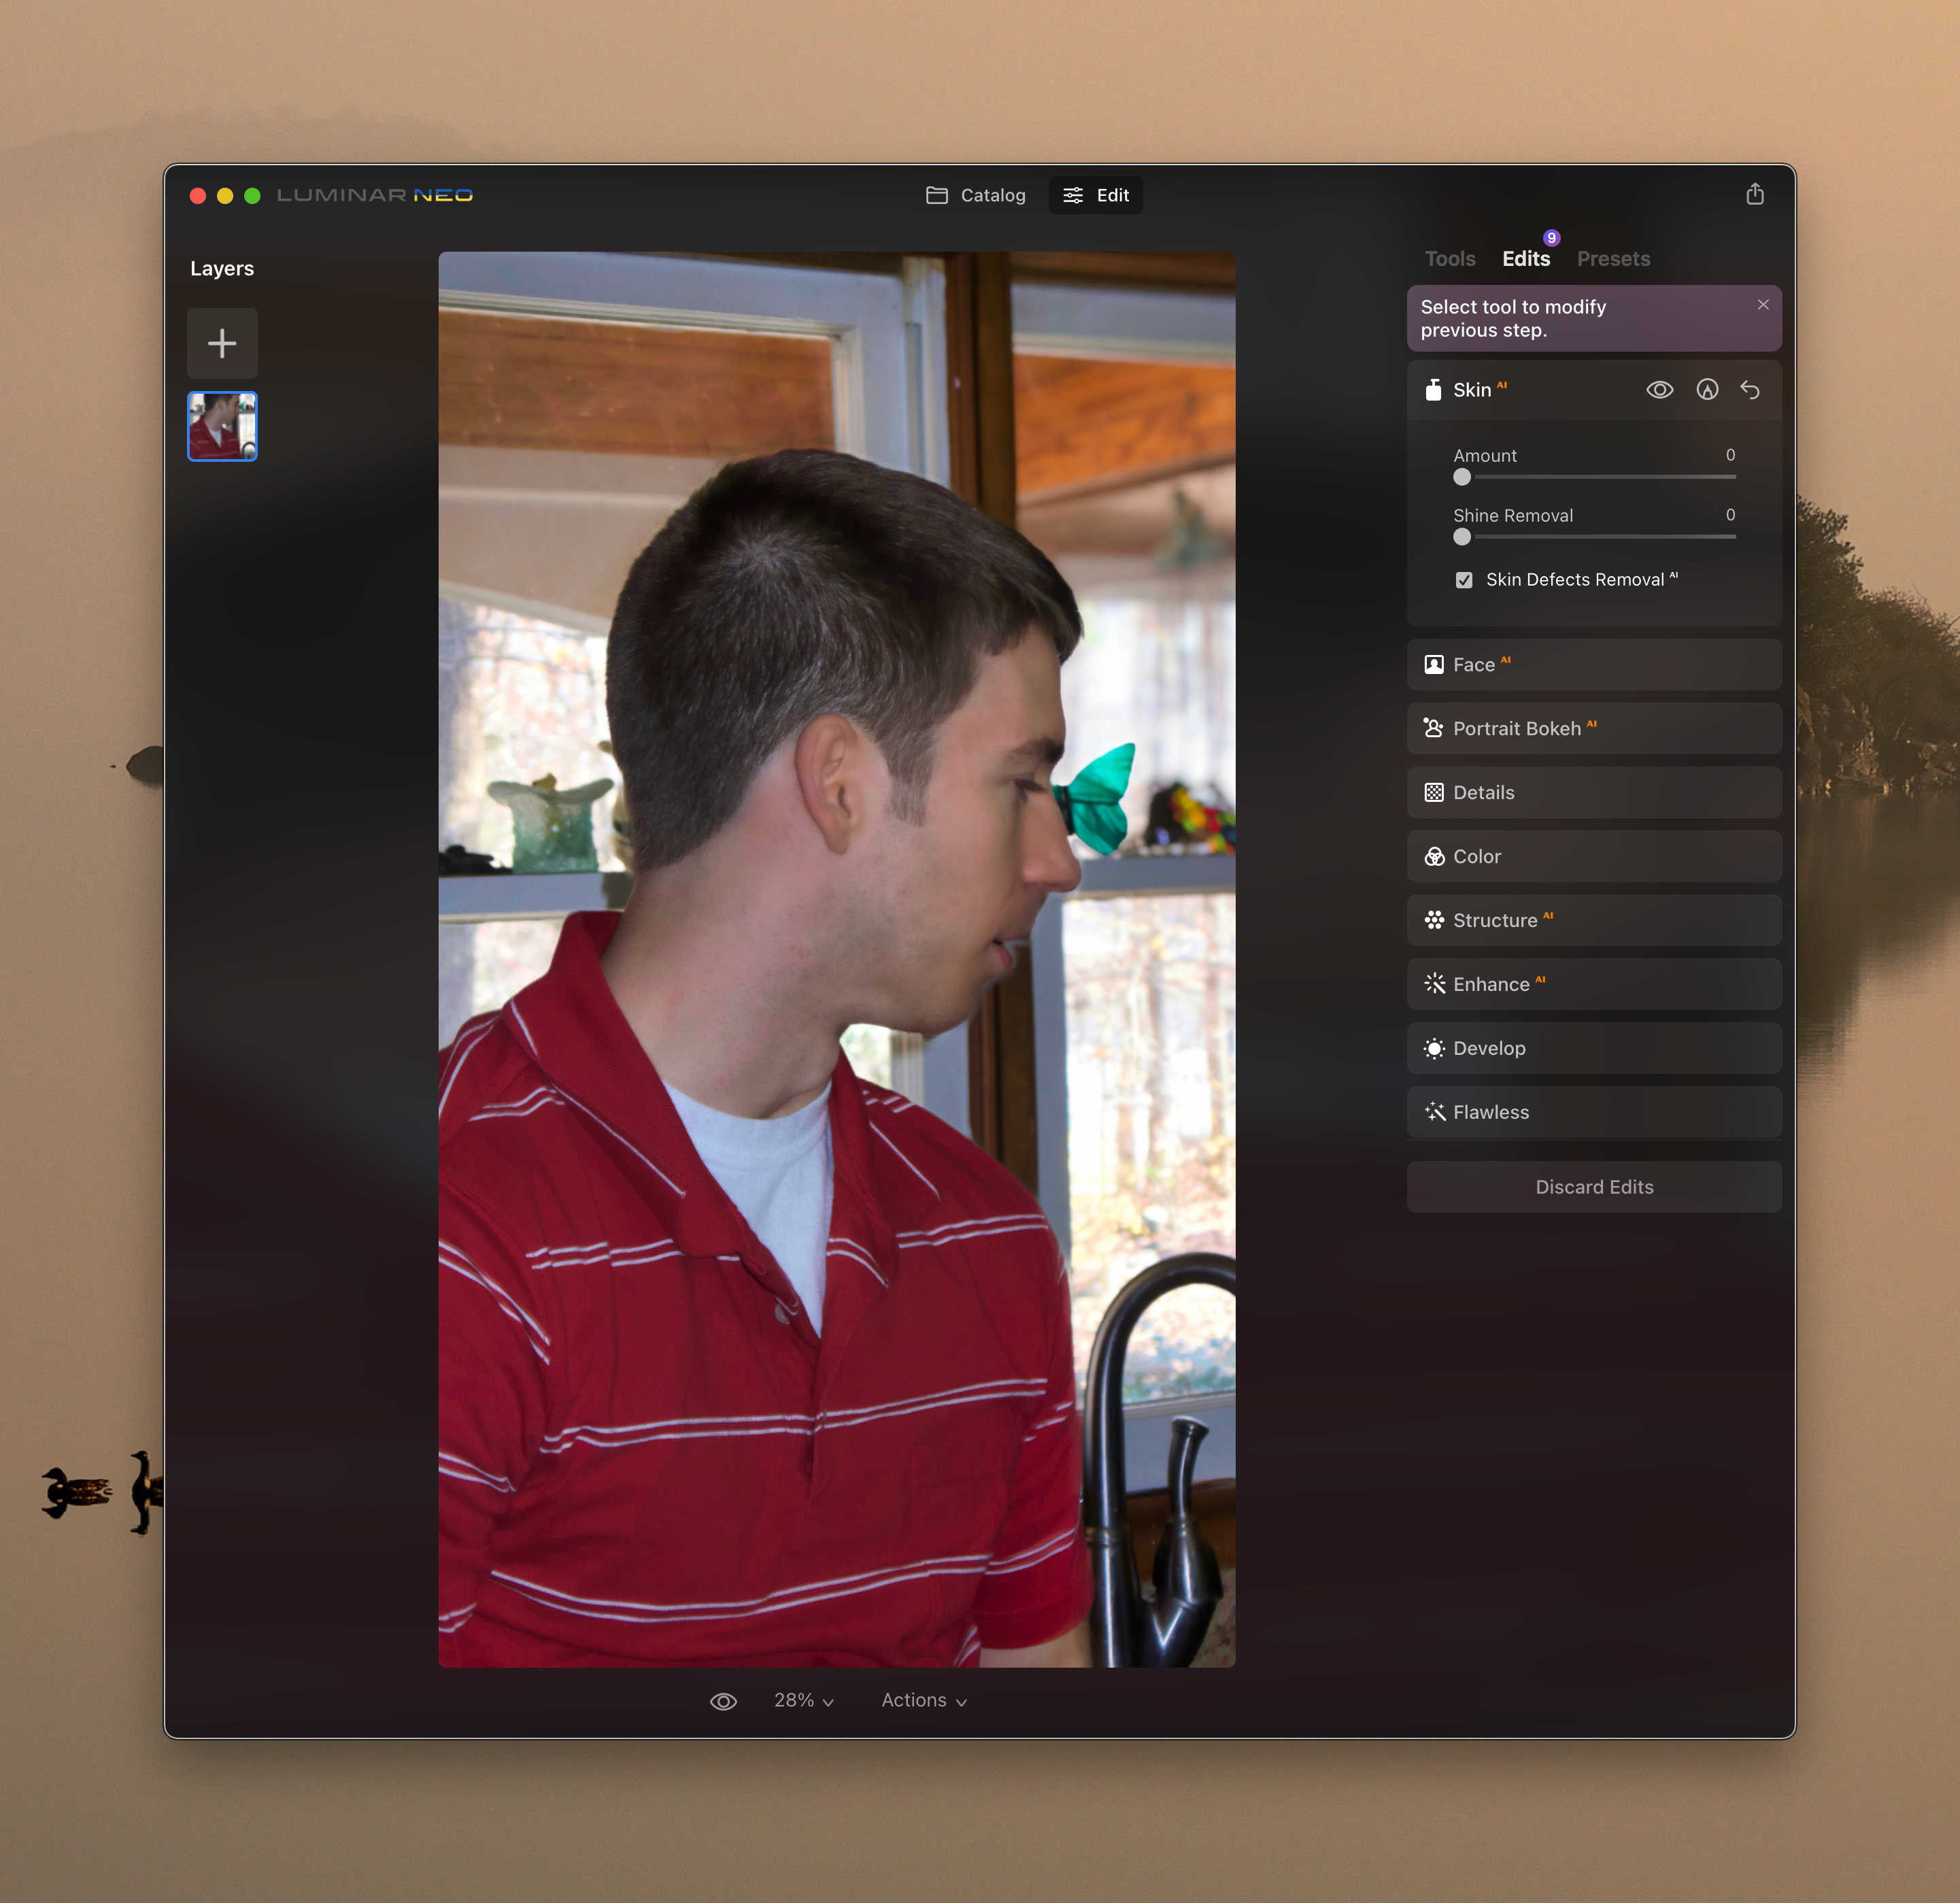
And here’s the finished result. Some enhancement of lips and skin including a touch of color produce the result below.

In editing this ancient image of Andrew, I made the edits shown in the stack below. Luminar Neo preserves these edits in the catalog.
Here we see the catalog and can choose images for review or work/rework.

When looking at the catalog, Luminar shows the raw image. When selected for editing, Luminar shows the image rendered with the current edit stack applied.
My favorite Sycamore open in Luminar Neo.
And the same image opened in Photos with Luminar Neo opened as an external editor. Note that the catalog can’t be seen and the edits sequence is a bit different as Photos handed off the original image for editing and not the rendering I made earlier today.
If you need to refine an edit in the future, you must bring the image into the Luminar catalog and edit it directly rather than from Photos. Photos will make you start over. Or give you your edited image as if it were the original. Photos does not preserve Neo’s edit instructions stack or any trickery with layers.

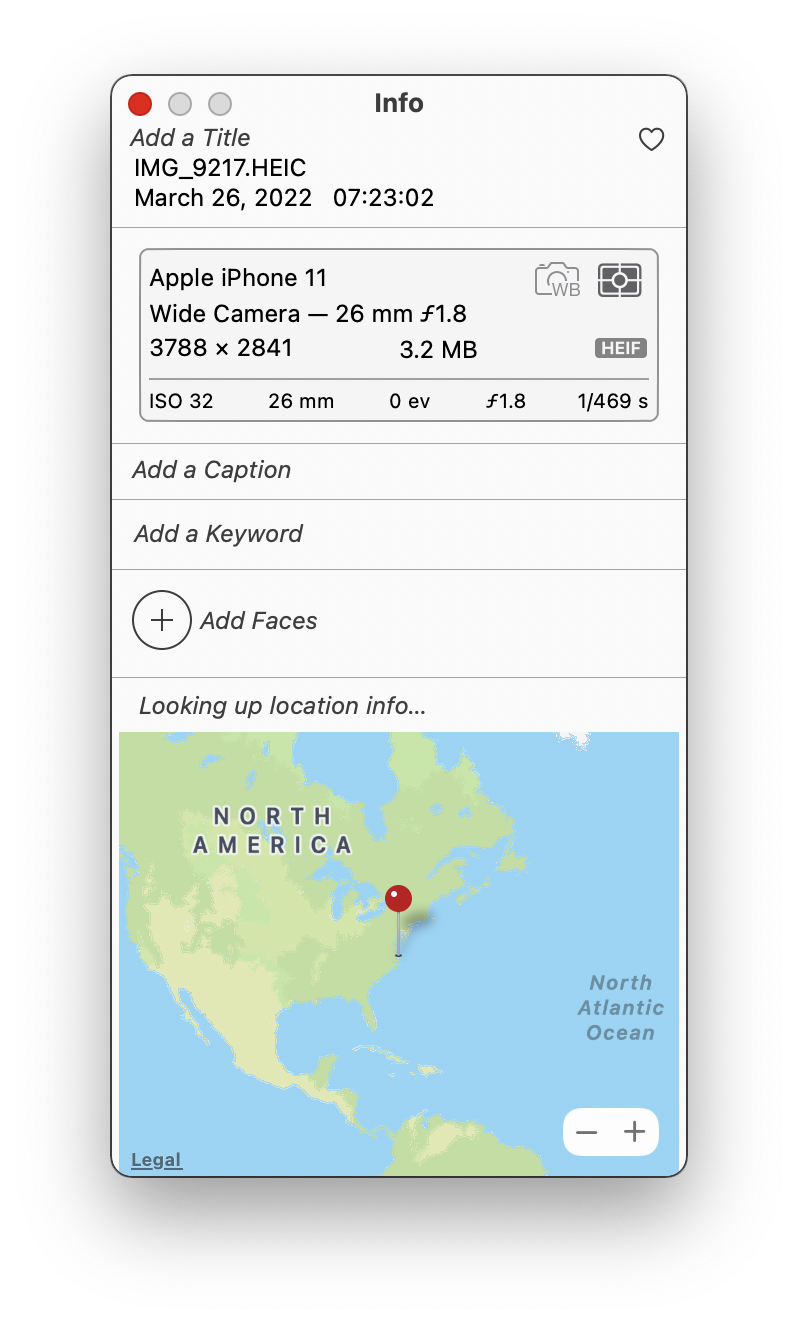
You can do this by finding the image in Photos, doing a get info operation, and finding the file in Finder.

And Get Info from Photos.
And here’s the hellebores edited. Photos ran this one down in the library and let us open it directly in Luminar Neo where we applied a quick fix, a crop, and some fiddling with the tools as shown in the edit stack below.

And here’s the edit stack.
And here’s a porch candid from long ago shot with a Panasonic compact point and shoot camera.

Luminar Neo can remove moles and such and will lighten beard shadow. And it was able to blur the background in this image with some coaching to blur the person behind Kory.

You must be logged in to post a comment.