
The Ubiquity UniFi Protect cameras went missing from Apple HomeKit Secure Video. Some updates and some reconfiguration were needed to revive them.
- The nodejs library had gone out of date
- The various plugins had been revised
- The UniFi credentials system had changed
- The beast needed reconfigured
Just the usual DIY bit rot and acts of Apple. There is nothing hard here but it took some effort to gather together the needed instructions and to locate the Home Bridge reset procedure. To save others this leg work, I’ve gathered together the work flow and primary references.
Revisions
- 2022-11-26 Original
References
- https://homebridge.io/ for an introduction to Home Bridge
- https://github.com/hjdhjd/homebridge-unifi-protect#readme introduces the UniFi Protect Home Bridge Plugin.
- https://github.com/homebridge/homebridge/wiki/How-To-Update-Node.js
- https://github.com/homebridge/homebridge HomeBridge project root at GitHub.
Updating Node.JS
It was really as easy as described. Open a shell from the HomeBridge dashboard.
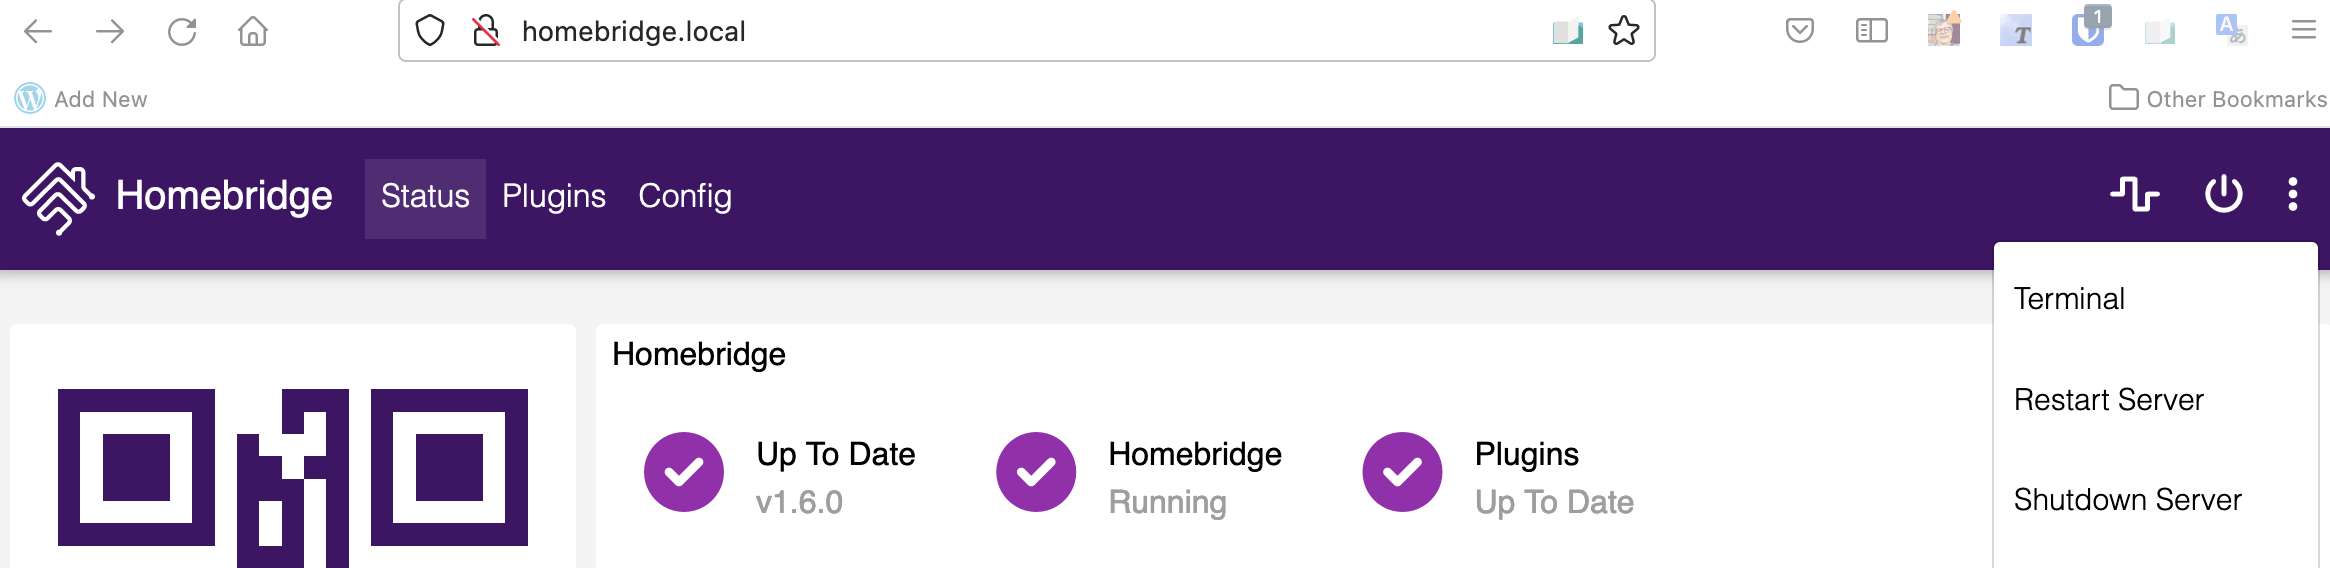
Click on the … menu item and select the terminal. The terminal will open. This is the Raspbian console shell. Here you can update the package list, upgrade to the latest packages, and run a shell command to schlep and install the latest Node.js. From shell history, here’s what I did in the terminal.
- sudo apt update
- sudo apt upgrade
- sudo apt install nodejs
- sudo hb-service update-node
Updating Plugins
There is also web UI support for plugin installation, configuration, and updating.
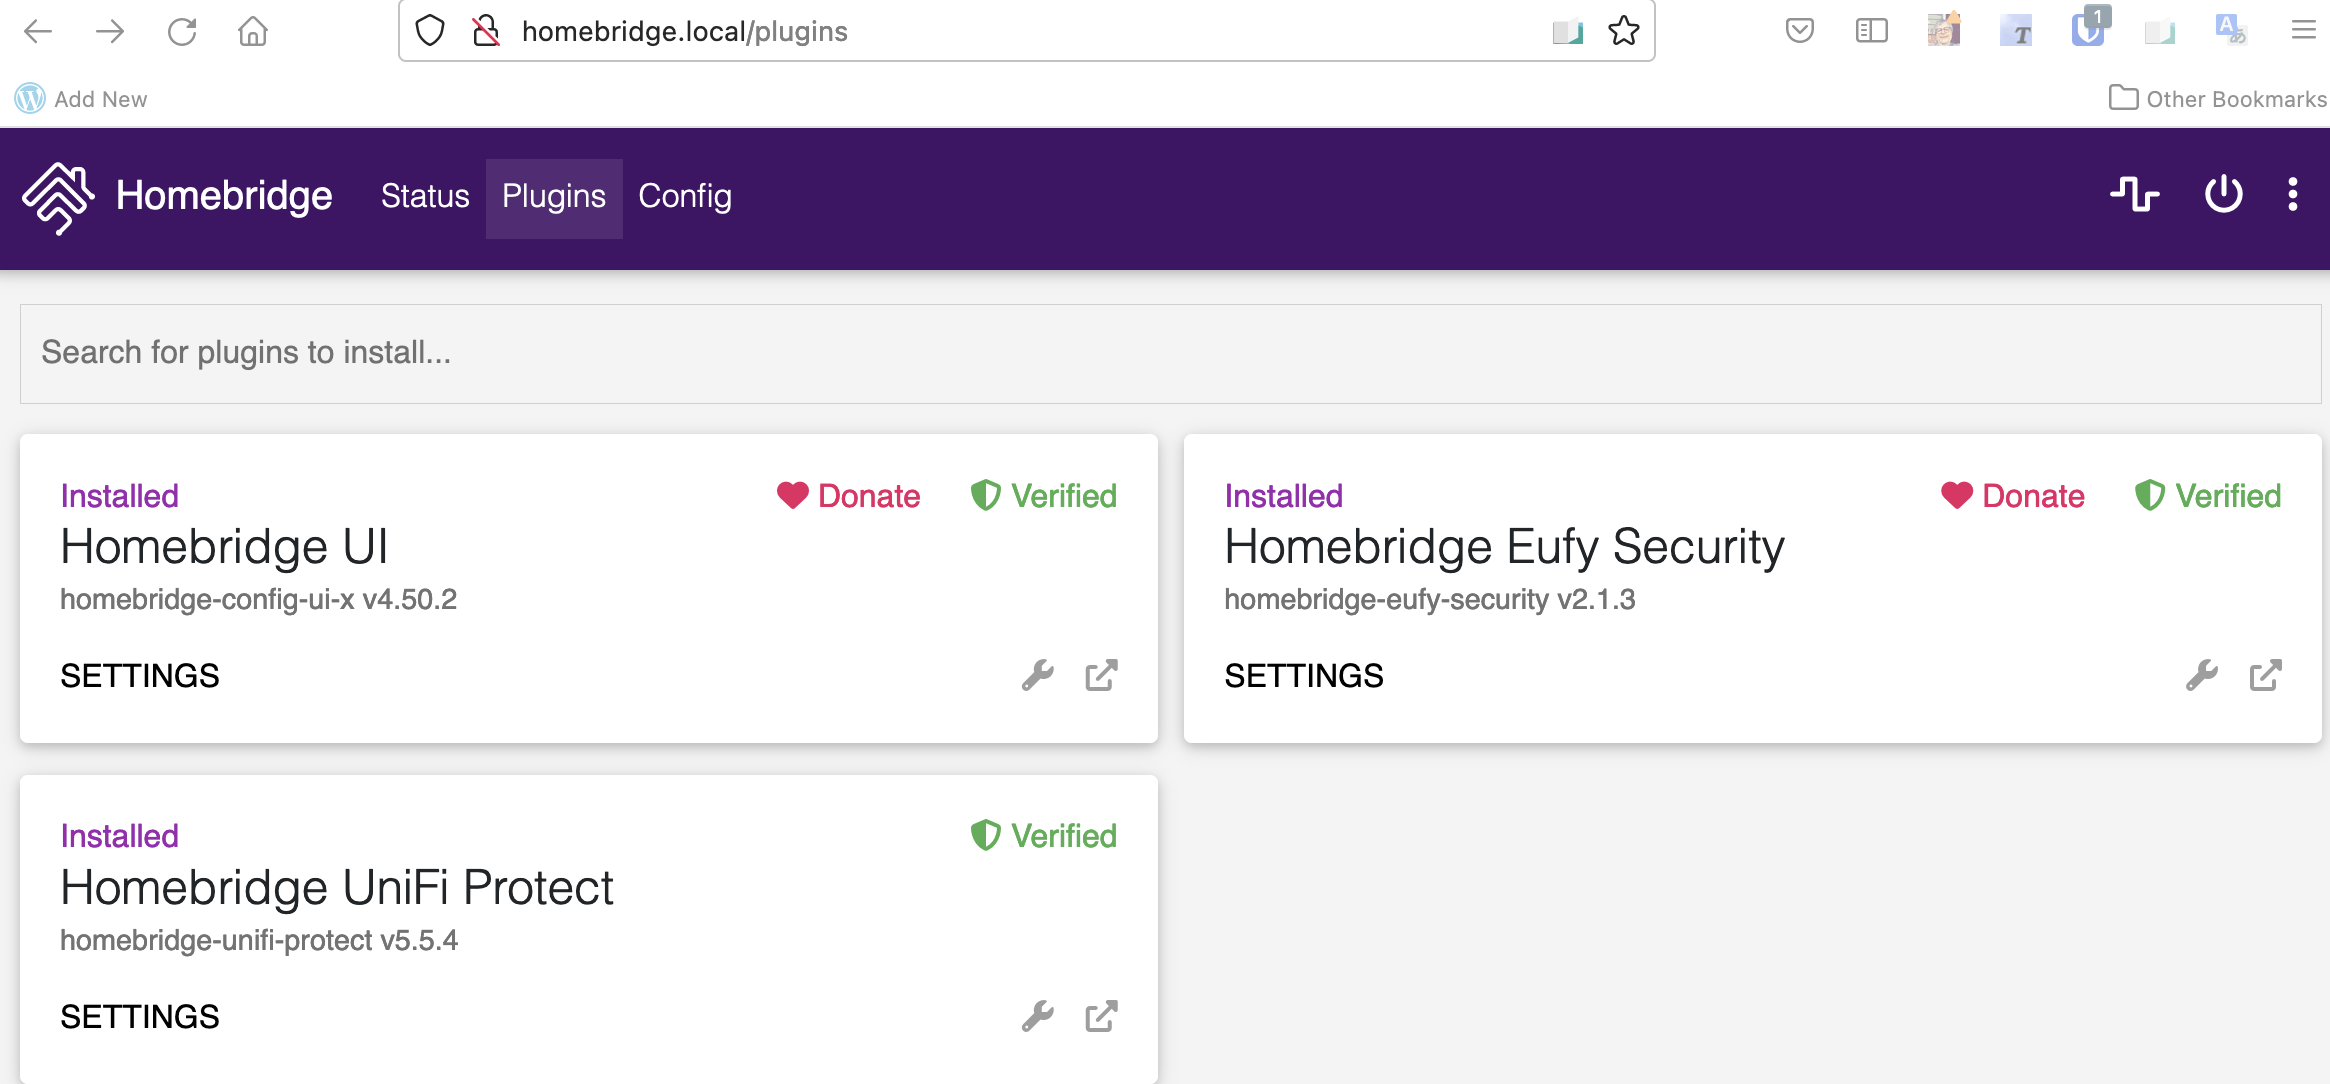
After HomeBridge is sorted, update the plugins using the Plugins page above. Plugins having updates available will indicate that they can be updated. Click the Update link and allow the plugin to update. To activate the plugins, a restart is required. You can restart 1 by 1 or wait until the end if you’re feeling lucky.
When I updated Eufy Security, I was told Node JS was out of date so I finally updated it as the installed version 14 was about to go out of support. This module adds EuFy Door Bell support which is not covered by the official EuFy bridge. I may eventually retire this plugin.
Review Plugin Settings
Click the SETTINGS link to open the plugin’s settings pane. Review and update the settings of each.
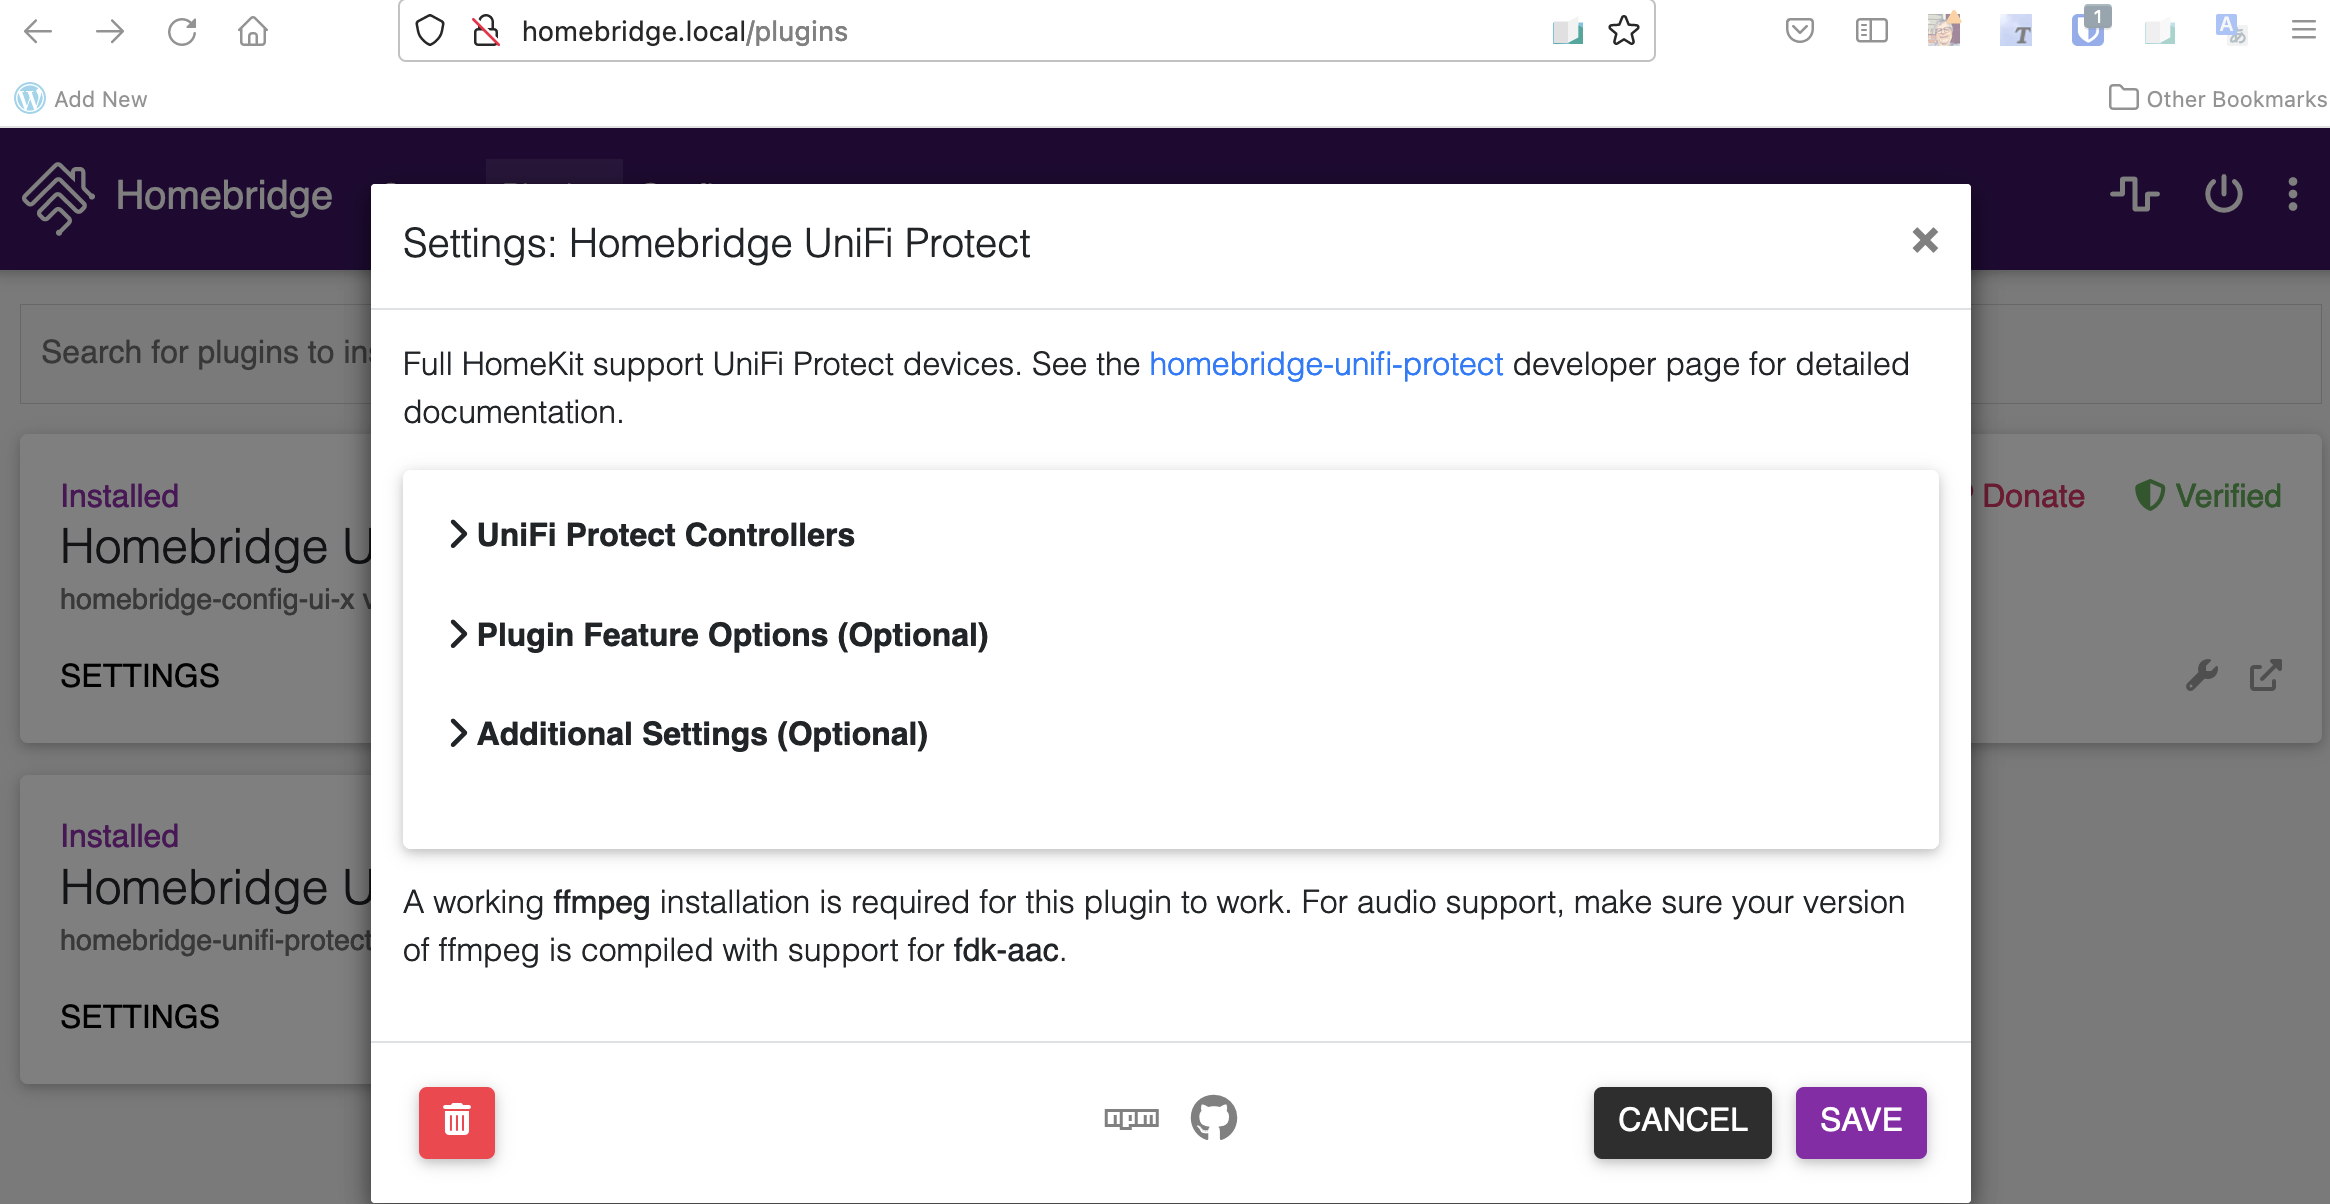
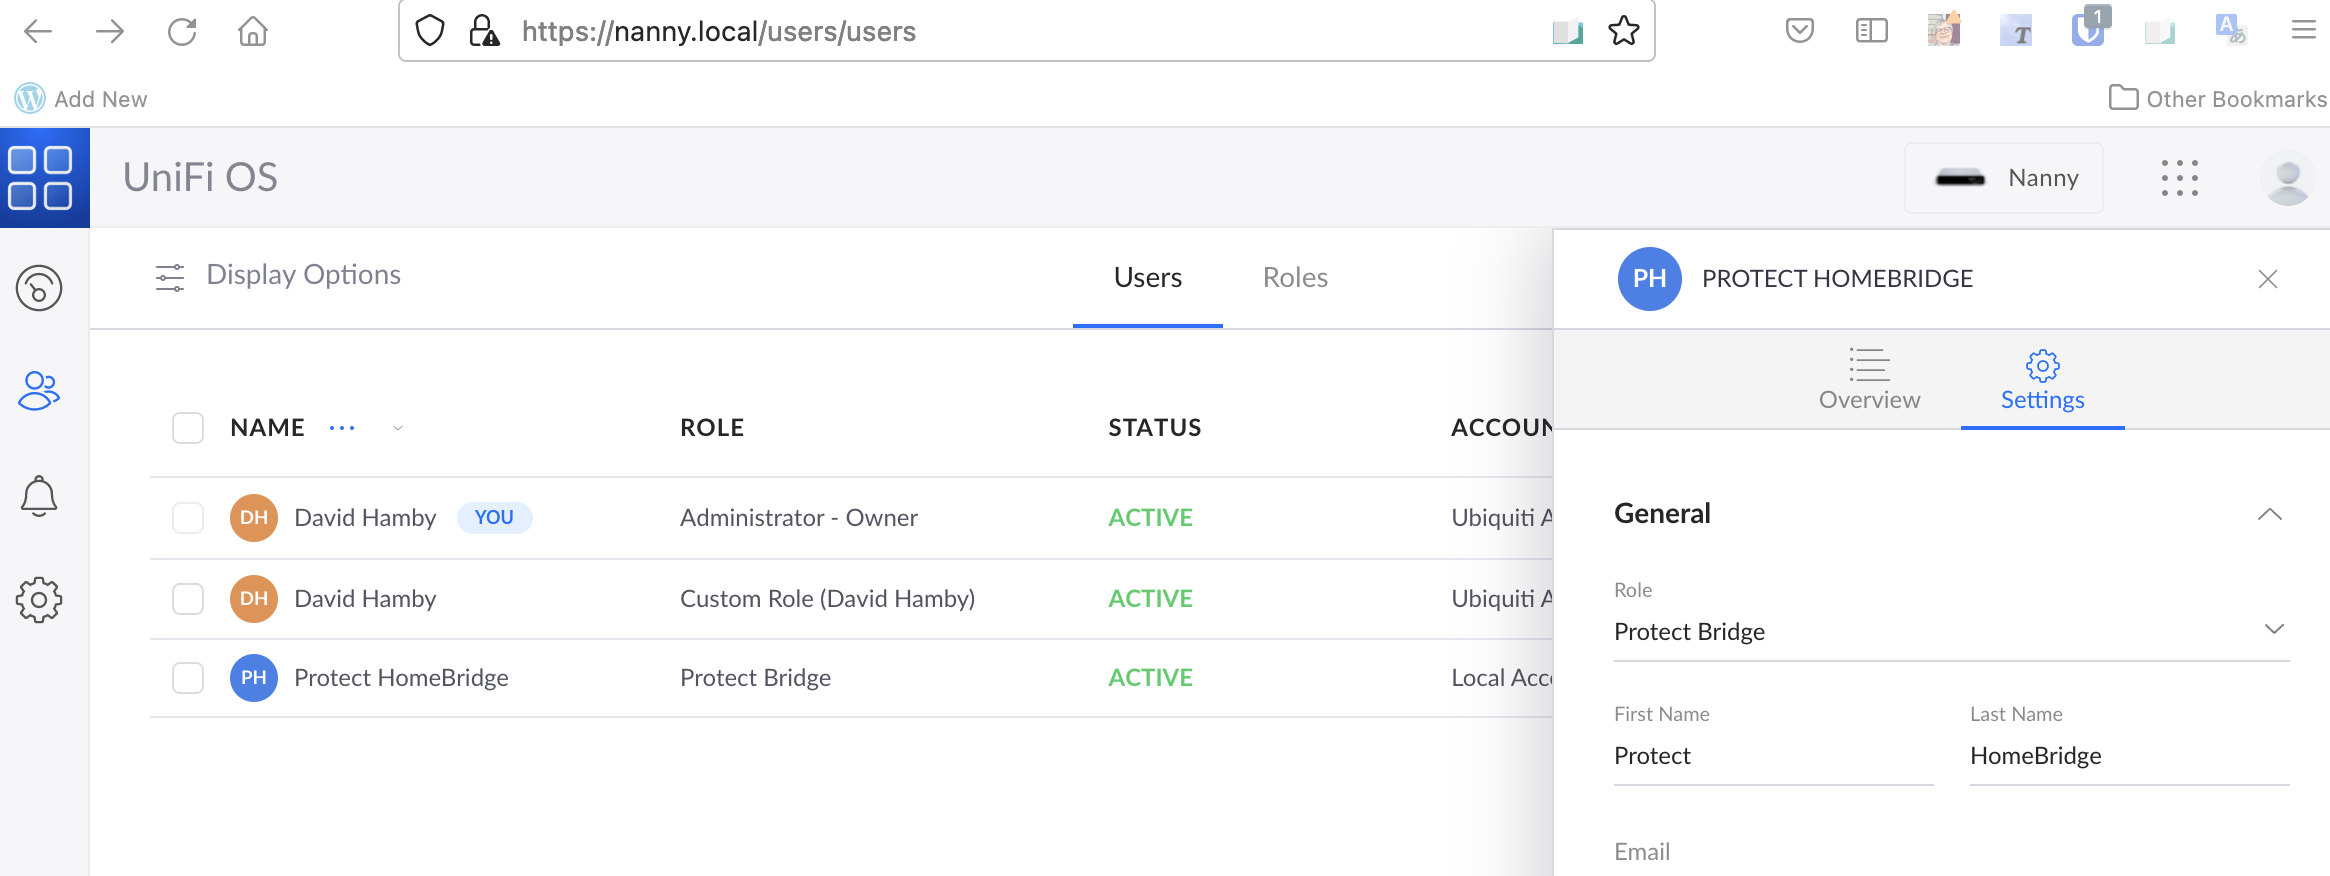
The first item contains the information needed for HomeBridge to contact your UniFi Protect NVR to request video. For it to do this, a local view-only Protect user must be configured in UniFi Controller’s user management application. Assign a password. Do not enable 2FA for this account as HomeBridge cannot generate 2FA tokens at this time.
The first item is closed because it has plain text of the credentials HomeBridge uses to connect to UniFi Protect. I have 2FA on and the Protect user may only view cameras.
The other features are optional.
There should be no need to edit any of the JSON settings documents by hand. The UI should do it all for you.
Create A UniFi Protect User if Needed
UniFi Protect Plugin logs in as a local view-only UniFi Protect user. Set up a user name and password for this purpose and save them in your password manager.
Enable RTSP Streams for HomeKit Visible Cameras
HomeBridge Unifi Protect plugin will auto-configure each RTSP video stream available from the UniFi Controller. Set these up on the Camera settings advanced settings section. Ensure that one stream is on. HomeBridge has the smarts to handle the rest of the configuration.

Reconfigure HomeBridge if Needed
Apple Home App kept refusing to play with the updated HomeBridge as it was already added but different than before. It advised resetting the bridge device. The … menu has an item that opens the HomeBridge configuration page where you can remove the camera configurations and bridge configuration and re-do it.

Complete both reset steps shown. The bridge will assign a new ID and will reconfigure the Protect controller connection and HomeKit interfaces. Apple Home will now let you add the bridge and walk you though setup of each child device.
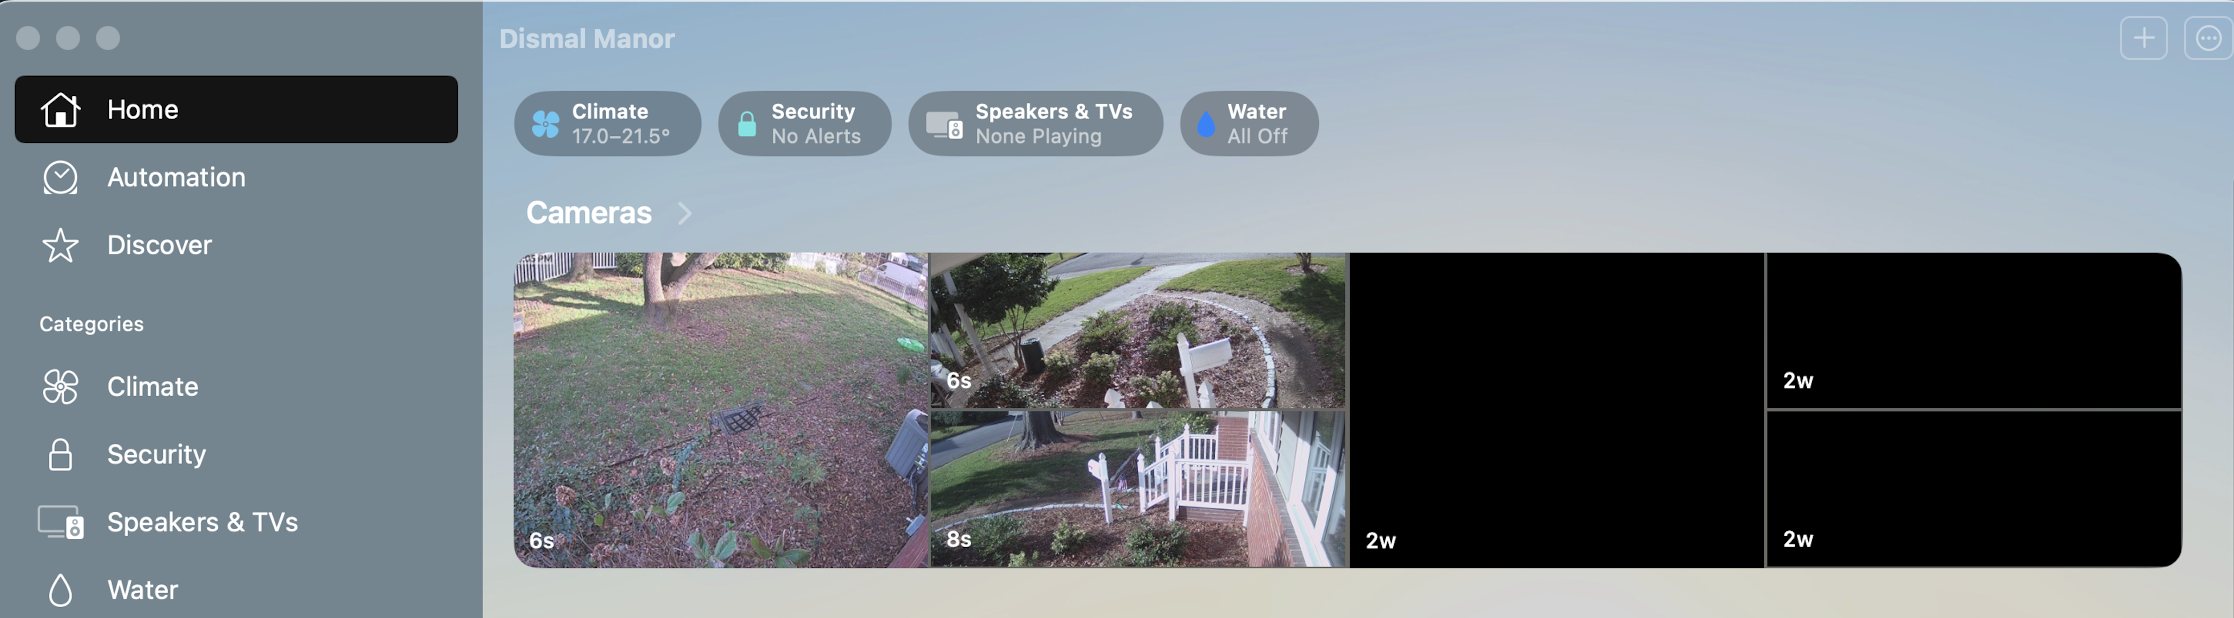
Add the Bridge to Home App
The bridge adds to Home just as other gadgets do. Open the app, pick the add (+) and scan the QR or type in the id number. Home will walk you through naming the device, associating it with a room, and adding the bridged capabilities and adding them to rooms. The finished product will look like this.

You must be logged in to post a comment.