
John Darko of Darko.Audio fame asked what you hide your Raspberry Pi based audio player behind. That got me thinking. Give it a face like a Bryston Audio BDP-Pi player. Could that be done?
John was a fan of the RoPieee Linux plus Roon Bridge distribution so I gave RoPieee a try. In reading the RoPieee installation notes, I noticed that it supported the Raspberry Pi 7 inch touchscreen display. Having one lying around, I decided to add it to the basic Signature One player.
As always with DIY, some assembly is required and it is not all in the fine manual. I was using my display with an Allo DigiOne Signature HAT assembly. This HAT blocks access to the GPIO power pins. Oops — what’s the work around. Keep reading after the break.
References
- https://www.allo.com/sparky/digione-signature.html
- https://www.ropieee.org
- https://thepihut.com/blogs/raspberry-pi-tutorials/45295044-raspberry-pi-7-touch-screen-assembly-guide
Revision History
05 April 2019
- Added a masthead photo of RoPieee while Roon is idle.
- Added screen shots of each of the RoPieee setup dialogs visited
- Added screen shot of RoPieee playing a track
What You’ll Need
The total cost of this project buying everything new is about $400 for a display, Raspberry Pi 3, and Allo DigiOne Signature kit. You will need four additional 11 mm standoffs to stack the DigiOne with the display controller. The Signature display case will not fit. You will also need 3 good quality Raspberry Pi 2.5 amp power supplies, one for the display and 2 for the DigiOne Signature.
Having a solid stack with all cards supported by standoffs is important. The display will rest on the DigiOne card edge. The SPDIF and and display power connectors will be up in this orientation.
The problem
The Raspberry Pi stacks on top of the touchscreen controller but is connected by the display ribbon cable. Power is normally supplied to the display and carried to the Raspberry Pi by jumpers connecting to the GPIO header.
The Allo DigiOne Signature HAT consists of two boards that stack on top of the Raspberry Pi, an isolation board and the AES-3 interface board (AES board). The isolation board connects to the GPIO connector and through separate pins to the AES-3 interface board. Surprise, the jumpers that power the Pi from the display cannot be connected.
Second surprise. Allo didn’t think to tell anybody about this situation. After all, who would try to make a DIY Bryston Audio BDP-Pi from Raspberry Pi bits? Everybody would just buy the assembled DigiOne Signature directly from Allo. Right. I did and it took about 2 weeks to begin this hack.
Installing RoPieee with a Display
At the risk of sounding like Home Improvement’s Tim the tool man, the problem is more power. The Allo interface board has 2 power connectors, one for the isolation board and one for the interface board. The interface board has a regulator that supplies power to the Raspberry Pi. The AES-3 board has a second regulator that supplies clean power to the board electronics. The Allo DigiOne Signature design leaves the display high and dry.
I first tried to power the display from a Raspberry Pi USB-A connector using a short USB A to micro USB connector cable. The display remained dark during boot up. Obviously, this lash up would not work. Power had to come to the display via its micro USB power connector.
Can I connect a separate USB power supply to the display. It turns out I can. But it requires a different workflow than that described in the display installation and RoPieee installation guides. But that’s where we start.
RoPieee only checks for the display on the first boot so it can install the proper software components. Once the first boot is over, it lives with those modules forever more. So the first boot must find the display. If it is not detected, RoPieee installation will not install the display software bits. How do we ensure RoPieee installs the display software bits? Like this.
- Download RoPiEE and install it to a microSD card.
- Install the microSD card in the Raspberry Pi
- Mount and connect the Raspberry Pi to the display as described in the display installation guide. Install the 5 volt jumpers between the display board and the Pi GPIO header as instructed.
- Connect the Raspberry Pi to your Ethernet. This is important as RoPieee will pull software from home to complete the installation. This process takes several automatic restarts.
- Connect power to the display and allow RoPieee to do its thing.
- Wait for the disk activity light to switch from crazy busy to periodic sync operations.
- When complete, the display will show a RoPieee screen with additional instructions to set up RoPieee to control a specific device.
- Browse to RoPieee.local port 80, select the advanced tab, and shutdown the RoPieee. Remove power in preparation for Allo DigiOne Signature installation.
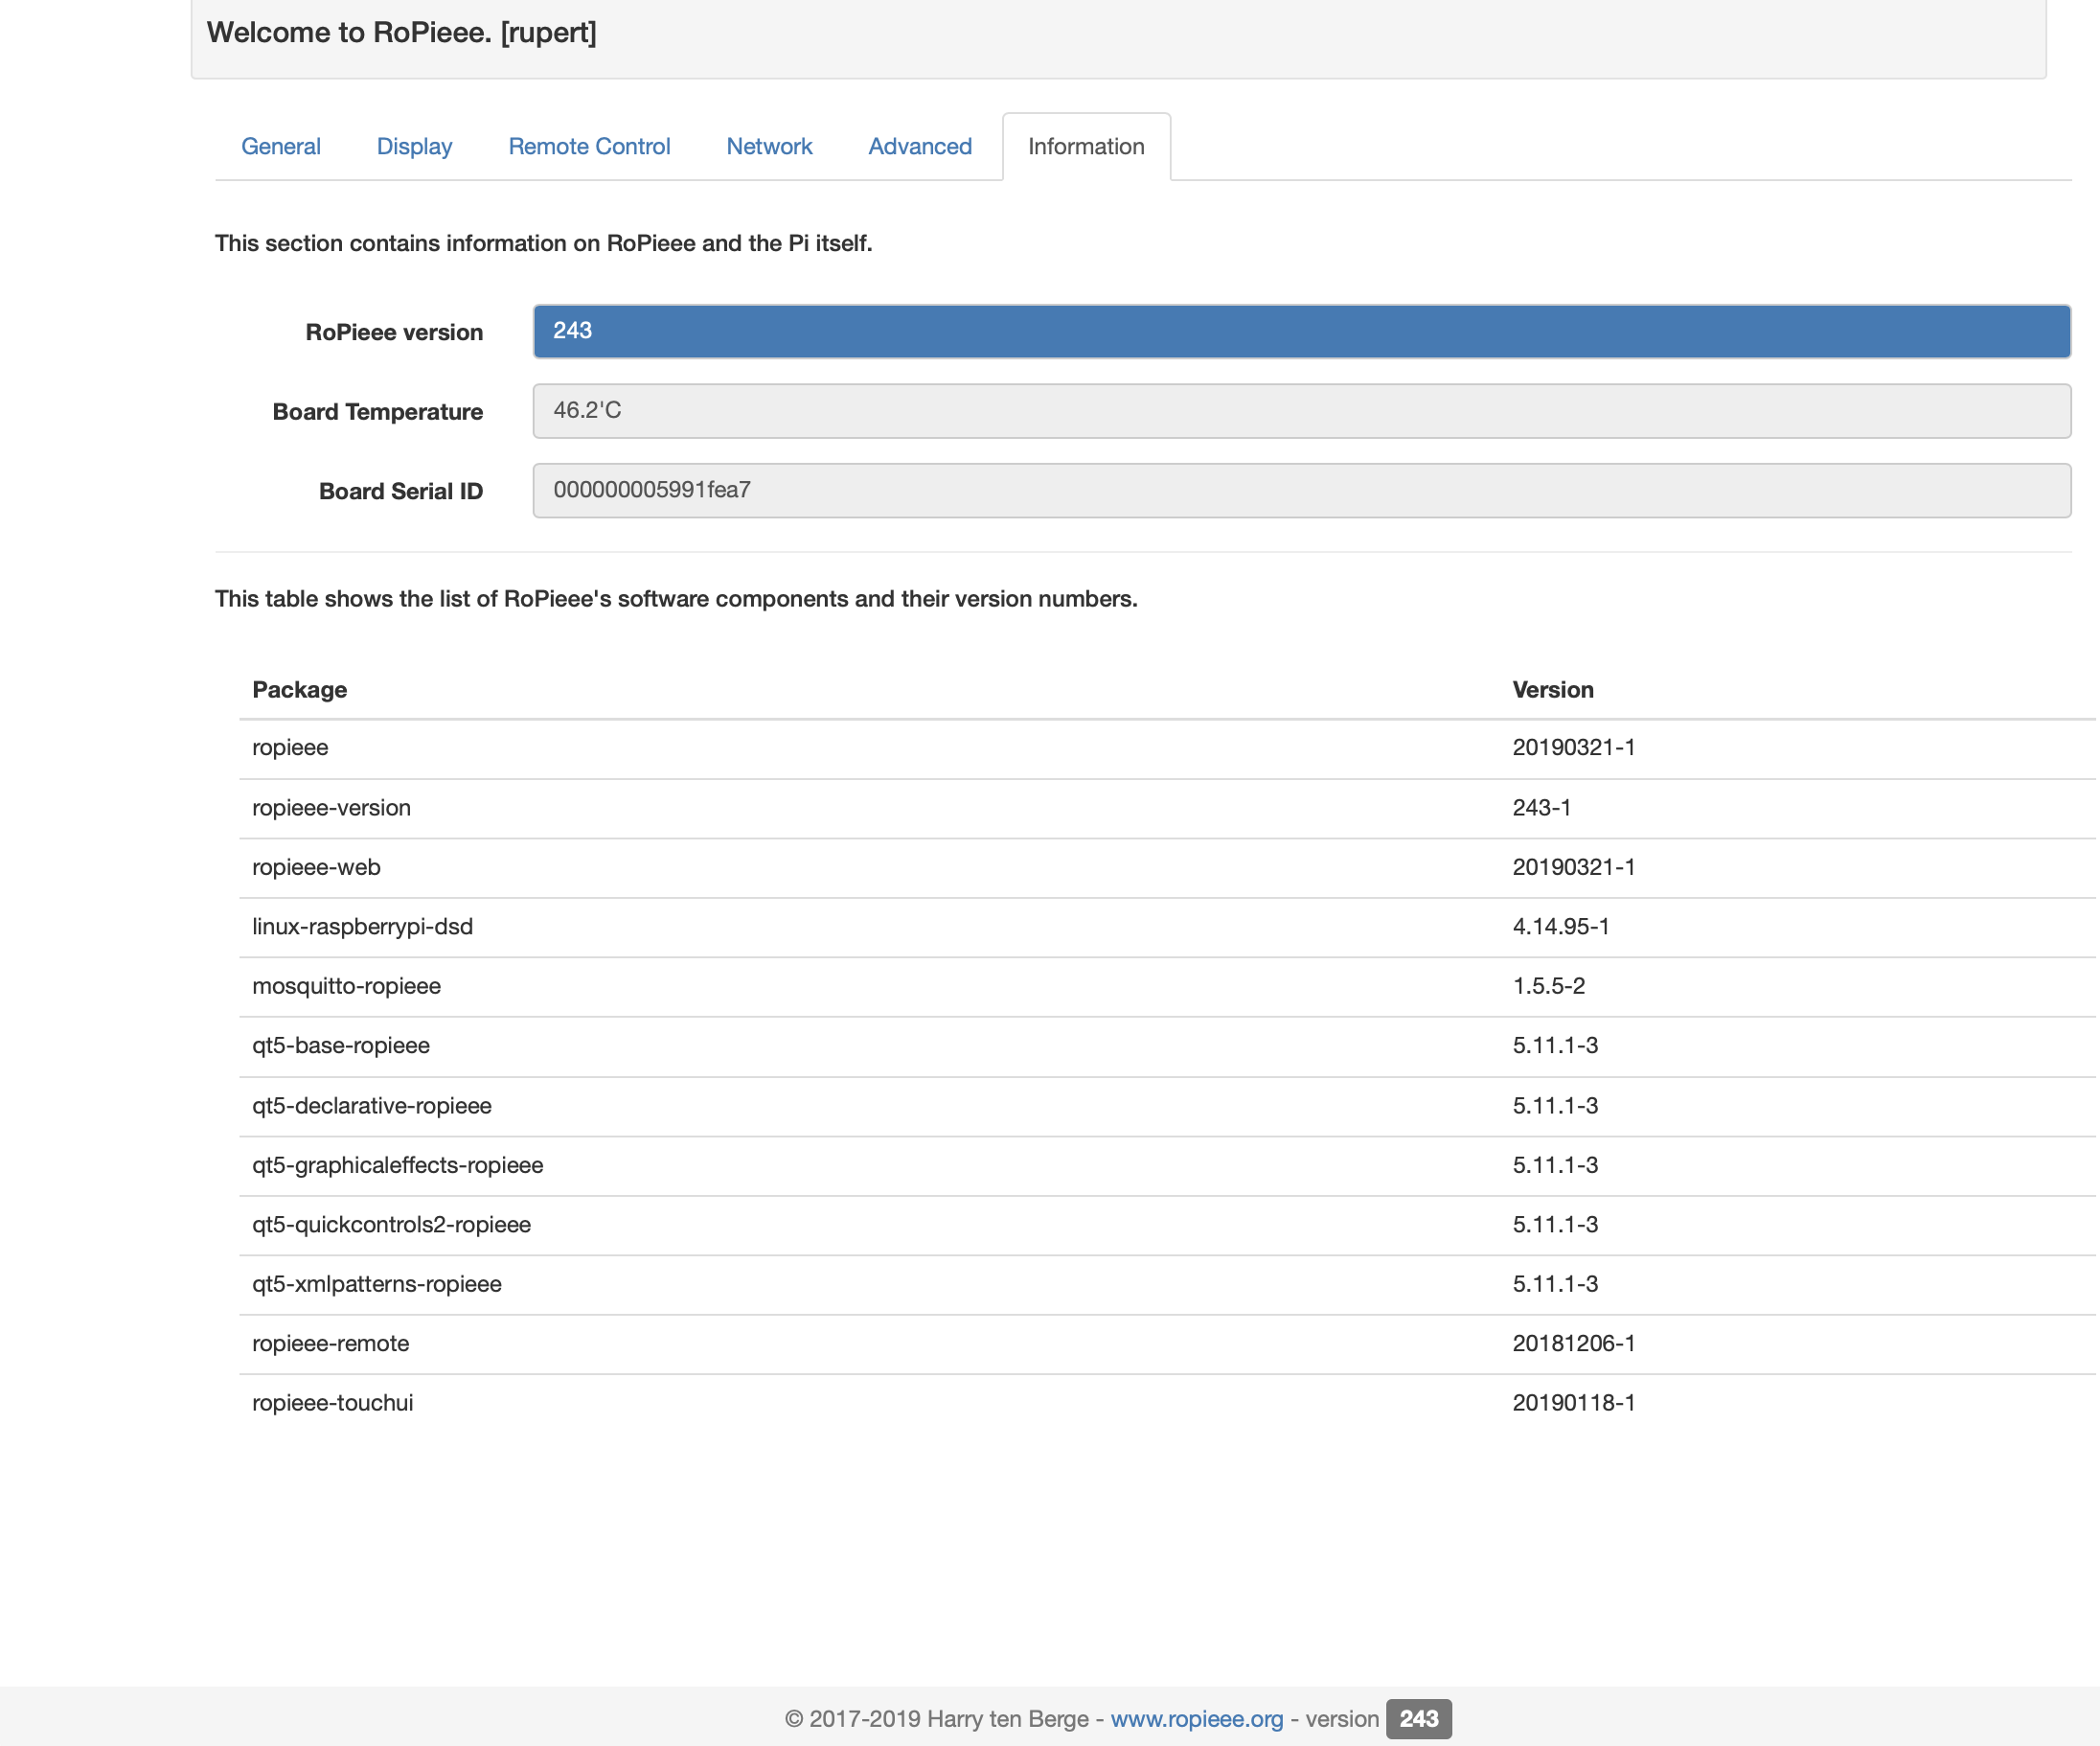
After installation, the RoPieee Information page will appear like this example
Information Display Shows RoPieee Modules
Adding the DigiOne Signature
Now that RoPieee has completed first boot and installed the display support software, the Raspberry Pi is ready for HAT installation. Once the RoPieee has shutdown, remove power from the display and remove the GPIO jumpers.
Add the isolation board and AES board to the stack following Allo’s instructions.
When powering up, all 3 power supply warts should be powered from a single outlet strip. I use 1 foot NEMA extension cords to locate the warts away from the strip outlets.
Follow this sequence for applying power.
- Connect the Pi to your Ethernet
- Connect a power supply to the display. It will remain dark.
- Connect a Allo power supply to the AES board clean power connector. Wait for the capacitors to charge (wish there were a ready light but there is not).
- Connect an Allo power supply to the AES board pi power connector.
- Allow the Raspberry Pi to boot. The display should show the Ri splash screen and console boot messages.
- Once booting is complete, the display will show configuration instructions for a RoPieee having a touchscreen display.
Configuring the Display as a Roon Remote
The touchscreen allows the RoPieee touchscreen to control display power, pause and resume playback, select repeat play, and a few other things I’ve not yet tried. This requires some configuration in roon and in RoPieee.
Roon Configuration
Find your player in Settings -> Audio. Give it a name. Mine is Lounge Gumby
RoPieee Configuration
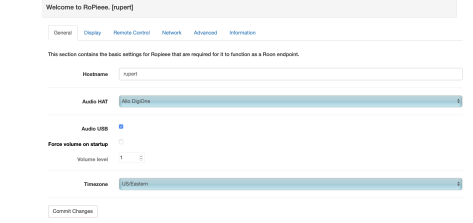
Browse to RoPieee.local (or http://ropiee) and visit the general tab. Make the following configuration changes.
- Host name: set it to something you’ll like. I named mine after a doglet I follow on Twitter.
- Select the type of audio HAT or interface being used.
- Set your timezone.
- Commit and save these changes.
General Configuration Dialog as Set
Visit the Display tab and enter the Roon device name, in this example, Lounge Gumby. Commit the change.
Display Dialog as Set

Visit the advanced tab and make the following optional settings.
- Select the update channel (Stable)
- Select the update time (on boot)
- Select the boot schedule (Weekly is good)
- Leave the boot time set to 0-dark-04 (3 am but not on the hour is good). Lets cron hourly tasks complete.
- Commit and save the changes.
- Reboot to apply all changes.
Advanced Dialog as Set

And that’s it

RoPieee now has a local name, a configured audio device paired with the display, and is ready to display what is playing and pause, resume, and repeat play a track.
When you first turn on RoPieee, it will show the splash, the boot console, and come to wait showing a digital clock. When you start audio playing on that endpoint, it will show the current album, track, and playback controls. Operating a playback control will cause the selected action to happen immediately. When not desired, the display can be blanked by touching the power button shown in the upper right corner.

You must be logged in to post a comment.