FreeNAS 11.2 has been out for a few weeks. After some time running Roon on a Ubuntu equipped 2009 Mac Mini, I decided I’d give Roon a try in a BHYVE VM on the new FreeNAS build. This note recounts the experience so far. As usual, both FreeNAS and Roon have their secrets and they interact.
References
- FreeNAS 11.2 User Guide (on board)
- http://kb.roonlabs.com/LinuxInstall
- https://www.ubuntu.com/download/desktop/thank-you?country=US&version=18.04.1&architecture=amd64
Hardware Summary
My FreeNAS environment includes
- Supermicro workstation class Xeon MB
- Intel(R) Xeon(R) CPU E3-1225 v5 @ 3.30GHz (4 cores)
- 32 GB memory
- Six 4 TB storage array class SATA disks split between two manufactures
- Ubiquity EdgeRouter Lite gateway
- Ubiquity Unifi Switch 8 core switch
- Netgear ORBI WiFi in access point mode
Software
- Roon 1.6
- FreeNAS 11.2
- Ubuntu Desktop 18.04 minimal install
Preconditions
FreeNAS 11.1.2 was previously running on the host. The normal update procedure took the machine from 11.1.2 to 11.2 without incident.
Roon had previously been run on the machine but was moved to a Mac Mini when it became unstable somewhere along the 11.1 upgrade trail. The original was in an IOHYVE administered BHYVE. The IOHYVE and GUI VM environments were separate and somehow the original fell between the cracks as updating happened. I had the Mac Mini in retirement (it is around to digitize LPs) so I put Ubuntu 18.04 LTS on it and moved Roon over there for about 6 months.
Getting bored one evening, I decided to move Roon back to the Xeon server. Being over there greatly reduces disk traffic as the music share and the Roon instance are on the same box.
Getting Started
In preparation I downloaded Ubuntu 18.04 and saved it to a CIFS share used to keep ISO images of OS releases. I also downloaded the Roon 1.6 Linux easy installation script later following the Roon installation instructions.
Roon Database Backup
To migrate a Roon installation to new hardware is a bit different than initial installation. Roon requires a license for each server environment. To bring up a new server without buying a new license requires transferring the Roon database and license from the old to the new. To prepare for the transfer, back up the database.
Database backup is straight forward following the Roon Backup dialogs. Except for one little thing. Roon is running as root (if you weren’t a clever lad and moved roon to daemon where it should be). And Roon is unable to mount CIFS file systems read-write. No way in hell will Roon write to a CIFS file system, well not that I could find.
I finally ended up making my backup to /tmp and using the primary user file manager to move the directory to a USB stick. Using the USB stick, I put the database on a CIFS share using MacOS. This is the same share holding my media so it is readable by Roon.
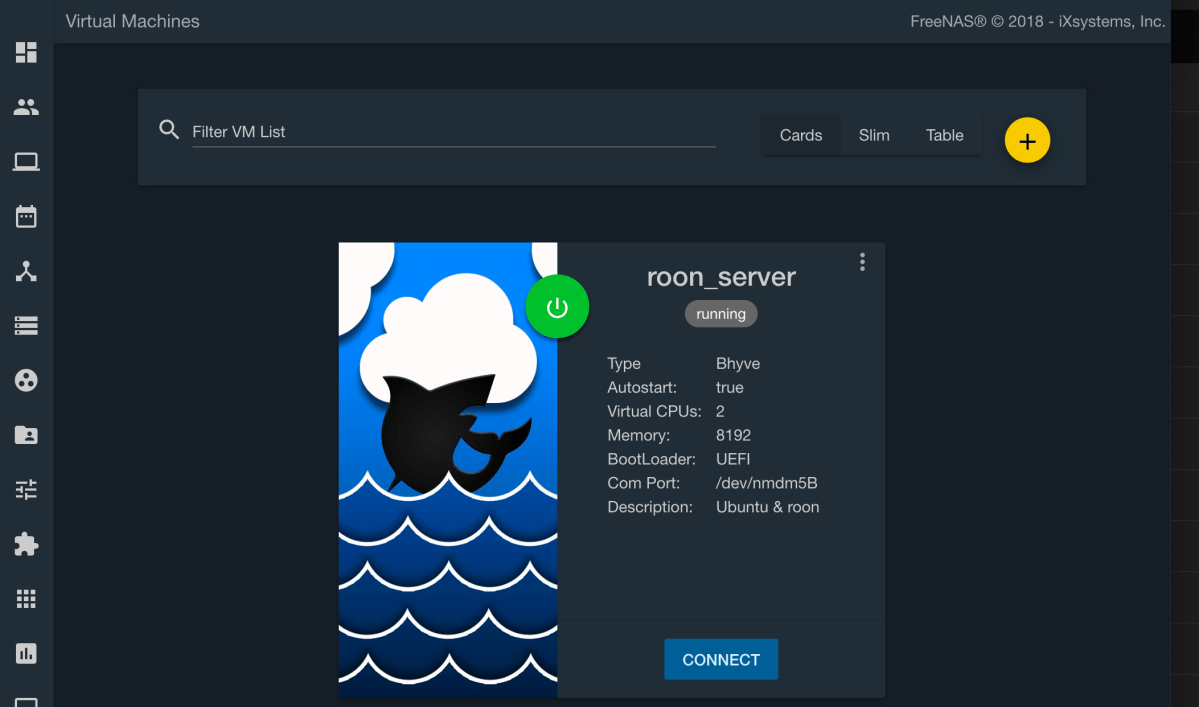
BHYVE Preparation
Materials in hand, I created a small BHYVE environment
- 2 virtual processors
- 8 GB memory
- 64 GB disk ZVOL
- NIC EM0
- VNC framebuffer
I originally created 2 ZVOLS, one for the primary VM disk and a second to hold Roon backups. Note that VM disks must be ZVOLS. FreeNAS will not configure a dataset as a virtual disk. I never did find a description of where BHYVE hid disks that weren’t the startup volume. It had not been auto-mounted for me and I didn’t know what it was called to make a /etc/fstab entry for it. I also never got the console working quite right so I could look for it.
For initial boot, I chose VNC synchronous connection (boot holds until VNC connection is established). This option ensured that I could see all of the messaging during Ubuntu startup. After initial installation, I removed this option to allow unattended restarts
Ubuntu Installation
I installed Ubuntu 18.04 LTS into this environment taking the normal installation defaults with the exception of minimal installation (no LibreOffice, games, media players, etc). Ubuntu installed as expected.
Roon Installation
Roon 1.6 installed from the shell script following the instructions. I installed ffmpeg as instructed. I installed libavtools as instructed. When I went to install libasound2, I found that apt had already installed it. I installed CIFS-tools as instructed. The installer script checks for CIFS mount capability whether you expect to use it or not. Then I ran the Roon installation script as instructed.
Roon Setup
When you start Roon for the first time (no credentials in place), Roon offers two choices: start a trial or purchase a license or two, restore a Roon database backup. For the transfer, you choose to restore the database backup. This brings over your Roon service credentials, Tidal credentials, and Qobuz credentials. Once the database is restored, deauthorize the original Roon server. You can connect to it and reauthorize it later if the new installation goes sideways.
All went well. Once Roon had restored the database, I had signed in to Roon, Tidal, and Qobuz, I found my stars and tags did not come over but once authenticated, all of my local music and subscription music were available.
Roon Backups
Disks are a complication. Basically, if you don’t have a domain controller, and you have a mixed Unix, Mac, CIFS environment, you are in authentication Babel. Good luck matching user id numbers as each implementation is free to assign them how it will. And the numbers matter across platforms.
- Roon does not like to write to CIFS disks
- Roon does access mounted disks in /mnt
- I never could get the permissions right to write to disks mounted in /mnt
Back in the old SunOS NFS days, life was good. There was only Sun and Sun licensed NFS installations that behaved themselves and used Yellow Pages for credential sharing. In the good old days, you could have a Sun workstation in service 5 minutes after picking up the box knife to cut the box open. (I miss those days).
Today we are in credential Babel. Enterprise credential environments are just too hard to set up if you’re not a high priest in your day job. So nobody does and the mitigations in the FreeNAS+Roon environment are not written down, well not so Google can find them.
So, I configured Roon to write backups to /var/RoonBackup (or is it plural). I let Roon create the directory so the permissions would be right. I set up a scheduled backup and manually initiated the first one once Roon had settled. Roon will keep 10 (or the number you set). Each appears to run 1 to 2 gigabytes so that 64 GB of space will come in handy. If need be, I can grow the ZVOL.
