This is a picture of the head wall of the hall bath tub surround. When I bought the house, the 50’s blue tile was cracked with what appeared to be grout or caulk in the cracks. The original owner (I’m the second) tried to make a voyage repair. Given that everything was 50’s ugly and tired, the plan was to renovate in 2007. My employer had other ideas and shipped me off to Newport Rhode Island. While up there, the house was on the rental market and the mold kept eating.

I returned in June 2010 and started planning for retirement including a resumption of the restoration of 3444 Fletcher. Last fall (October 2012) I attended the home show to see what had happened and hoping to meet a contractor interested in my project. Bath Fitter was there for show and tell and would happily put new acrylic surfaces over my tired tub and tile. But doing a little reading and knowing there was trouble with the original 1950’s work, a traditional renovation was indicated.
The original construction used drywall for most of the bath surfaces but the wet areas were a scratch coat of plaster on wire lath with tile on top. The scratch coat is porous and a bit crumbly. The working of the walls with time apparently had caused some failures in the plaster which wedged between the tile and plaster causing linear cracks just above the spout and around the corner. Water’s surface tension dragged it into the cracks and the wood became just a little wet. Just wet enough for those black pets to grow. Bath Fitter was willing to cover all of that up with faux tile.
The proper repair is to remove the original interior finish materials, remove the eaten wood, sister up new studs along side the originals and flush with the originals (they are 2×4 for real, not 1.5 by 3.5 or so). They are also dense hard old growth, not farmed stuff. Once studs are repaired, new Durarock or Wonder Board (cement wall board) goes up, acrylic sealer is applied, and tile over the Durarock. That’s the right way to do it. While we’re at it, we’ll also replace the galvanized waste piping with PVC, upgrade the electrical, and insulate the exterior wall.
At the home show, I met Ron Blount, owner of Blount Custom Homes. He’s a Tidewater Home Builder’s guild member and occasional participant in the home show build. He does larger custom homes and a lot of kitchen and bath work. I happened by while the market was still slumbering so he came out for a consultation, worked up a design, and made a proposal which I accepted. The project has gone very well with the first results in use as seen below.
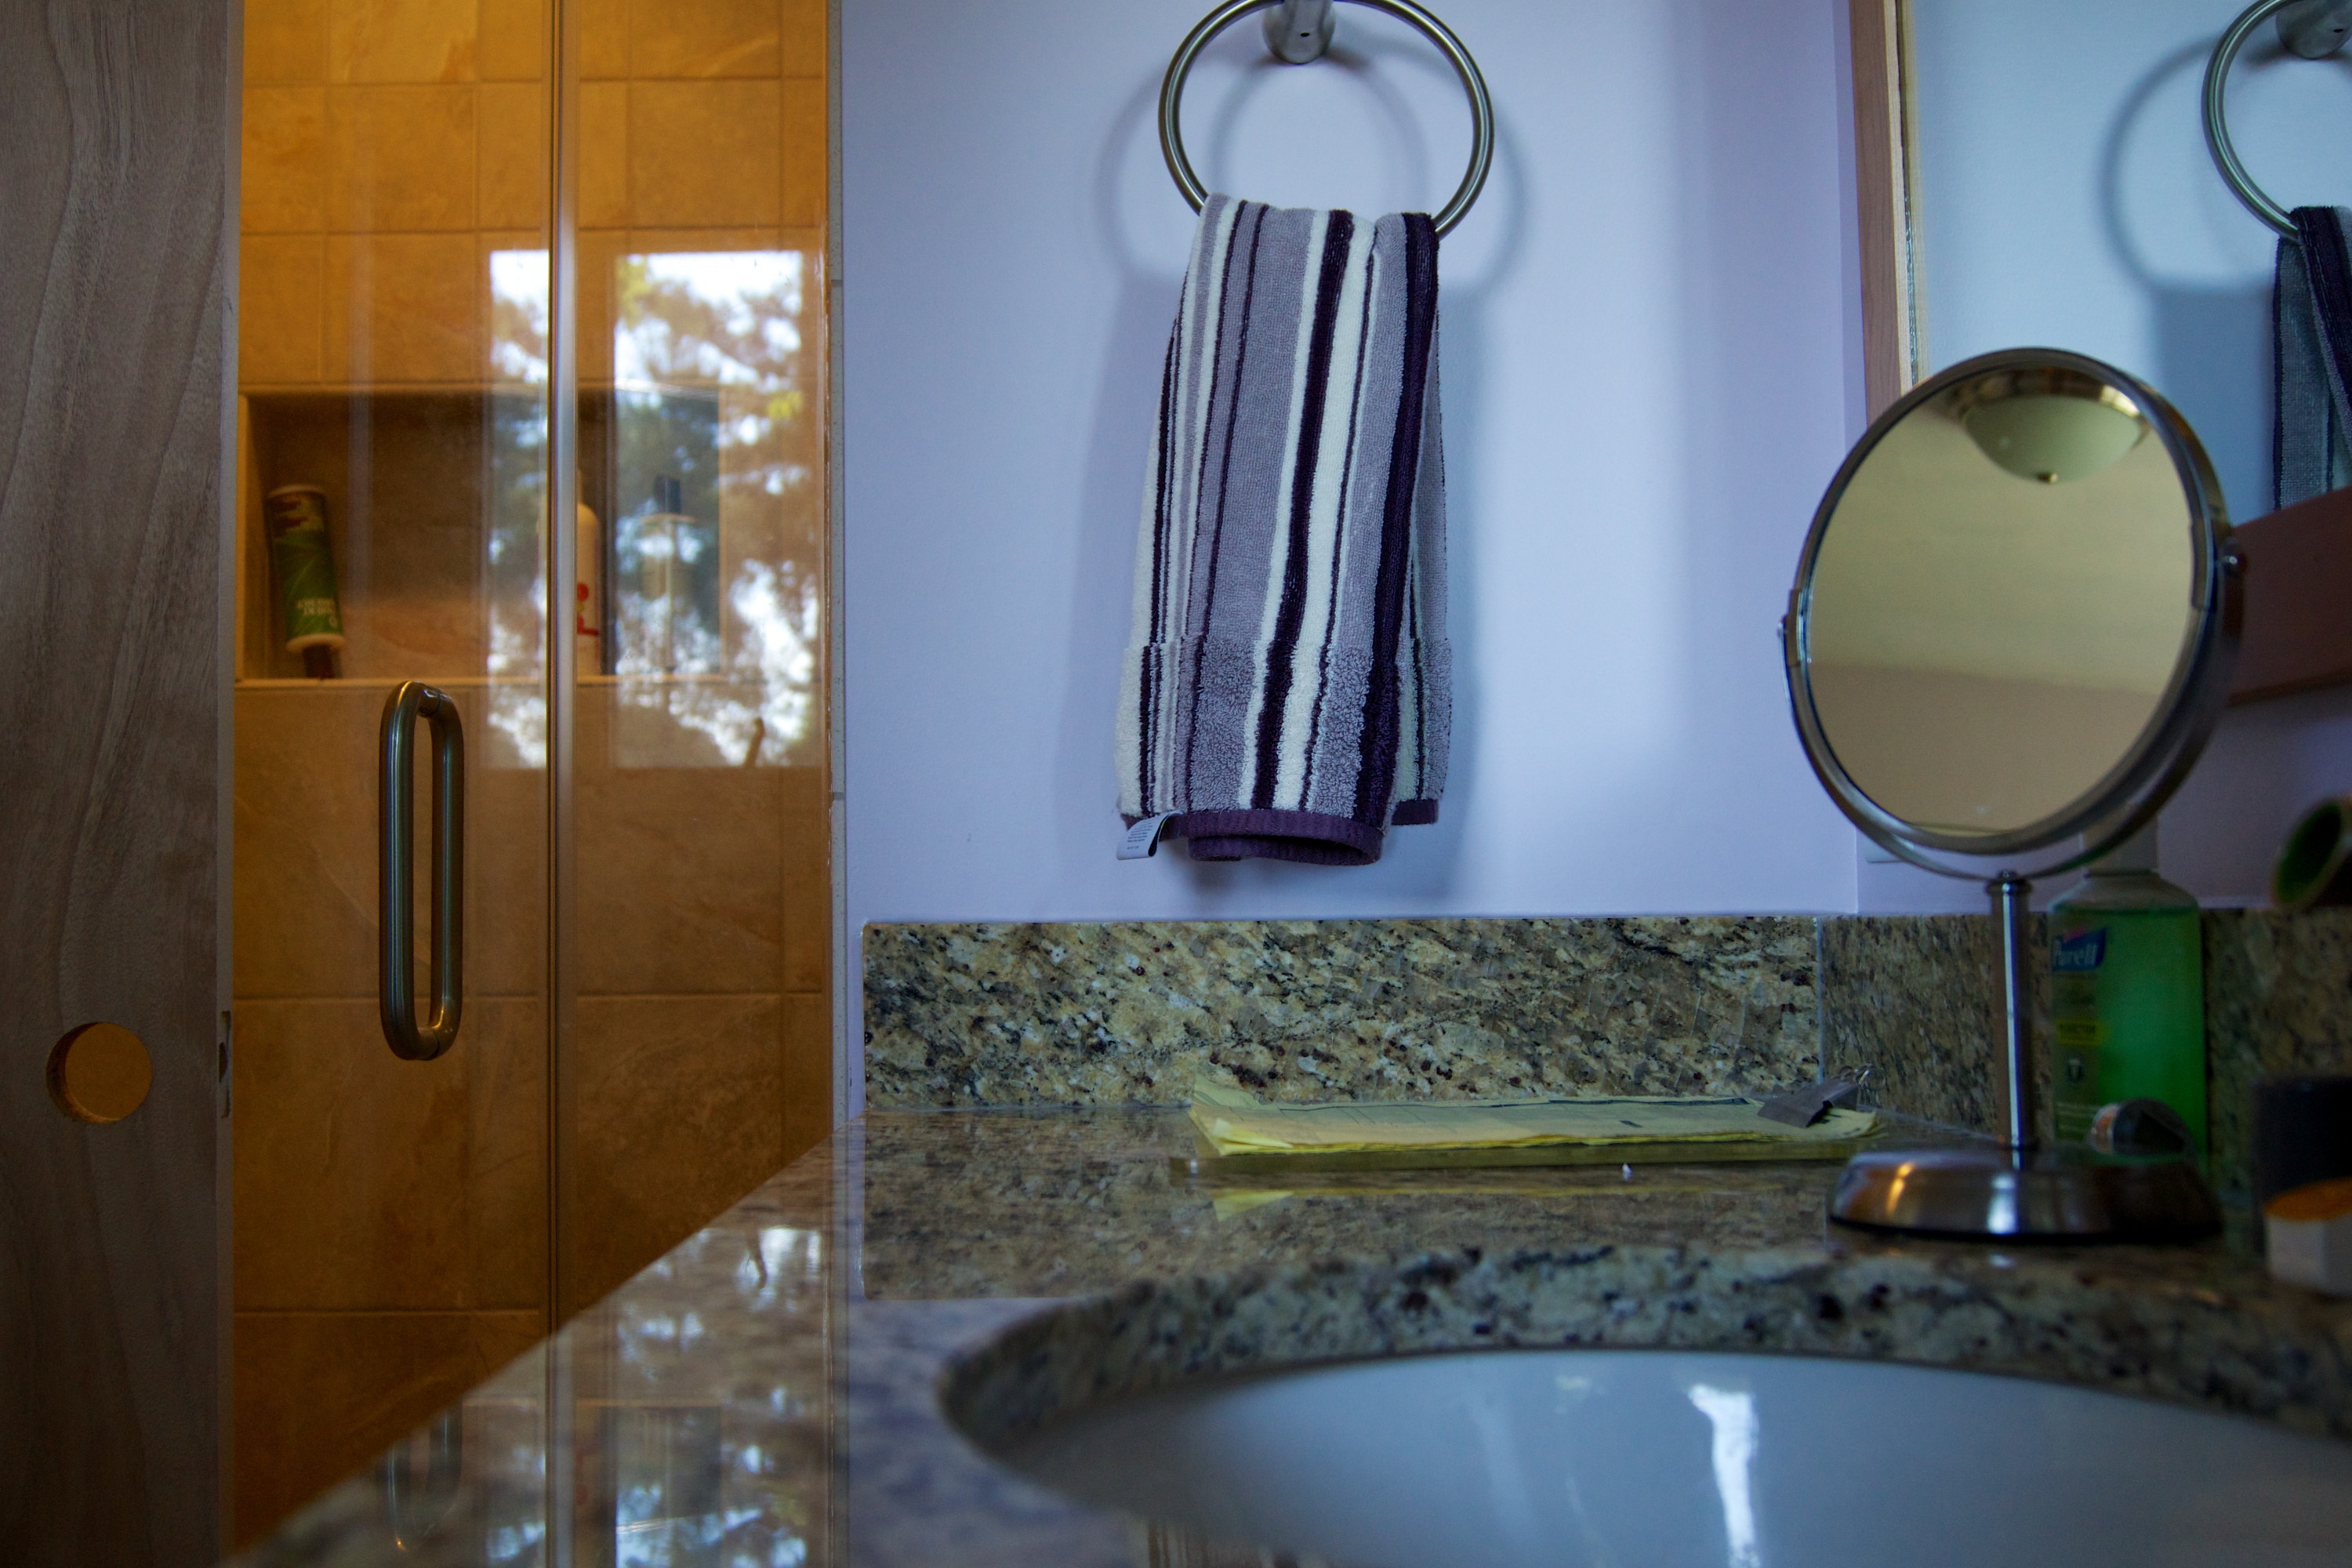
When we finish the hall bath, the look will be similar to the master bath below. This is about a $13 K project including the custom vanity and mirror made by a local cabinet shop. The fittings are Kohler Tubi. The cabinet depth is matched to the wall set back. These photos were taken with available light hand held. The shower recessed light is on. The lamp is a CREE LED warm white recessed trim rated for wet areas. EcoSmart (Home Depot house brand) assembled the lamp from CREE LEDS and powered electronics made in the Triangle. Home Depot also has Edison base CREE lamps in warm and daylight. These are nice!
Blount Custom Homes has a crew of good subs but does most of their own carpentry, similar to Tommy Silva’s model but perhaps not quite as much high end. A Mexican American crew did the dry wall. Norfolk country boys did the plumbing and wiring. and Troy of Straight Line Tile did the tile work. Troy is an unflappable perfectionist. His work in the shower amazes me every day. He did a super job working in the alcove and the change from 12×12 tile to 6×6 tile at the top. Evan and Ron helped me pick appropriate materials and design elements appropriate to a ’50s mid-Century rambler. The nice cabinets, mirror, and shower door just appeared after some discussion of my preferences. This project took a good bit of faith on my part but it has gone well so far.

You must be logged in to post a comment.