With the change of management at the website formerly known as Twitter, new API pricing has made use of Twitter/X API’s prohibitively expensive for small websites such as mine. As a service to my friends, I announce my posts to my Mastodon followers. This post shows where the JetPack configuration.
Procedure
Mastodon announcement configuration is on the JetPack tab along with the other social media announcement configurations. The configuration procedure is straight-forward. You will need a Mastodon user address @username@mastodon-node and your password if you don’t currently have a session token held in the web browser you’re using to make the configuration.
- Start a new post
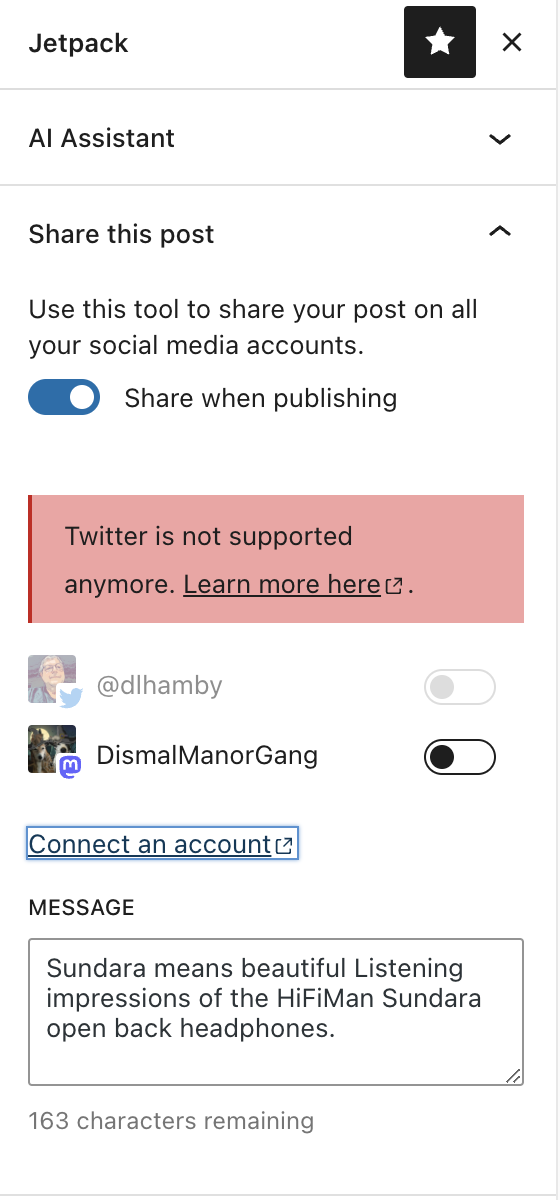
- In the right sidebar, select the JetPack tab (green icon).
- Select the connect an account link just above the social media message text-entry box.
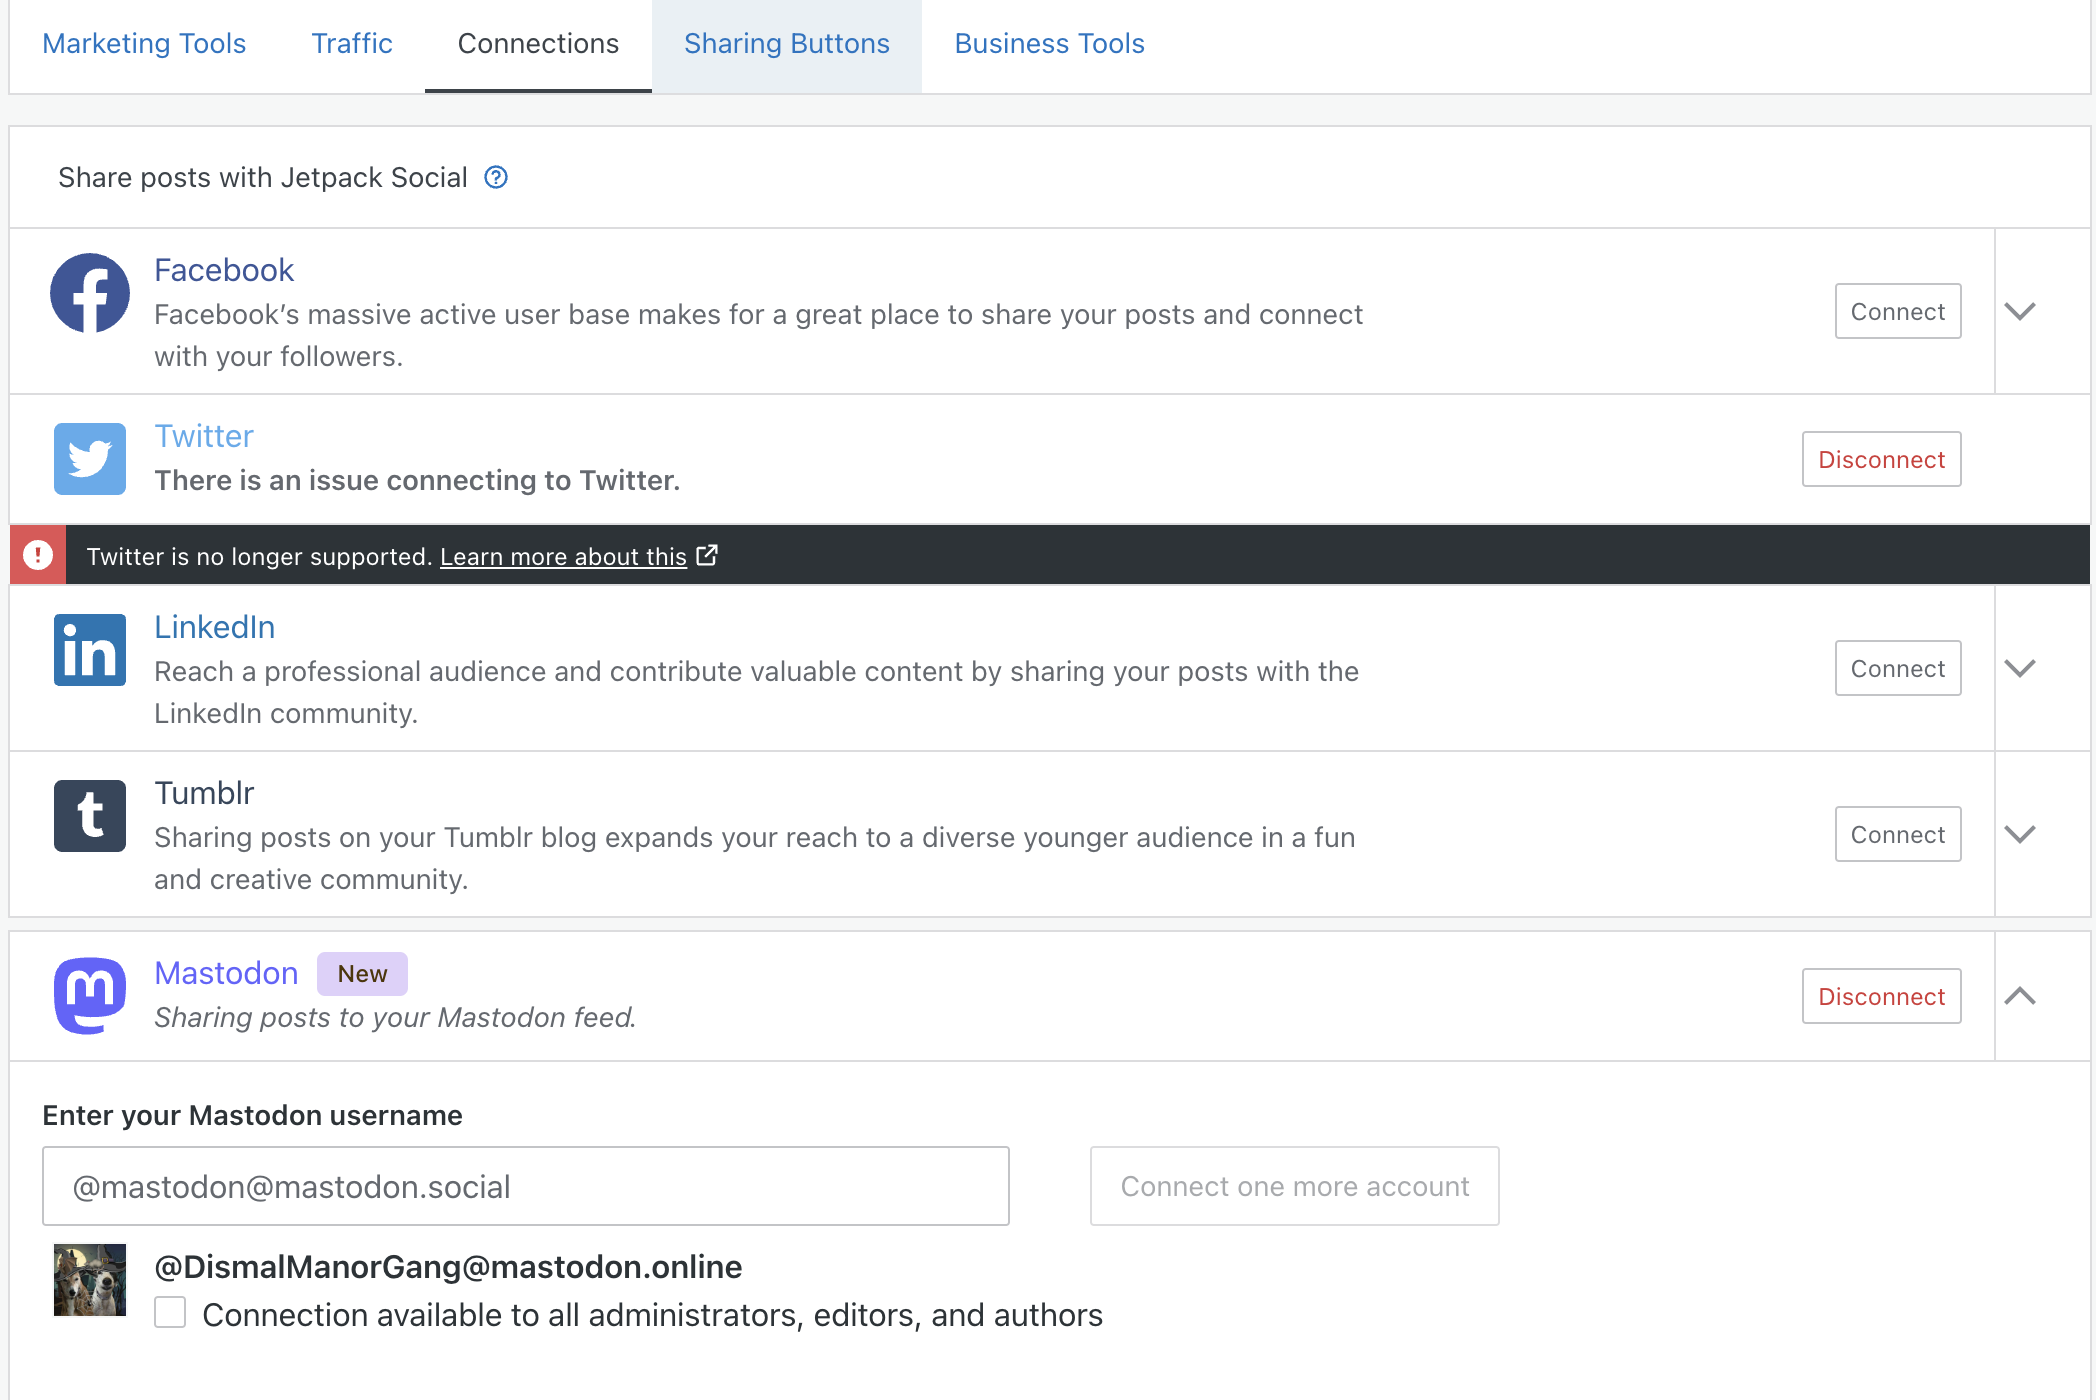
- The Marketing and Integrations view will open
- Click the Mastodon Link
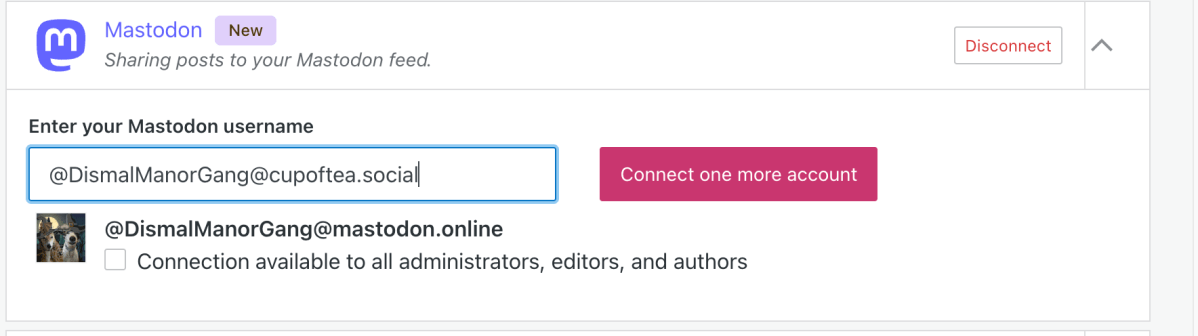
- The account connector will appear as shown above
- Enter the Mastodon address of the account you wish to connect. This will have the form @user@mastodon-node
- Click the connect button
- If not signed in, you’ll be asked to sign in
- Enter your account password
- If 2FA is enabled, enter your FIDO magic number from your FIDO app.
- Grant permissions as requested
It’s about that easy.
Visual Workflow
This section shows the sequence of forms used to do the configuration.
This will open the following pane.
Select the Mastodon type. This will open the account connector.
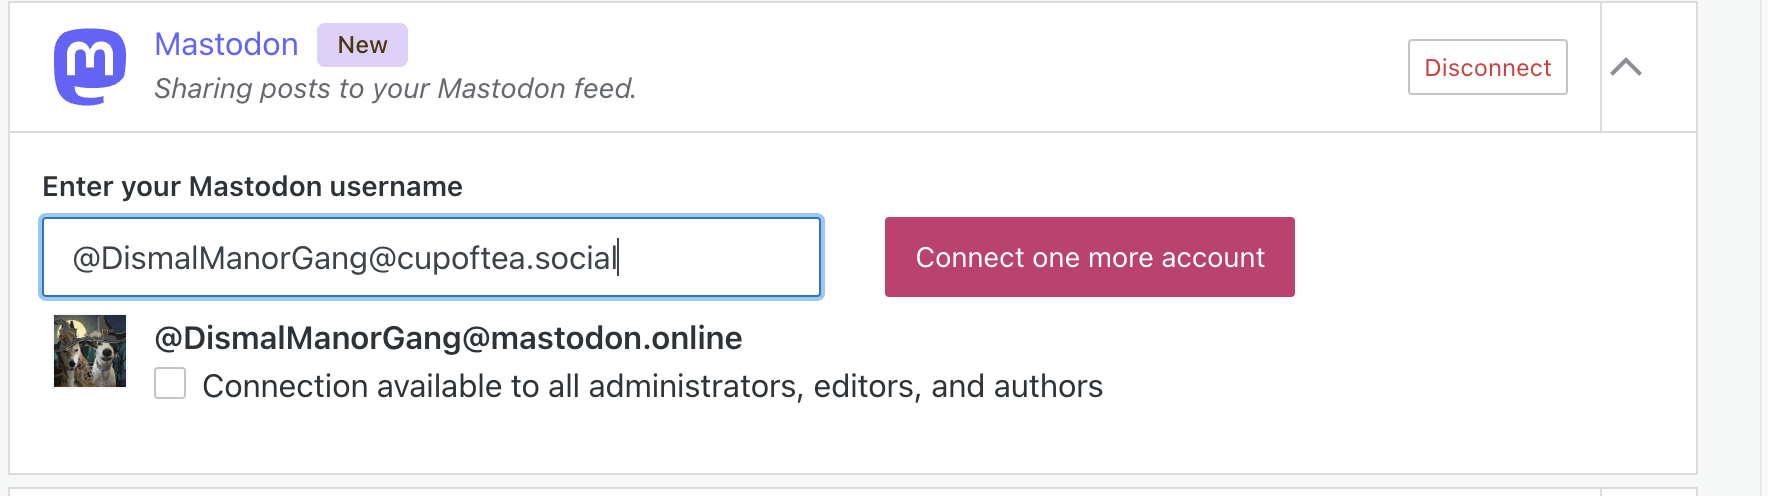
Note that you can configure multiple accounts. I’ve configured both @DismalManorGang@mastodon.online and @DismalManorGang@CupOfTea.Social.
When you click the connect button, Mastodon will give you a final chance to proof-read your entries and commit or chicken out.

And it just works.

You must be logged in to post a comment.